


 Log In

MIDI Polysher is a free VST plugin primarly designed for eaReckon BloXpander users (but it works with other compatible VST host software).
BloXpander is now provided with its own full-featured MIDI filter and therefore, BloXpander users do not really need this plug-in anymore.
However, musicians have shown interest for this plug-in which can be used in other VST DAWs.
This is why MIDI Polysher was rebuilt from scratch and it is now available as 32/64-bit VST plug-in for both Windows and Mac OSX.
With multiple instances of MIDI Polysher loaded into your DAW, you can create "zones" and control several instruments from a same MIDI keyboard (or controller).
For example, you can link the upper keys of your master keyboard to a virtual piano plugin and the lower keys to a virtual bass instrument but there is more to do with it...
Features:
32/64-bit VST plug-in for Windows and Mac OSXKey range ("Pass", "Exclude", "Free", "Nearest" modes)
- Velocity range
- Global CC filtering
- Global Aftertouch filtering
- Global Pitch Bend filtering
- MIDI channel filtering
- MIDI (per channel) activity monitor
- Transpose
System Requirements
- MIDI Polysher is a MIDI only VST plug-in.
How easy (or even possible) it is to use it, highly depends on the host MIDI routing capabilities.
PC:
- Operating System: Windows XP, Windows Vista, Windows 7, Windows 8 or Window 8.1
- This is a VST plugin. A compatible VST host software is needed.
Mac:
- Operating System: Max OSX 10.5 minimum
- This is a VST plugin. A compatible VST host software is needed.
Please Note: EAReverb 2 is used as an example.
Mac
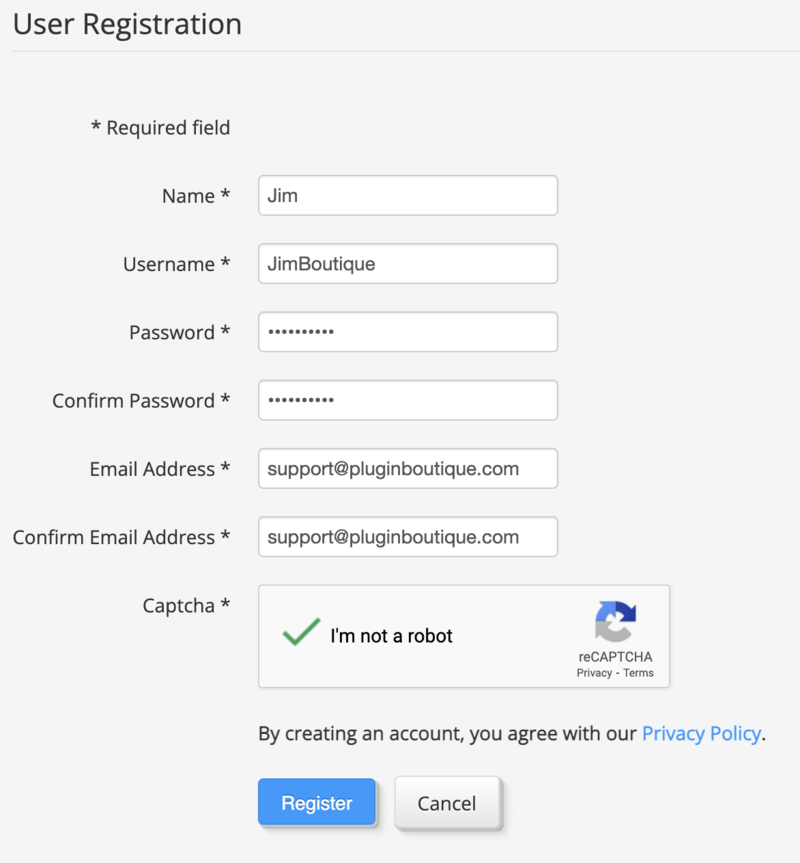
1. If you do not have an eaReckon account, navigate to https://www.eareckon.com/en/login.html?view=registration and sign up > If you do have an eaReckon account, navigate to https://www.eareckon.com/en/login.html and log in and proceed to step 3.
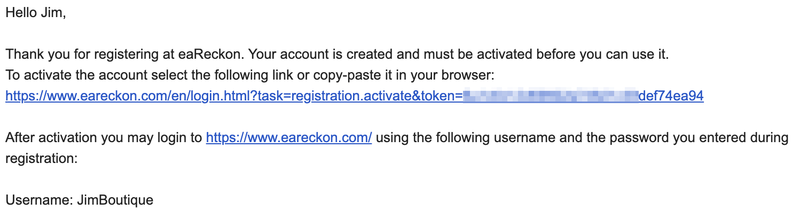
2. Navigate to your email inbox > Click the activation link to activate your eaReckon account > Log in.
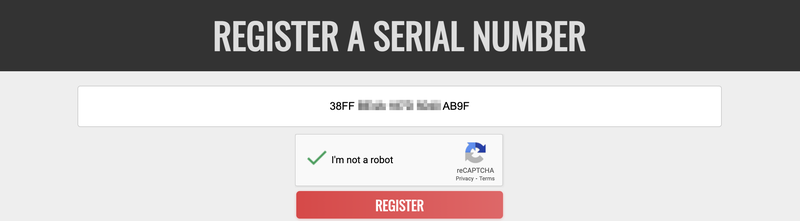
3. Enter your serial number found within your Plugin Boutique User Account > Click 'Register'.
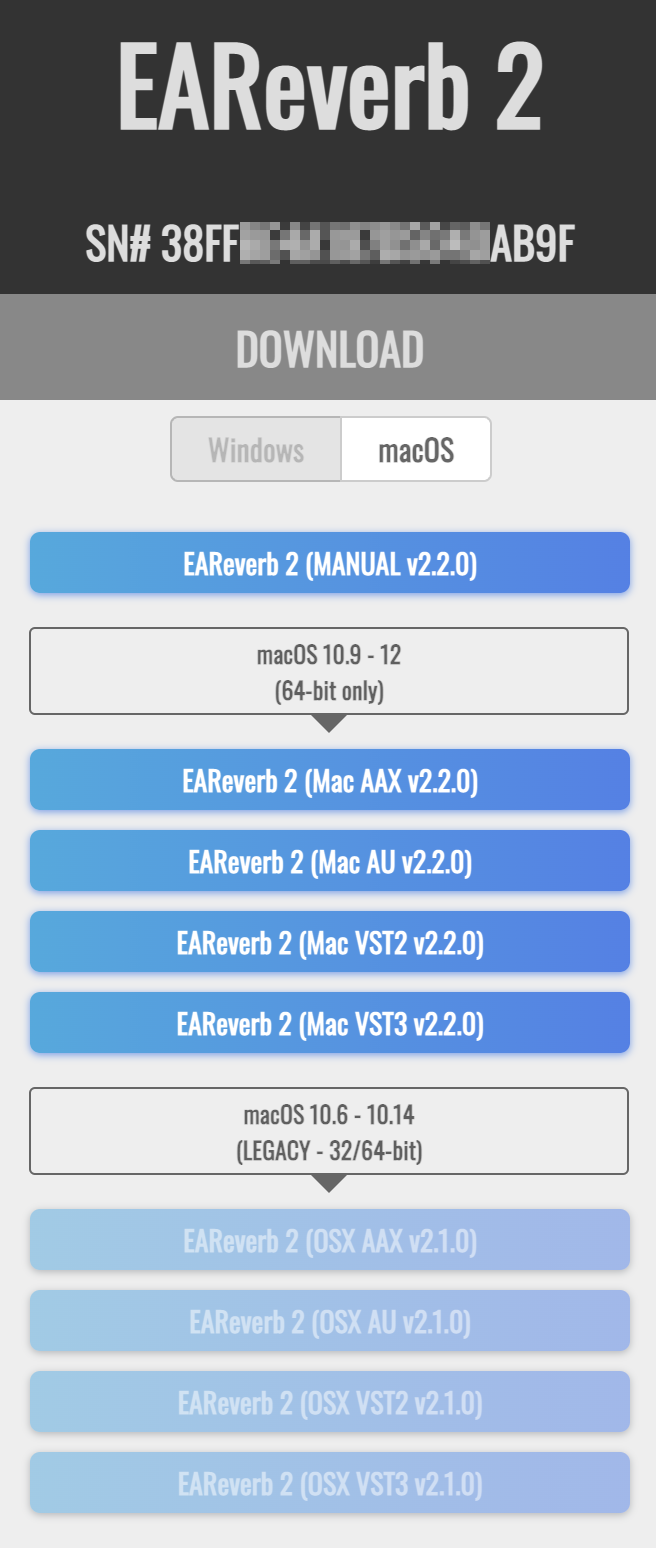
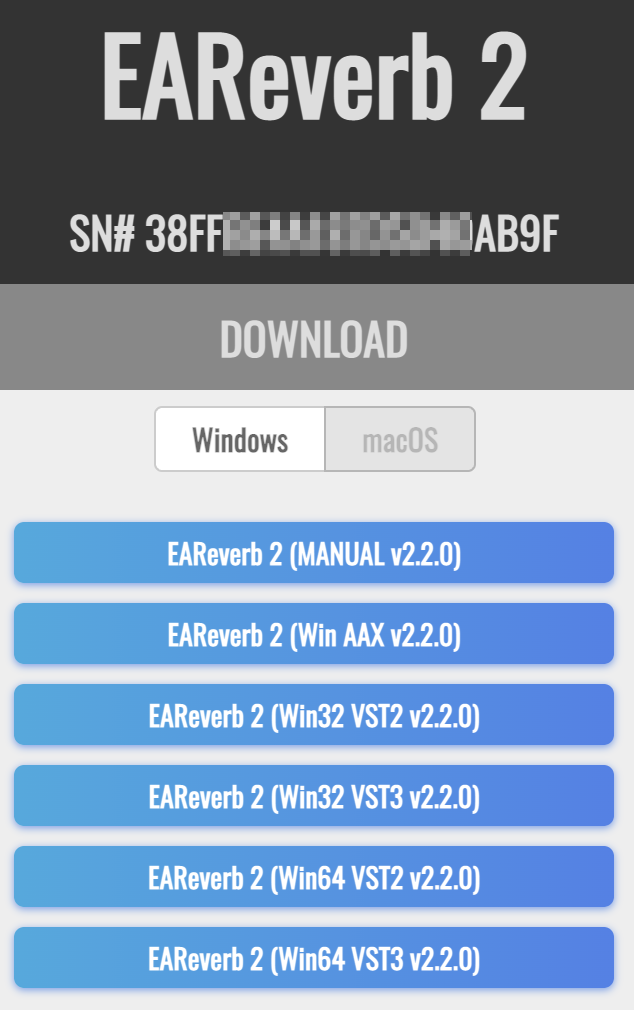
4. Download the correct installer(s) for your system.
5. Unzip the downloaded installer > Launch the .pkg installer file.

6. Click 'Continue'.
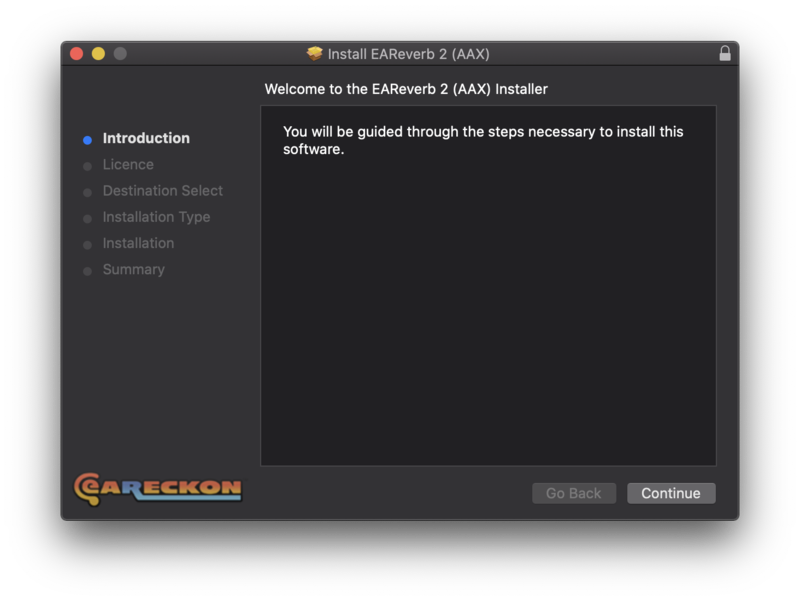
7. Click 'Continue'.
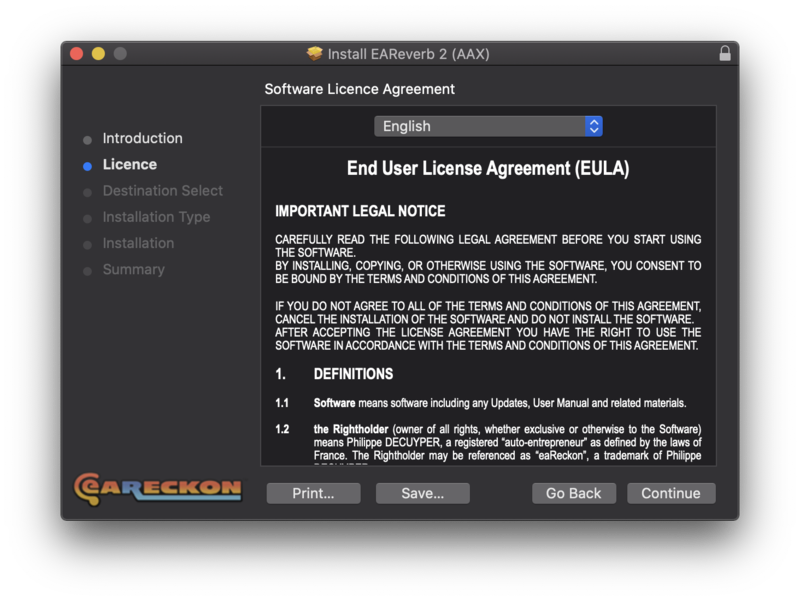
8. Click 'Agree'.
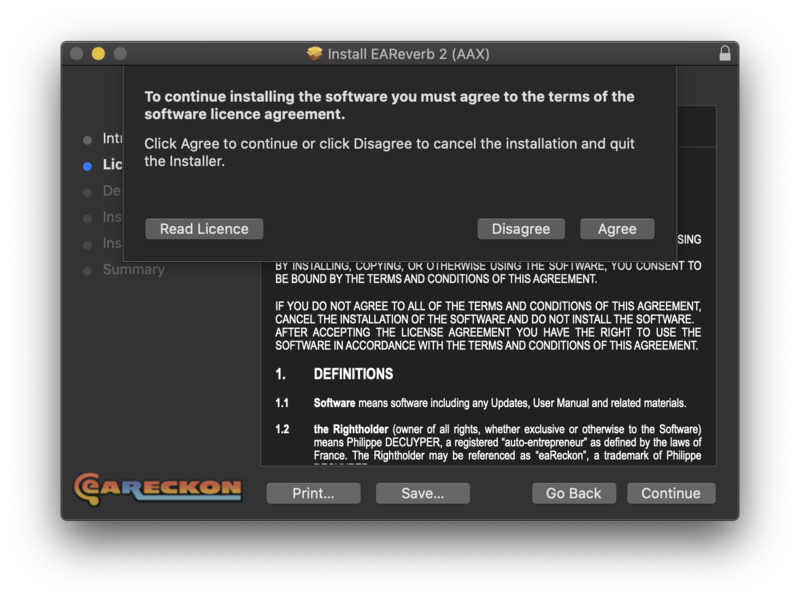
9. Click 'Continue'.
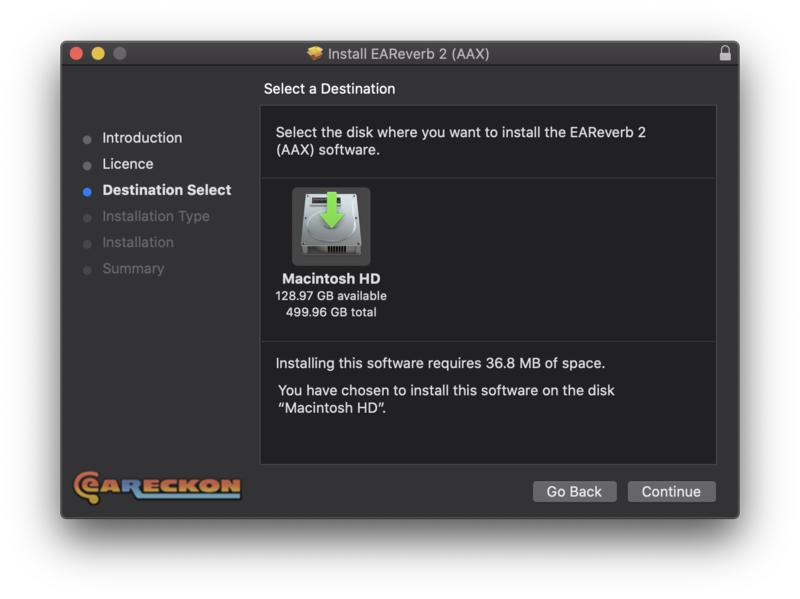
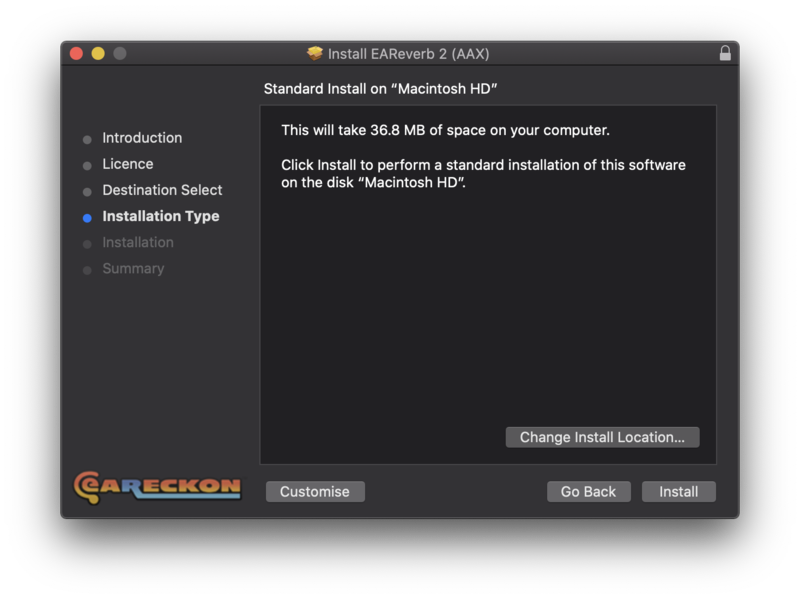
10. Click 'Install'.
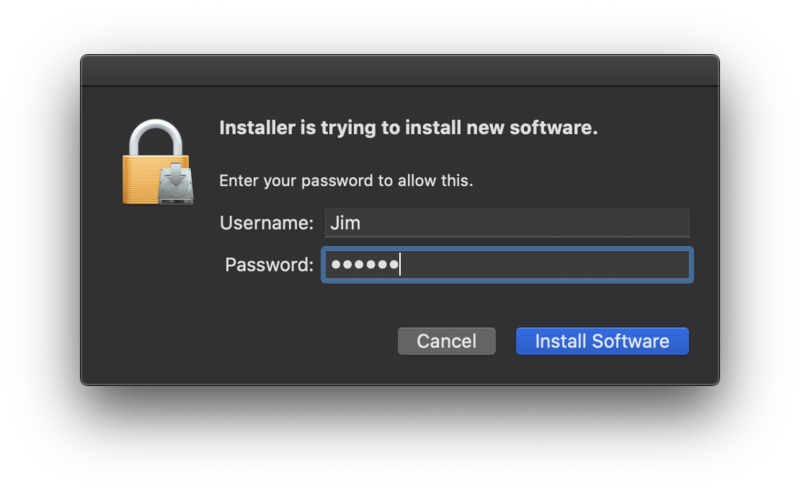
11. Enter your system password > Click 'Install Software'.
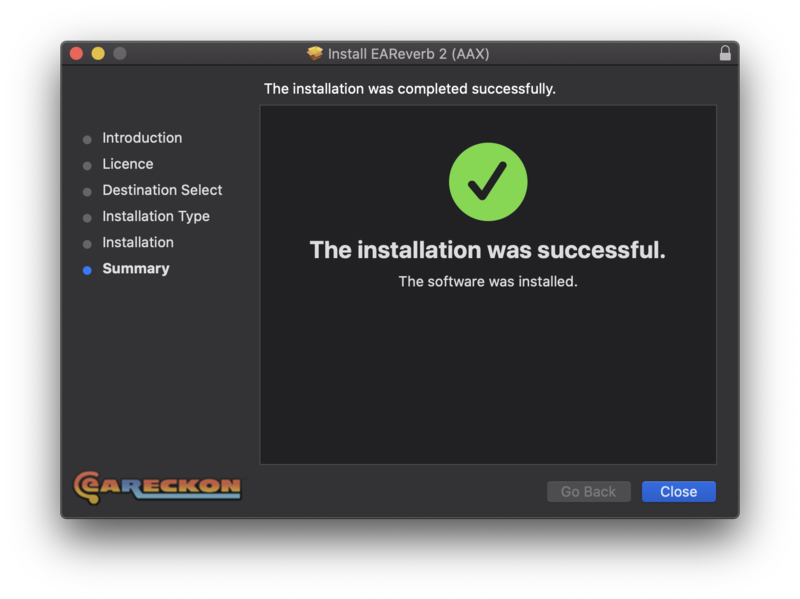
12. Click 'Close'.
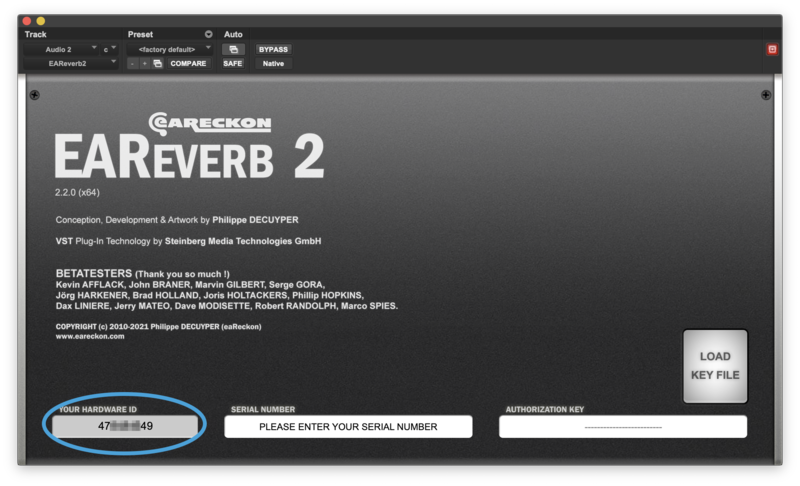
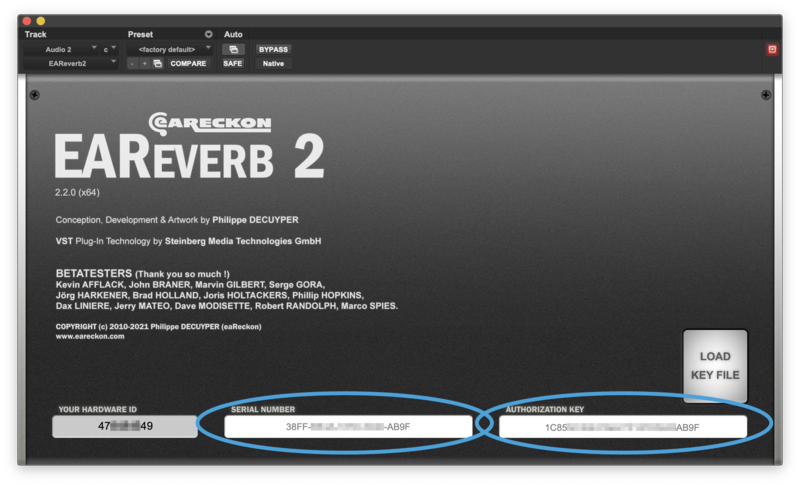
13. Launch your DAW > Insert EAReverb 2 on a new track > Locate your Hardware ID.
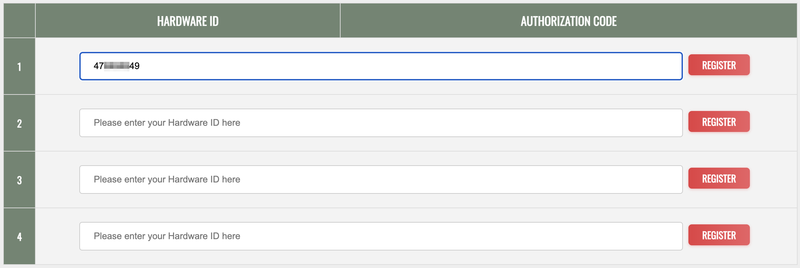
14. Navigate back to the eaReckon website and your account page > Enter your Hardware ID > Click 'Register'.
15. Navigate back to your DAW and the plugin > Enter the serial number found within your Plugin Boutique User Account into the 'Serial Number' box > Enter the Authorization Key that was generated in step 14 on the eaReckon website into the 'Authorization Key' box.
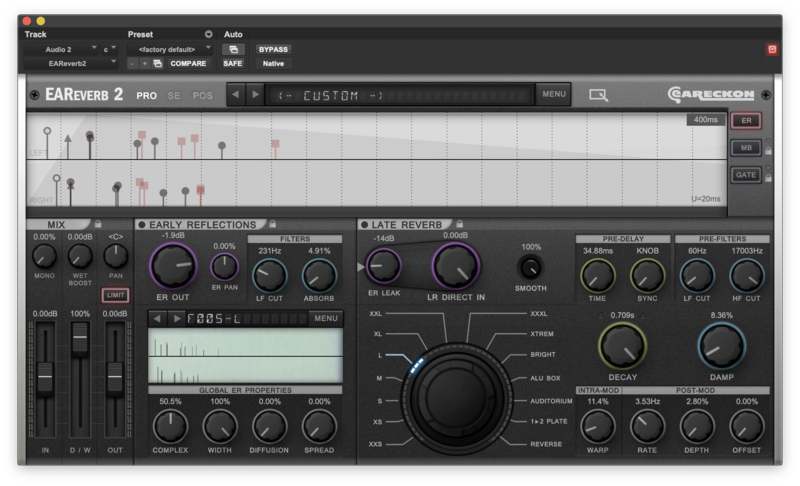
EAReverb 2 is installed, activated and ready to use.
Windows
1. If you do not have an eaReckon account, navigate to https://www.eareckon.com/en/login.html?view=registration and sign up > If you do have an eaReckon account, navigate to https://www.eareckon.com/en/login.html and log in and proceed to step 3.
2. Navigate to your email inbox > Click the activation link to activate your eaReckon account > Log in.
3. Enter your serial number found within your Plugin Boutique User Account > Click 'Register'.
4. Download the correct installer(s) for your system.
5. Unzip the downloaded installer > Launch the .exe installer file.

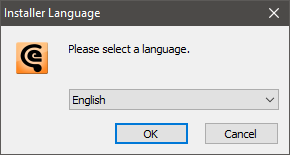
6. Select language > Click 'OK'.
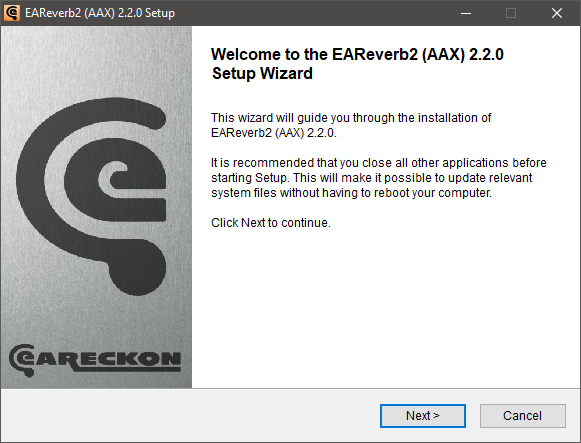
7. Click 'Next'.
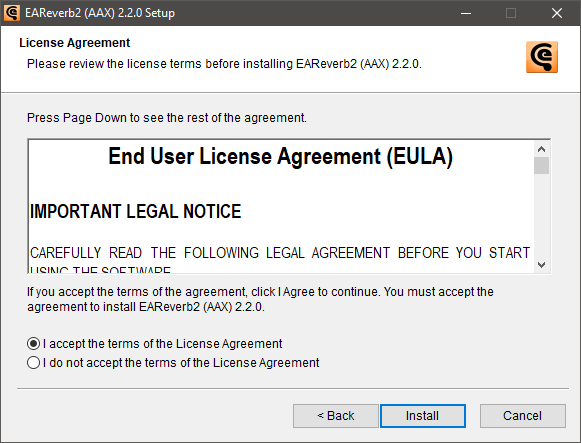
8. Accept the EULA > Click 'Install'.
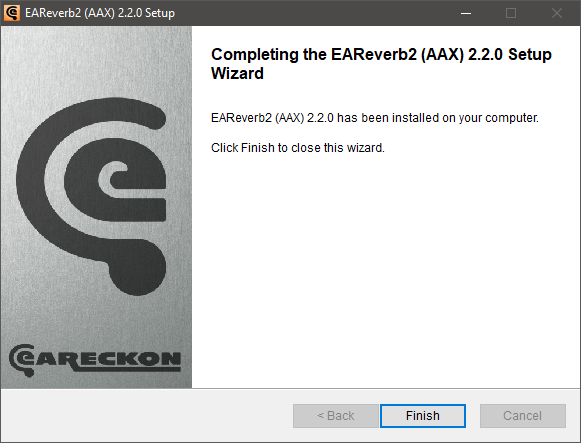
9. Click 'Finish'.
10. Launch your DAW > Insert EAReverb 2 on a new track > Locate your Hardware ID.
11. Navigate back to the eaReckon website and your account page > Enter your Hardware ID > Click 'Register'.
12. Navigate back to your DAW and the plugin > Enter the serial number found within your Plugin Boutique User Account into the 'Serial Number' box > Enter the Authorization Key that was generated in step 11 on the eaReckon website into the 'Authorization Key' box.
EAReverb 2 is installed, activated and ready to use.
