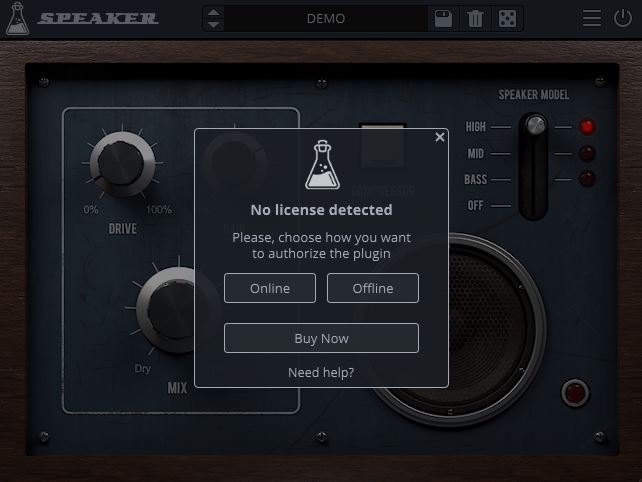
/ Multi-Effect / Vinyl Strip
AudioThing

Vinyl Strip

4.6 (439 Reviews)
$33.63 $59.00

43% off until Jan 05

Vinyl Strip User Interface
Vinyl Strip Video Overview gallery thumbnail
AudioThing Vinyl Strip VST/AU plugin in action gallery thumbnail
Review Of Vinyl Strip By AudioThing gallery thumbnail
AudioThing Vinyl Strip | How Does It Sound? gallery thumbnail
First Look Review Vinyl Strip AudioThing gallery thumbnail
AudioThing Vinyl Strip Demo gallery thumbnail
Buy Now
Product information

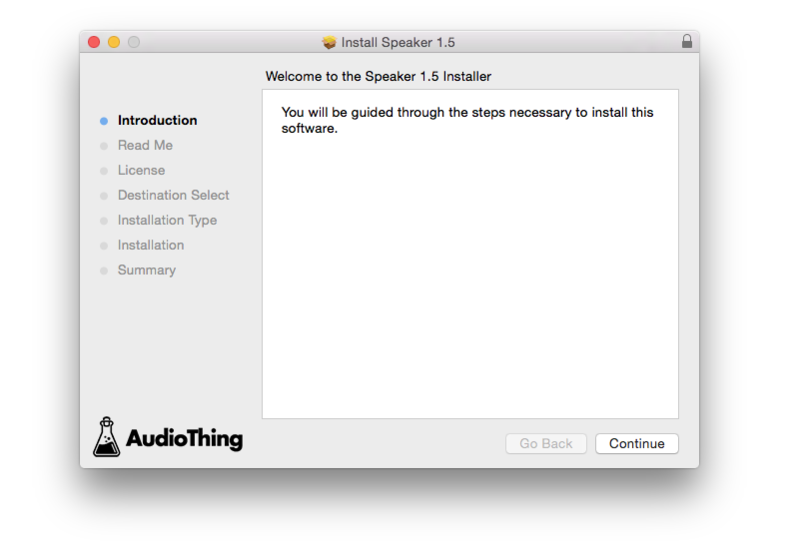
Modular Multi-Effect Channel Strip

Vinyl Strip is a multi-effect plugin featuring 6 modules: Distortion, Compressor, Bit Crusher, Tilt EQ, Vintage Reverb, and Vinylizer. The modules can be arranged in any combination by simple drag-n-drop. Vinyl Strip will add life and an old school touch to your samples and tracks, and achieve that classic vinyl record sound in your digital environment. The plugin is optimised to be lightweight on the CPU.

Features

  • 6 modules: Distortion, Compressor, Bit Crusher, Tilt EQ, Vintage Reverb, and Vinylizer
  • All modules can be arranged by drag-n-drop
  • Lightweight on CPU
  • Preset system with randomizer
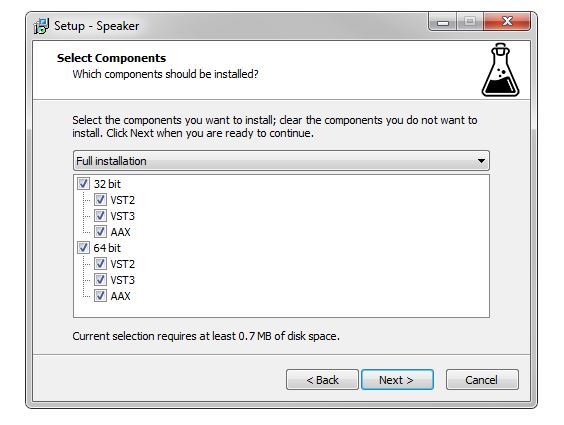
  • Formats: VST, AU, and AAX (32/64bit)
  • Platforms: OSX, Windows

New in v1.5.0 - Drag and Drop

You can customize your channel strip with a simple drag-and-drop. By default, all modules (except the Master module) can be moved and re-arranged to create different signal flows.

For example, you can decide to add the compressor module after the Vinyl emulation, or vice versa.

System Requirements

Windows

  • Windows 7-11
  • 2GHz CPU, 4 GB RAM
  • VST2, VST3, AAX, CLAP (64-bit)   

Mac

  • OS X 10.9 – macOS 13
  • Apple Silicon (M chips) Native (Universal 2 Binary)
  • 2GHz CPU, 4 GB RAM
  • VST2, VST3, AU, AAX, CLAP (64-bit)
  • Universal 2 Binary

Awards

Testimonials

Computer Music Magazine

"Vinyl Strip is one of the most interesting, versatile ‘vintagiser’ plug-ins we’ve used. Ideal for treating individual channels and processing whole loops/groups. It does exactly what it sets out to".

Beat Magazine

"Great sound, feature-rich, easy to operate and low demand on computer resources…results are always musical and appealing".

MusicTechMusicTech

"An approachable but powerful way to add all kinds of vinyl, ageing and retro effects to your tracks with a minimum of fuss".

Product Reviews
AudioThing Vinyl Strip review at Age of Audio

AudioThing has released a new multi-effect plugin dedicated to the emulation of vintage signal chains. Vinyl Strip, as the name suggest, focus on the vinyl effect, and nowadays there are very few commercial plugins dedicated to that effect. One of the first and probably most used plugin to ...

Read More
Installation Instructions

Note: Speaker is used as the example.

Windows

1. Visit the AudioThing Login/Registration Page and enter your personal details to set up an account > then read the 'Privacy Policy' and tick the box before clicking 'Sign Up'.

Note: If you already have an existing AudioThing account, Login here and skip to step 3 of the installation process. 

2. A confirmation email will now be sent to your registered email > click the link within the email to activate your account and Login here.

3. Once logged into your account, visit the Redeem Page and copy and paste the serial number from your User Account into the box provided > then click 'Redeem'.

4. Download your preferred installer as well as the Activation Licence Key.

Note: Click the ‘license.atl’ file, e.g ‘speaker_license.atl’ to download it to your computer > be sure to save this to a memorable computer location so that you can easily locate and upload it when activating your software. 

5. Double-click the compressed folder to reveal the installer file.

6. Double-click the extracted .exe file > click ‘Run' to open the installation window. 

7. Read through the license agreement and click ‘I accept the agreement’ > click ‘Next’.

8. Select the component (s) that you wish to install > click ‘Next’.

9. Choose and confirm the 64-bit plugin directory in which to save your software to > click ‘Next’. 

10. Choose and confirm the 32-bit plugin directory in which to save your software to > click ‘Next’.

11. Review the installation and click ‘Install’. 

12. The installation of your software has successfully completed > click ‘Finish’.

Offline Activation

1. Restart your DAW, and rescan your plugin selection to show the new installation (in the event it fails to appear). 

2. Locate and open the plugin on an appropriate track. You will be greeted by the window shown below > click 'Offline'.

3. Load or drag and drop the downloaded Key License File into the box to activate your software. 

4. The software is now activated and ready for use within your DAW.

Online Activation

1. Restart your DAW, and rescan your plugin selection to show the new installation (in the event it fails to appear). 

2. Locate and open the plugin on an appropriate track. You will be greeted by the window shown below > click 'Online'.

3. Enter your registered account email and password details > click 'Log In'.

4. The software is now activated and ready for use within your DAW.

Mac

1. Visit the AudioThing Login/Registration Page and enter your personal details to set up an account > then read the 'Privacy Policy' and tick the box before clicking 'Sign Up'.

Note: If you already have an existing AudioThing account, Login here and skip to step 3 of the installation process. 

2. A confirmation email will now be sent to your registered email > click the link within the email to activate your account and Login here.

3. Once logged into your account, visit the Redeem Page and copy and paste the serial number from your User Account into the box provided > then click 'Redeem'.

4. Download your preferred installer as well as the Activation Licence Key.

Note: Click the ‘license.atl’ file, e.g ‘speaker_license.atl’ to download it to your computer > be sure to save this to a memorable computer location so that you can easily locate and upload it when activating your software. 

5. Double-click the .dmg file to open the installer window. 

6. Double-click the installer icon to begin the installation process > click ‘Continue’.

7. Read the info and click ‘Continue’.

8. Read the Software License Agreement > click ‘Continue’ and then ‘Agree’.

8. Select the component (s) that you wish to install to your computer, and click ‘Continue’. 

9. Review the installation and click ‘Install’.

10. The installation of your software has successfully completed > click ‘Close’. 

Offline Activation

1. Restart your DAW, and rescan your plugin selection to show the new installation (in the event it fails to appear). 

2. Locate and open the plugin on an appropriate track. You will be greeted by the window shown below > click 'Offline'.

3. Load or drag and drop the downloaded Key License File into the box to activate your software. 

4. The software is now activated and ready for use within your DAW.

Online Activation

1. Restart your DAW, and rescan your plugin selection to show the new installation (in the event it fails to appear). 

2. Locate and open the plugin on an appropriate track. You will be greeted by the window shown below > click 'Online'.

3. Enter your registered account email and password details > click 'Log In'.

4. The software is now activated and ready for use within your DAW.

Bundle & Save

Plugin Boutique Rewards

Discover the most rewarding loyalty programme among all plugin retailers.

  • Free Loopmasters Samplepacks
  • Discounts on products and courses
  • Extra Virtual Cash claimed immediately at checkout
Find out more

Follow us:

X (Twitter) Facebook YouTube Instagram
Logo Logo

Plugin Boutique Limited, Part of the Beatport Group LLC.

Copyright © 2011-2025 Plugin Boutique. All rights reserved