Log In
.jpg)
Free gifts available with your purchase
PowerChord is a unique guitar plugin that allows you to create fantastic PowerChord grooves and lots more!
Instead of using a sampled loop, you can create your own groove sequences with PowerChord or use the many grooves that are already included inside this creative instrument. This makes PowerChord unique and even some guitar players may get envious from listening to what comes out of the speakers. Besides using the groove sequencer, you also have the option to manually play strokes, long strokes and ghost strokes.
53 Guitar Models are available including Filters, FX… all kinds of synthesizer features to help you sculpt your sounds. These are of course used already in the many included presets!
And NO… PowerChord will never replace a real guitar player… but a real guitar player can’t replace PowerChord as well, because of the unique sounds it can create!
Features
- PowerChord and Grunge Guitar Groove Synthesizer.
- Top-quality presets.
- Sequencer or manual play mode.
- 12 single solo guitar model sounds being PowerChord. PowerChord Drop-D tuning, PowerChord Drop-A, Grunge PowerChord, RG PowerChord (Distortion sound of RG), and PowerNote (single notes).
- 41 stacked guitar model sounds by using the solo guitar sounds.
- Guitar Model Volume and Decay Control for Stroke, Long Stroke, and Ghost Stroke
- Analog-modeled Filters with 25 different character Filter types, Ring modulation, and Amp Modulation modes.
- 11 Pre-filter distortions.
- Dedicated Filter Envelope with Attack, Decay, Sustain, Fade, and Release.
- AMP with velocity control, Pan control, and Envelope with Attack, Decay, and Release
- Groove Sequencer A-B-C-D selectable by its range of the keyboard (C1 - C5 range Yamaha setting)
- Zone 1: MIDI Notes 36 C1 to 47 B1 plays Sequence-A
- Zone 2: MIDI Notes 48 C2 to 59 B2 plays Sequence-B
- Zone 3: MIDI Notes 60 C3 to 71 B3 plays Sequence-C
- Zone 4: MIDI Notes 72 C4 to 83 B4 plays Sequence-D
- Each Sequencer has up to 32 steps.
- Sequencer rows: Step on/off, Semi Offset, Stroke, Long Stroke, Velocity, Ratchet, Filter Decay/Release, Amp Decay Release, and Free 1&2.
- Sequencer Swing, Vel/Key, Smooth (for the Free rows), Speed, Retrigger, Tied Mode, Ratcheting controls.
- Sequencer preset menu and command features.
- Mod Matrix with 8 slots.
- EQ with fixed EQ (RG style) and 5-Band Parametric with LowCut Filter.
- Ribbon Controller with tempo-base spring back feature, quantized spring back, and unipolar or bipolar mode.
- 3 HQ effects blocks in serial mode with 34 FX types.
- Available effects: Mono Delay, Stereo Delay, Tape Delay, Comb Filter, Reverb, Chorus, Tape Chorus, Chorus/Delay, Ensemble, Flanger, Tape Flanger, Phaser, Tape Phase, Ring Modulator, Shift FX, FX Filter, WahWah, WahWah/Delay, TalkBox, AutoWah, Bass enhancer, Amp Simulator (5 models), Cabinet Simulator (5 models), Distortion, Low Fi, Waveshaper, Clipper, Multi-distort (11 types), Stereo Widener, AutoPan, Tremelo, Gator, Compressor, and Noise Gate.
- MIDI tempo-based settings in most effects.
- Overall bypass for FX or bypass per FX.
- Bank manager.
- 100%, 125%, 150%, and 200% size options.
- Control Menu in the upper right corner for Global settings and for downloading the latest version.
- Back panel with additional Global settings.
System Requirements
PC
- 64-bit VST3, AAX, & VST for Windows 7 or higher (Note: PC AAX for PT 12 or higher)
- Serial/license system with activation while registering the product
- The activation system is online or offline (offline meaning there is no direct connection between the plugin and the robpapen.com homepage)
- The software can be installed on 2 of your computer systems.
- Not yet compatible with the NI NKS system.
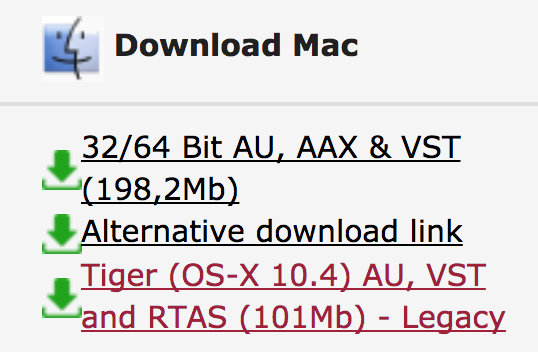
Mac
- 64-bit AU, VST3, AAX & VST, for OS-10.13 or higher.
- M1/M2/M3 ARM processor compatible.
- Serial/license system with activation while registering the product
- The activation system is online or offline (offline meaning there is no direct connection between the plugin and the robpapen.com homepage)
- The software can be installed on 2 of your computer systems.
- Not yet compatible with the NI NKS system.