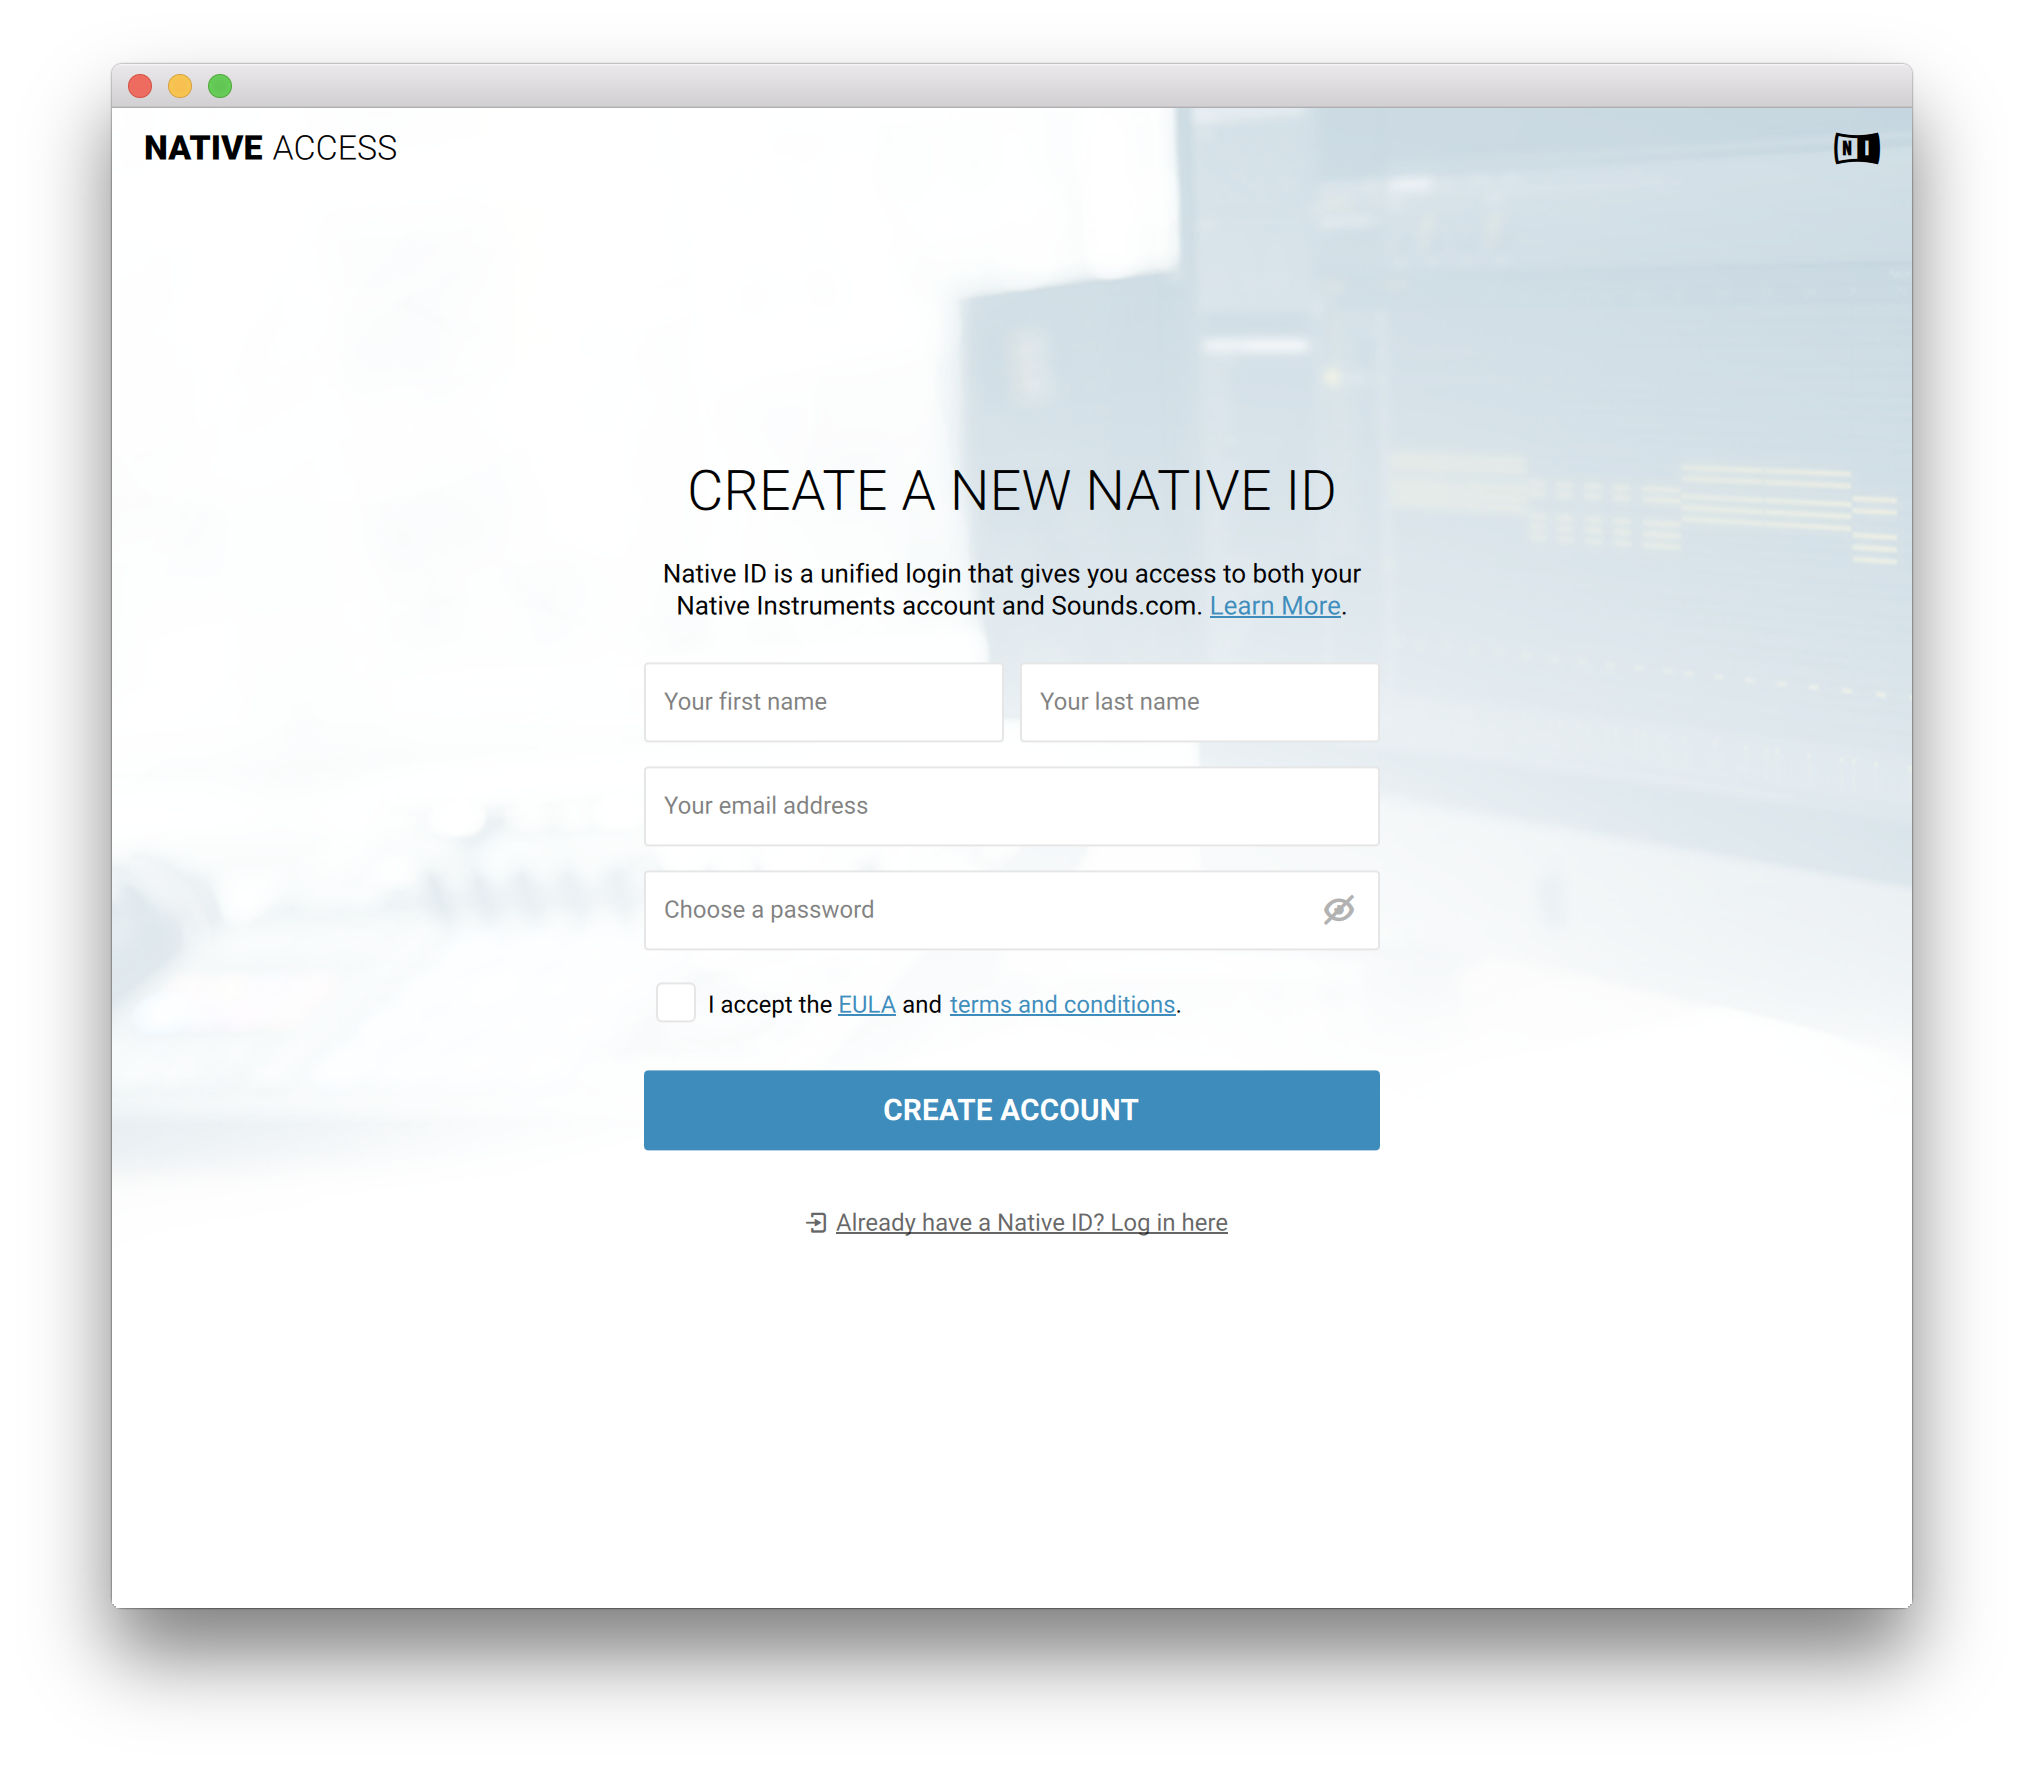
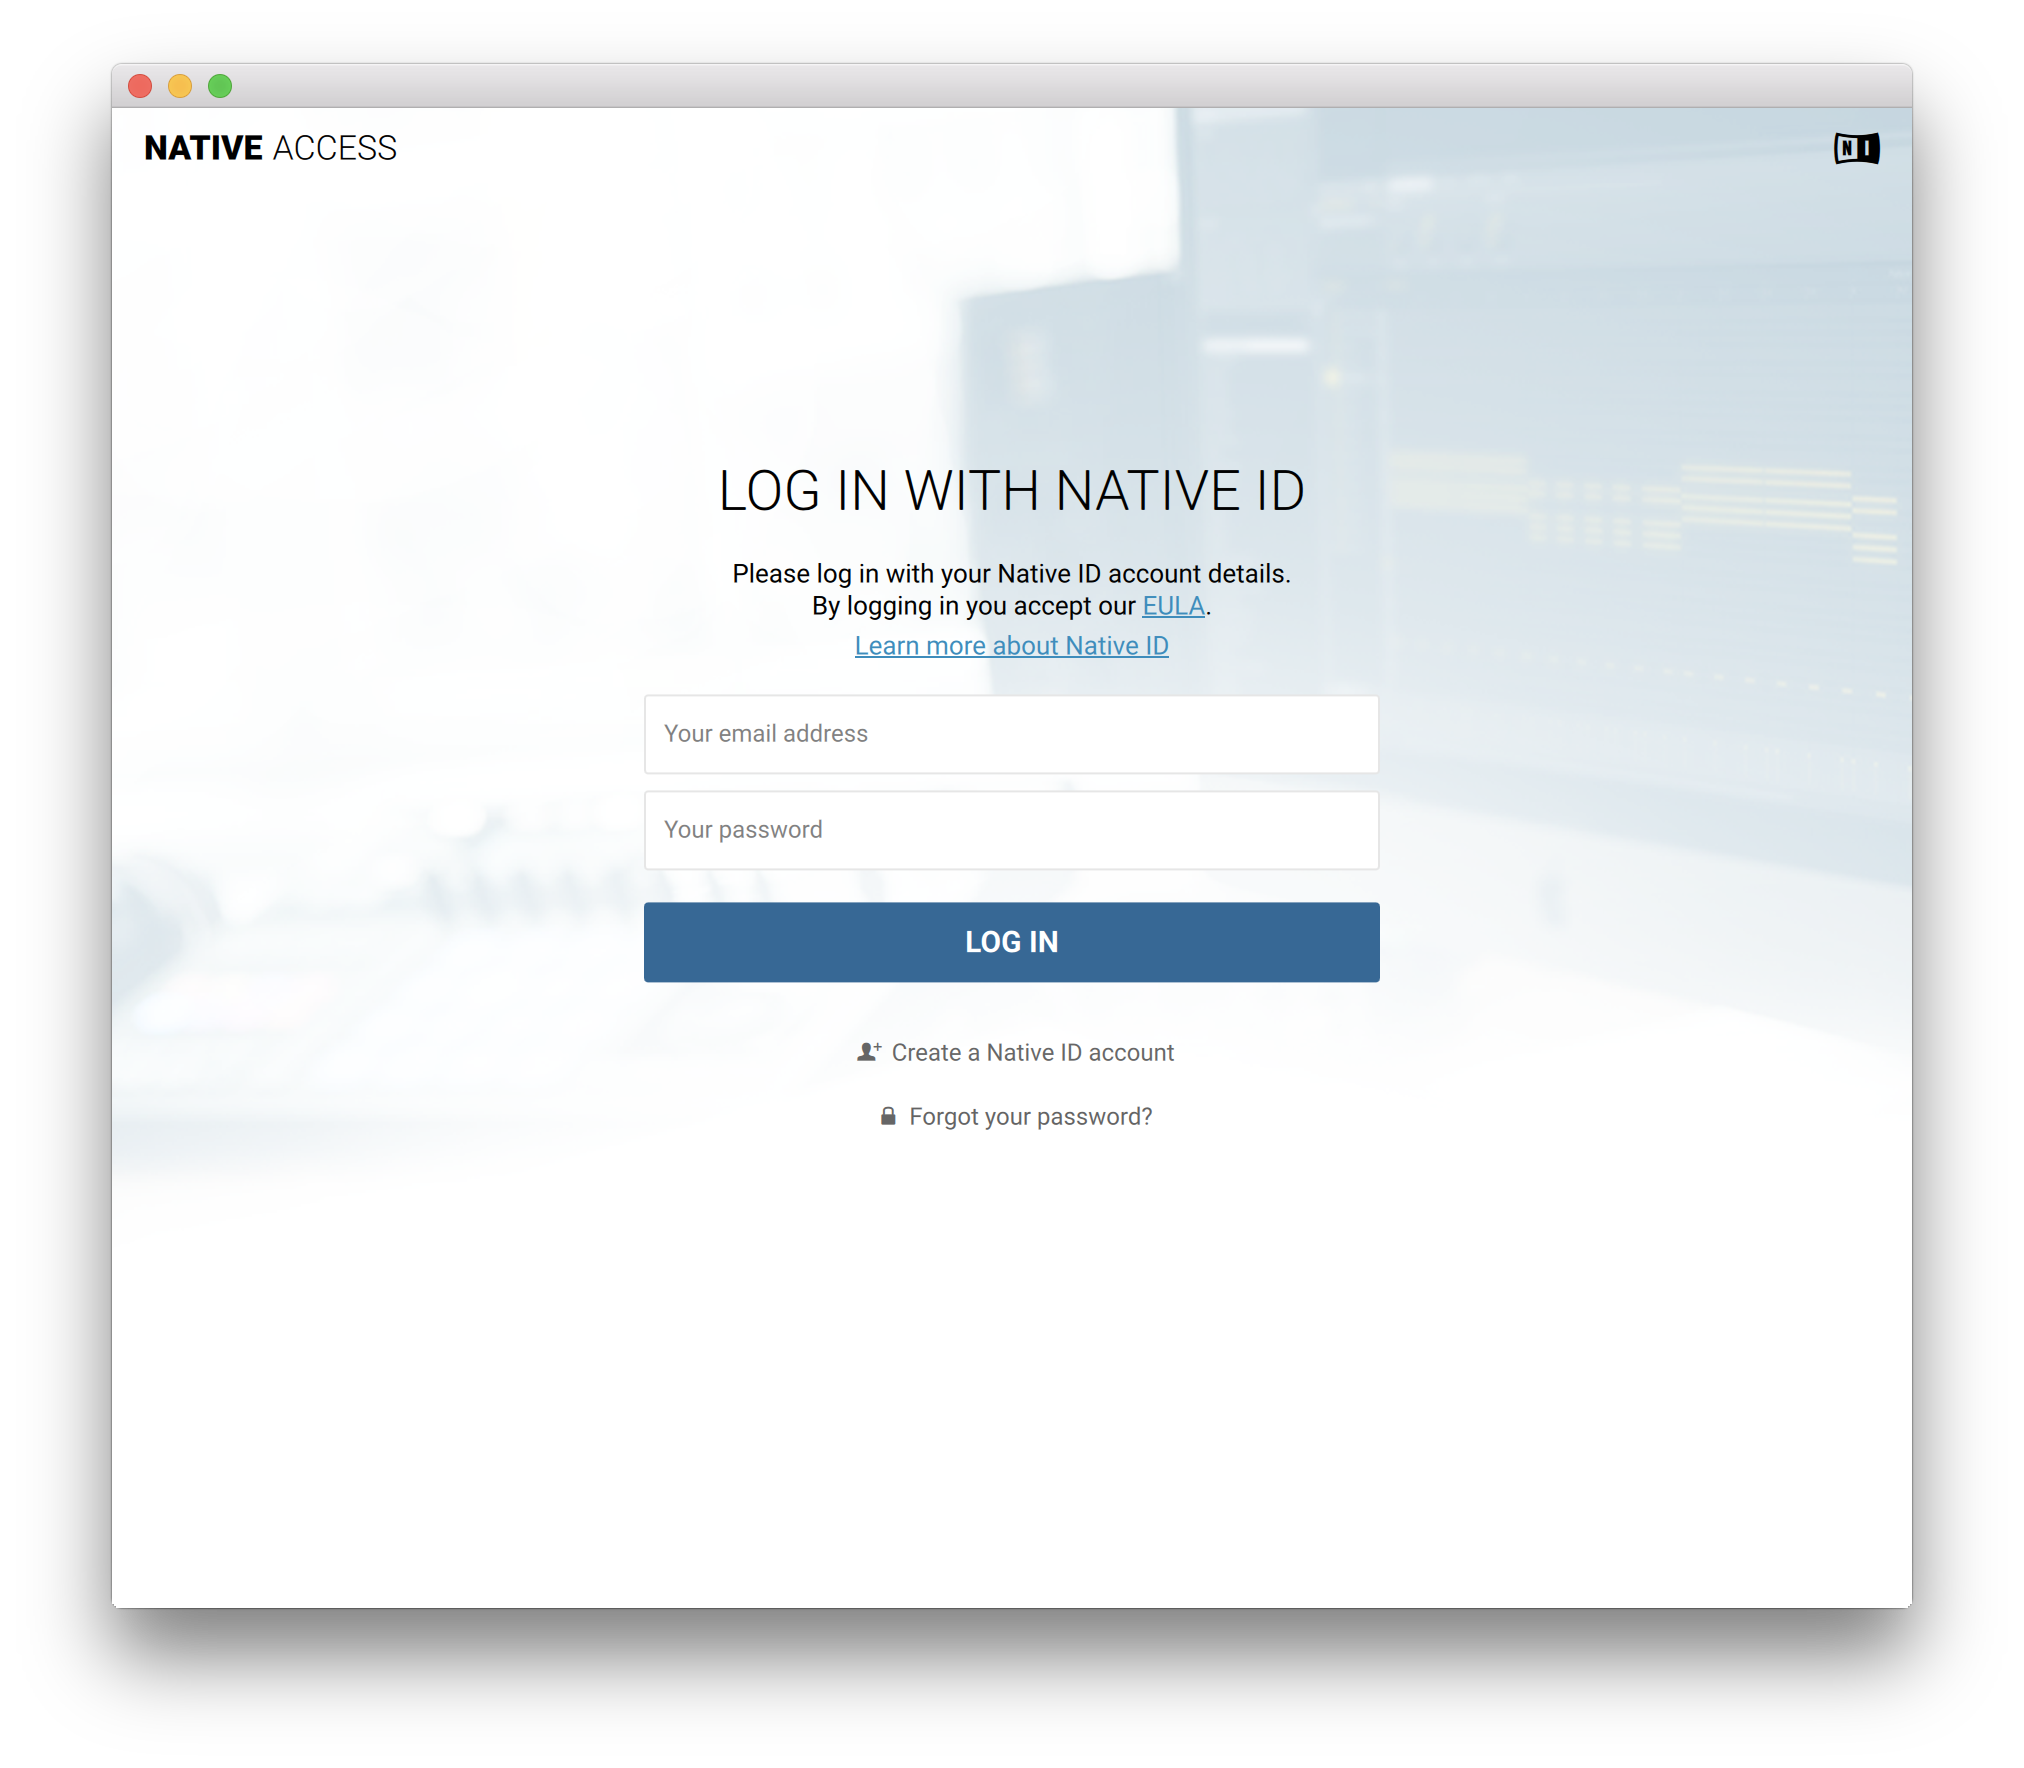
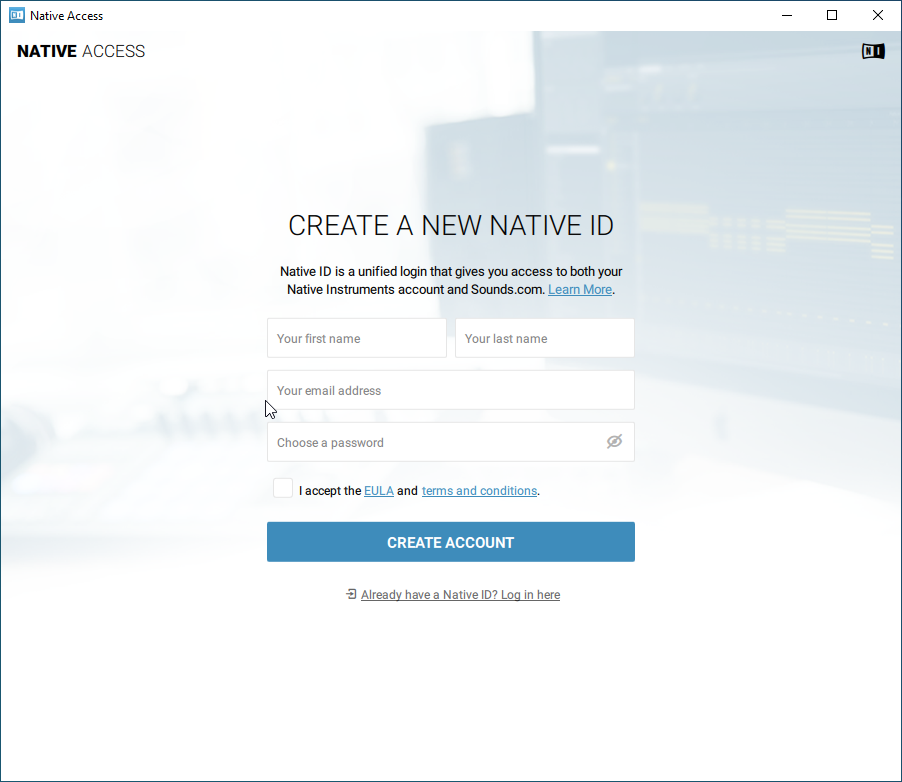
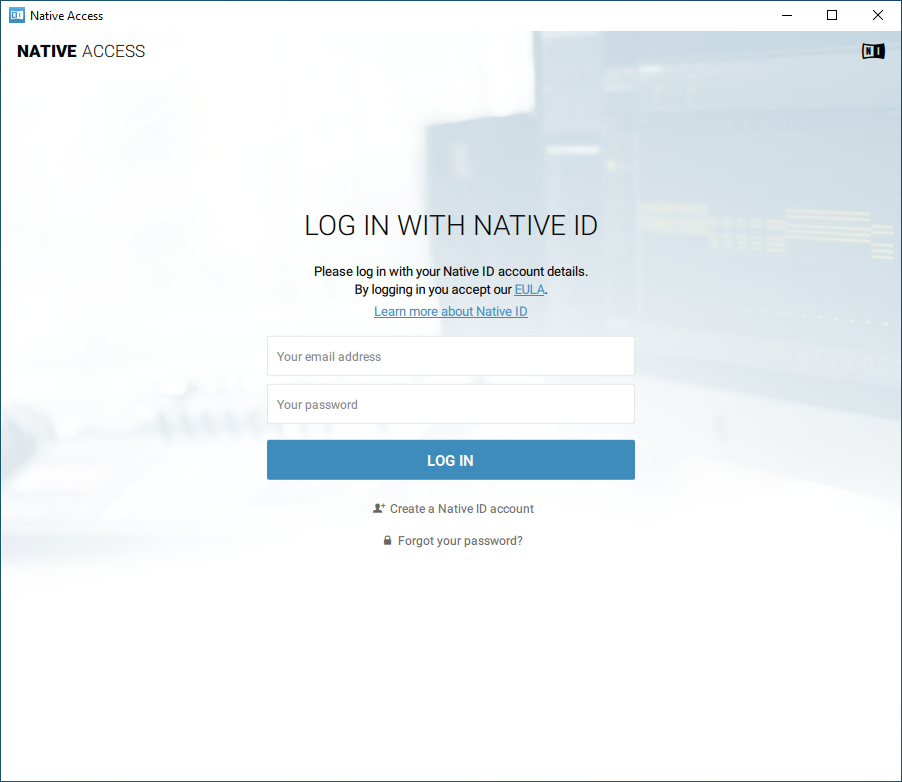
Log In

Free gifts available with your purchase
Piano Extended Technique

Another great addition to Cinesamples' Artist Series, Randy's Prepared Piano is a collection of 3 pianos recorded at the legendary MGM Scoring Stage at Sony Pictures Studios and at Hollywood Scoring Studios Stage in Los Angeles. It features various extended techniques used by Los Angeles studio musician, Randy Kerber.
Articulation Selector
On the top-right is a pull-down menu of the various articulations. There are separate Instruments for each articulation as well.
- PEDAL VOL: Adjusts the volume of the piano's pedal mechanism. The default is a delicate pedal action. Click "Hard" for a more aggressive action.
- HAMMER VOL: Adjusts the volume of the key-hammer action.
- DYNAMIC RANGE: Lower levels increase the volume of softer samples. Higher levels increase the difference between soft and loud samples.
EQ
Apply a 4-band EQ to each mix perspective separately. Choose the mix perspective, then adjust the gain and frequency for each band. The high and low bands are shelves. Keep in mind - resetting the EQ on one mix perspective will not reset the EQ on the others. Check other active mix perspectives to see if the EQ is active.
MIXER
There are 5 mix perspectives: Full, Close A, Close B, Close C, and Room. The Full mix is a combination of Close C and the Room. Close A, B, and C are different microphone pairs, each offering a unique texture.
Below each mix, you may advance or delay its sample playback +/- 100ms using a left-to-right slider. Each mix allows for a left-right swap (LR), phase invert (Ø), a stereo widener (select either Haas or Mid/Side), left-right pan, reverb send (PRE- or POST-fader), and gain.
Also included in the mixer is the REVERB type and return and an ATTACK setting to soften the attack of each note rendering a more cinematic sound. Higher ATTACK values will reduce the volume of the sound.
At the top of the mixer, there's a pull-down menu labeled 01 Full Mix. Click on that to select between mix presets. Create your own and save it as an .nki.
The piano recorded at the MGM Scoring Stage has similar and different articulations. Its interface is a scaled down version of the same functions.
CineSine Lite

CineSine LITE is an additional patch made of a simple sine wave and tuned pink noise. Try adding it to Randy's Prepared Piano and try the MULTIS. It pairs well with the full-range patches giving an added warmth, body, and sustain. You can turn off and on the Sine wave and the Pink noise and change their volumes separately. CineSine LITE offers a standard ADSR envelope, tape saturation, and stereo width (which applies better to the sine wave rather than the pink noise).
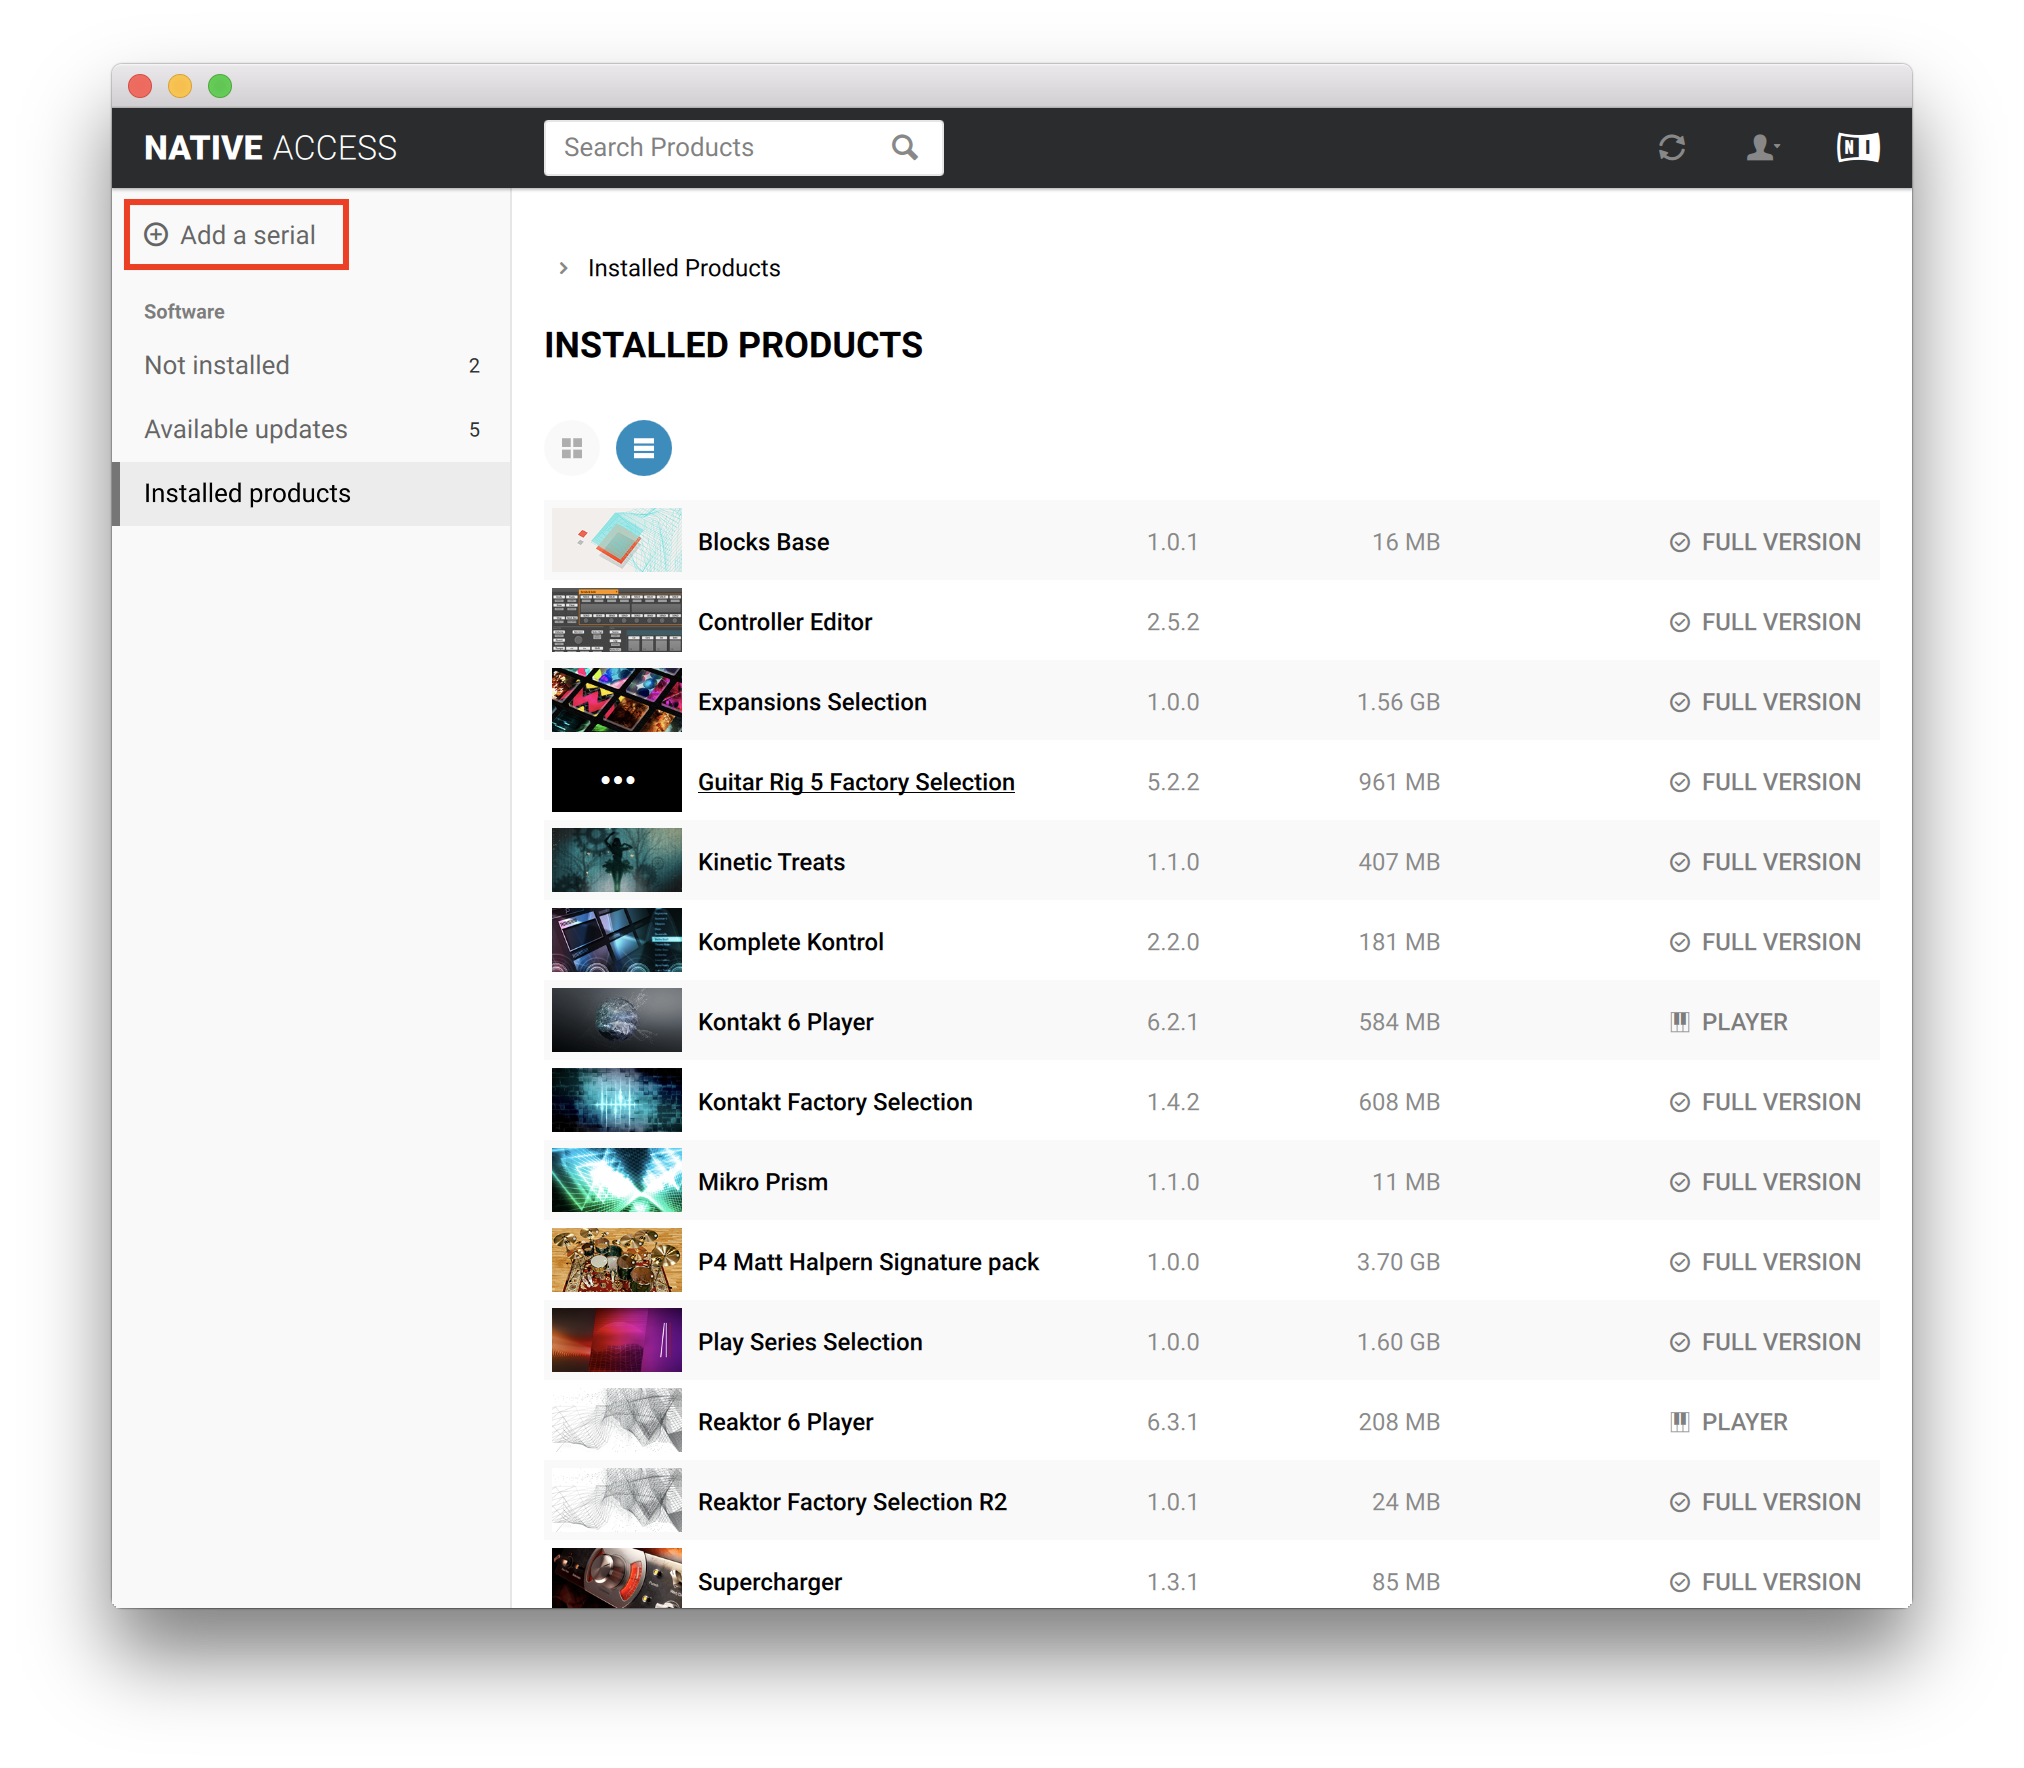
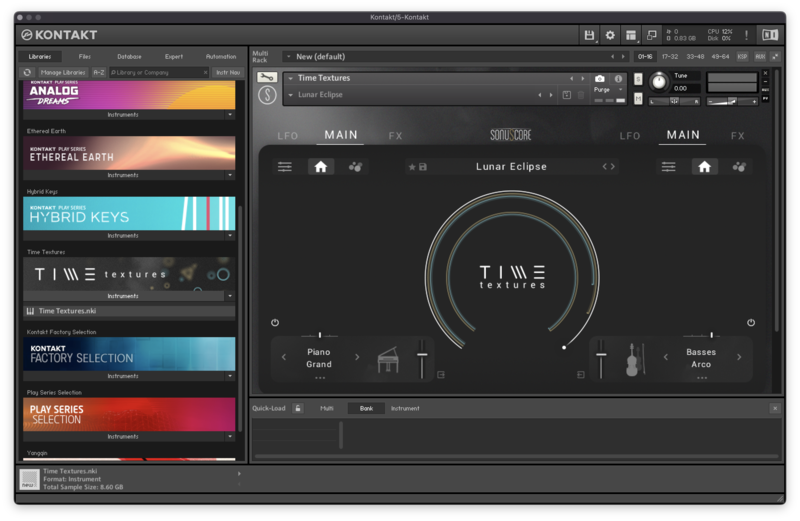
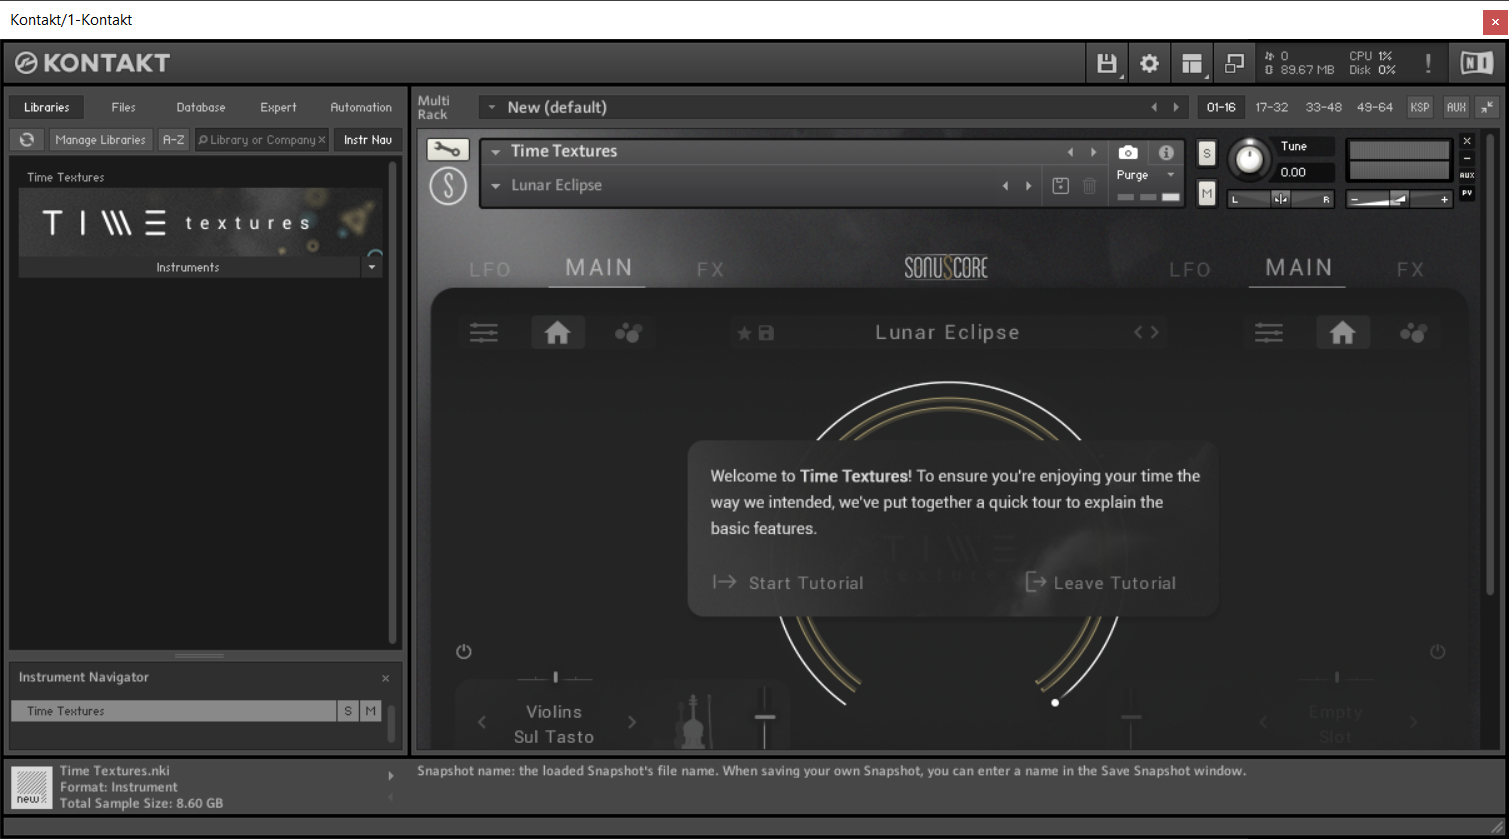
Kontakt and NKS Integration
Randy's Prepared Piano is scripted for Native Instruments' Native Kontrol Standard (NKS) format.
System Requirements
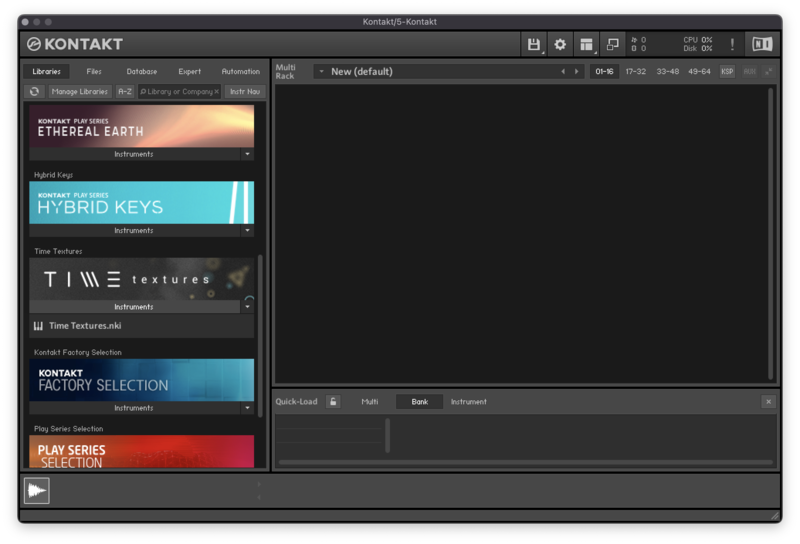
This instrument requires the FREE or FULL version of Kontakt 5.6.8+
![]()