/ Delay / DelGrain
Rob Papen

DelGrain

5.0 (3 Reviews)
$35.00
Main Image
Main Image
 Rob Papen DelGrain Introduction gallery thumbnail
Buy Now
Product information

Here it is, another think-out-of-the-box Delay called! DelGrain!

You will see that DelGrain has a lot in common with DelSane, like the creative Disrupt Sphere. The difference is that DelGrain offers a Delay that plays back audio in a granular, or grainy, way. The granular change to the audio can be placed ahead of the Delay, inside the Delay, after the Delay, or parallel to the Delay..

The size of the ‘grains’ can be adjusted, even in a tempo-based way. The length of the ‘grains’ can be tempo-based as well, and there is a SEMI tune feature, with a range of 12 semi-units up and down.

The tempo-based, granular makes it great for rhythmic usage on drums and percussion loops. But also to alienate other audio, such as vocals and sound effects... DelGrain will deliver!.

Additionally, a Filter was added featuring a high-pass and low-pass combination, a Band-Pass Filter, and a Vocal/Vowel Filter, which can be placed after the Delay/Granular combination at different spots. Also, before the audio enters the Granular Delay, a ‘Distortion’ module makes the sound options even more exciting.

Cake on the ice is the ‘Disrupt Sphere’ to control the various DelGrain parameters in its unique creative way!

Features

  • DelGrain combines Granular Delay with Tape Delay, a distortion module, an analog-modeled Filter section, and various routing modes, all controllable by the creative Disrupt Sphere.
  • Dry/Wet and FX Mix controls
  • Distortion parameter with Rectify mode option.
  • Granular (Grain) Modes:
    • Pre-Delay:  Grain > Delay > Filter
    • Delay: Delay + Grain > Filter
    • Post Delay: Delay > Grain > Filter 
    • Grain Filter: Grain > Filter and parallel Delay
    • Delay Filter: Delay > Filter and parallel Grain
  • The Left and Right Granular Delay ranges from 1.0ms to 4096ms. In tempo-sync mode, from 1/64 Triple note to 1.1 dotted bar.
  •  Granular Size control from 1ms up to 1024ms. In tempo-sync mode, from 1/64 Triple note to 1.1 dotted bar.
  • The  Left and Right Tape Delay ranges from 1.0ms to 4096ms. In tempo-sync mode, from 1/64 Triple note to 1.1 dotted bar.
  • Tape Delay has Low-Pass and Hi-Pass Filters.
  • ‘Equal Feedback’ feature gives the Stereo Granular/Delay a smooth equal Left and Right tail Feedback.
  • Cross Feedback option
  • Filter modes include 12dB Low-Pass and Hi-Pass combined, BandPass Filter with Q control, and Vox Filter with Vowel control.
  • The creative side of DelGrain is the ‘Disrupt Sphere-Slider’. This Sphere-Slider can be connected to the various Delay parameters, and by moving the Sphere-Slider, you can dynamically change multiple parameters.  Also, if you move the Sphere-Slider, it can move back to the Center in a tempo-based way, which we call the ‘Spring’ feature.  Very dynamic changing Delays are possible using this ‘Disrupt’ feature!
  • To avoid muscle pain... You can also use the ‘Lazy Mode’ so that the movement of the Sphere-Slider can be automated in different directions, which allows you to also create creative new types of modulation sounds.
  • An ‘Audio Follower’ includes a ‘Side Chain Input' that can be used to influence various parameters, including the ‘Sphere-Slider Disrupt’ parameter itself.
  • The ‘MIDI & MOD 1 - 4’ control section can be used to influence various DelGrain parameters, including the ‘Disrupt Sphere-Slider’!
  • GUI Sizes 100,125,150, and 200%
System Requirements
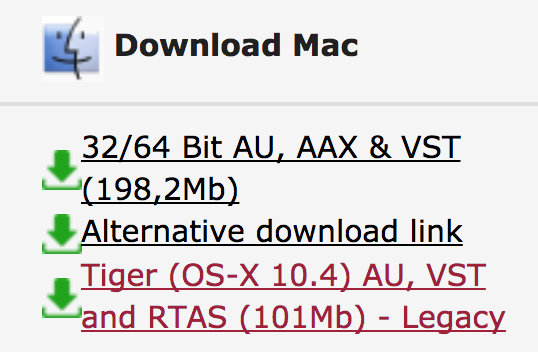
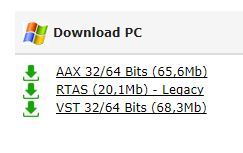
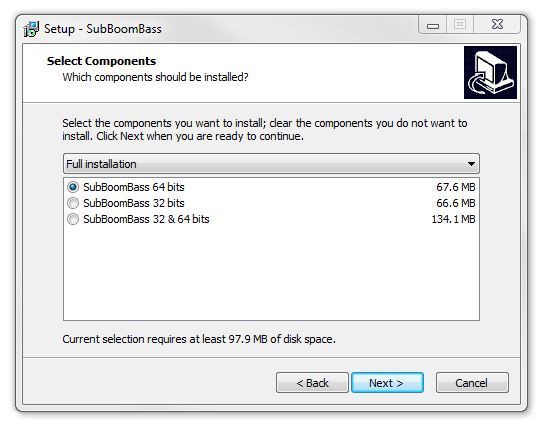
  • PC: 64-bit VST3, AAX, & VST for Windows 7 or higher.
  • (Note: PC AAX for PT 12 or higher)
  • Mac: 64-bit AU, VST3, AAX & VST, for OS-10.15 or higher.
  • ARM processor compatible.
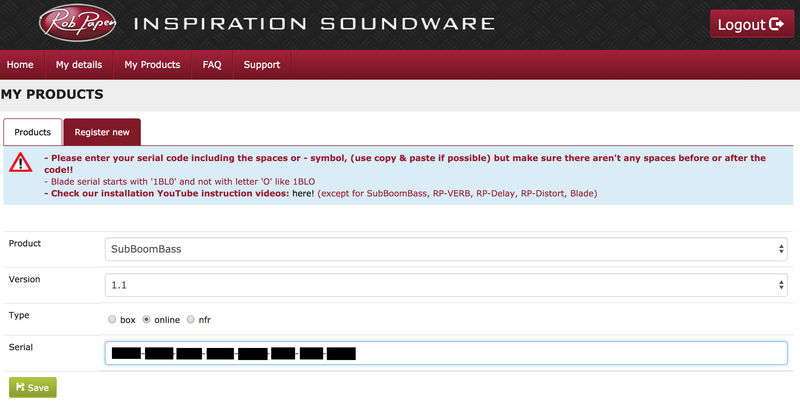
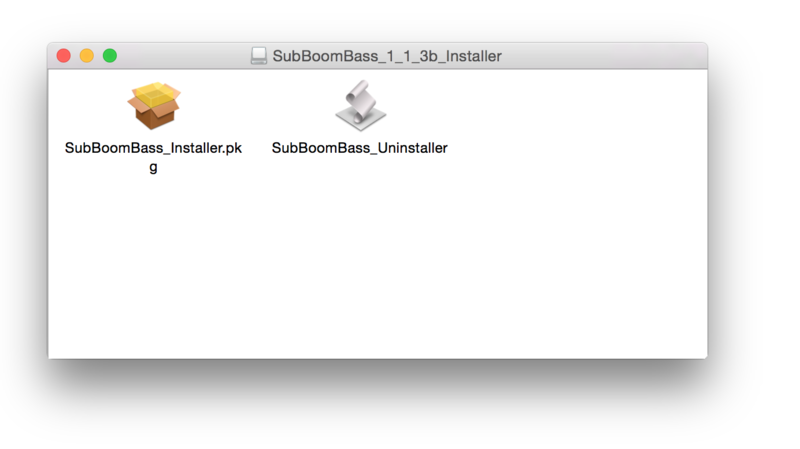
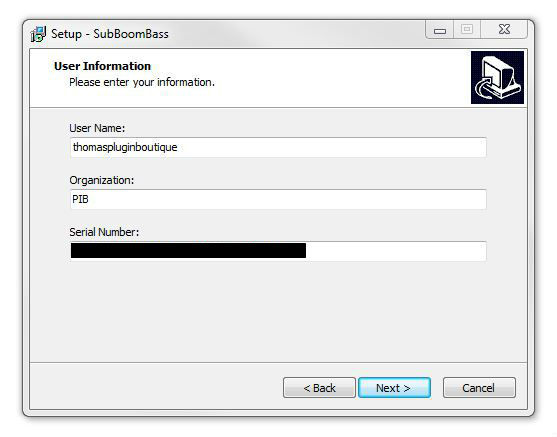
  • Serial/license system with activation while registering the product
  • The activation system is offline, meaning there is no direct connection between the plugin and the robpapen.com homepage.
  • The software can be installed on 2 of your computer systems.
Installation Instructions

(SubBoomBass is used as the example).

Mac

1. Visit Rob Papen and create an account by selecting 'Create Account'.

Note: If you already have an account set up with Ron Papen, 'Login' to your account and skip to step 4. of the installation process.

2. Enter your personal details, and once completed check the tick box that reads 'Yes, I agree to Privacy Policy Rob Papen' before clicking 'Send Registration'.

3. The registration of your account has successfully been completed > select 'click here to login' to access your account area.

4. Select the 'My Products' tab, which is located at the top-left corner of your account area.

5. Click the 'Register New' option.

6. Select the product that you have purchased, as well as the most recent version number (which in this instance is 'Online'), before manually entering/copying and pasting the 32-digit Serial Number that is provided within your User Account > once completed, click the 'Save' tab to register your software.

Note: Ensure that you select the correct 'Product' and 'Type', as well as checking that there are no spaces/mistakes when entering your Serial Number > if you receive a code error message of any kind, refresh the web page and manually enter the digits (including the '-' hyphens) before re-clicking the 'Save' option.

7. The registration of your software has successfully completed > select the 'Download latest version: SubBoomBass' hyperlink to navigate to the software download area.

8. Select the relevant format installer download (s) in accordance with your DAW's compability specifications, to inititiate the downloading of your purchased software.

Note: The product user manual is also obtainable from this location.

9. Once the software installer file has finished downloading, click the file entitled 'SubBoomBass_Installer.dmg' to launch the application installer application.

10. Double-click the 'SubBoomBass_Installer.pkg' application icon begin the installation process.

11. Click 'Continue' to verify the installation, if prompted to do so.

12. Click 'Continue' once again.

13. Read through the Licence Agreement > click 'Continue' then 'Agree'.

14. Manually enter/copy and paste the original 32-digit Serial Number that you were provided with, before clicking 'Continue' (the Serial Number is located in both your Plugin Boutique and Rob Papen User Accounts).

Note: Ensure that you select the correct 'Product' and 'Type', as well as checkingt that there are no spaces/mistakes when entering your Serial Number > if you receive a code error message of any kind, manually enter the digits (including the '-' hyphens) before re-clicking the 'Continue' option.

15. Review the installation before clicking 'Install', and then 'Continue Installation'.

16. The installation of your software has successfully completed > click 'Restart' to reboot your computer.

Note: Ensure that you have saved any important work that may be open within the applications you currently have open, before selecting the 'Restart' option.

17. After your computer has successfully restarted, open your DAW and locate/open your newly installed/activated software VST.

Note: If the software fails to appear, rescan your DAW's Plug-in selection.

The Software is now Activated and Ready for Use Within Your DAW!

Windows

1. Visit Rob Papen and create an account by selecting 'Create Account'.

Note: If you already have an account set up with Ron Papen, 'Login' to your account and skip to step 4. of the installation process.

2. Enter your personal details, and once completed check the tick box that reads 'Yes, I agree to Privacy Policy Rob Papen' before clicking 'Send Registration'.

3. The registration of your account has successfully been completed > select 'click here to login' to access your account area.

4. Select the 'My Products' tab, which is located at the top-left corner of your account area.

5. Click the 'Register New' option.

6. Select the product that you have purchased, as well as the most recent version number (which in this instance is 'Online'), before manually entering/copying and pasting the 32-digit Serial Number that is provided within your User Account > once completed, click the 'Save' tab to register your software.

Note: Ensure that you select the correct 'Product' and 'Type', as well as checking that there are no spaces/mistakes when entering your Serial Number > if you receive a code error message of any kind, refresh the web page and manually enter the digits (including the '-' hyphens) before re-clicking the 'Save' option.

7. The registration of your software has successfully completed > select the 'Download latest version: SubBoomBass' hyperlink to navigate to the software download area.

8. Select the relevant format installer download (s) in accordance with your DAW's compability specifications, to inititiate the downloading of your purchased software.

Note: The product user manual is also obtainable from this location.

9. After the software installer file has finished downloading, double-click the file entitled 'SubBoomBass_Installer' .zip folder to extract the .exe installer file.

10. Once extracted, double-click the .exe installer file to begin the installation process > click 'Next'.

11. Read through the Licence Agreement and select 'I accept the agreement' > click 'Next'.

12. Type in your preferred User Name, Organization and manually enter/copy and paste the original Serial Number that you were provided with, before clicking 'Continue' (the Serial Number is located in both your Plugin Boutique and Rob Papen User Accounts).

Note: Ensure that you select the correct 'Product' and 'Type', as well as checking that there are no spaces/mistakes when entering your Serial Number > if you receive a code error message of any kind, manually enter the digits (including the '-' hyphens) before re-clicking the 'Next' option.

13. Select a computer VST Plug-ins folder destination in which to install/save your software to > click 'Next'.

14. Select a computer Library location in which to install/save your software to > click 'Next'.

15. Select the software format (s) that you wish to install > click 'Next'.

16. Select a Start Menu Folder to create a shortcut to your new software installation > click 'Next'.

17. Review the installation and click 'Install'.

18. The installation of your software has successfully completed > click 'Finish'.

19. After your computer has successfully restarted, open your DAW and locate/open your newly installed/activated software VST.

Note: If the software fails to appear, rescan your DAW's Plug-in selection.

The Software is now Activated and Ready for Use Within Your DAW!

Plugin Boutique Rewards

Discover the most rewarding loyalty programme among all plugin retailers.

  • Free Loopmasters Samplepacks
  • Discounts on products and courses
  • Extra Virtual Cash claimed immediately at checkout
Find out more

Follow us:

X (Twitter) Facebook YouTube Instagram
Logo Logo

Plugin Boutique Limited, Part of the Beatport Group LLC.

Copyright © 2011-2025 Plugin Boutique. All rights reserved