


 Log In

Free Trial
Free gifts available with your purchase
Product information
Flanger FX Engine
Howling, Swirly and Flanging Tone
Note: Also available in the EFEKTOR Modulation Bundle
Originated from manipulating tape recorders by slowing down one of its flange (hence the ‘flanger’ name), this effect creates a swooshing sound dubbed as the ‘jet engine’ effect:
Royal Flanger:
- The “Vintage” Flanging Effect.
Jet Flanger:
- Supersonic Jet Howl or Cool Spacey Stereo Image.
Electro Flanger:
- Darker, Swirly, Chorusy, and Trippy Sound.
Key Features:
- Three Models of Modulation in Every Unit.
- A/B Compare Buttons.
- BPM Sync.
- Mono or Stereo Mode.
System Requirements
Mac
- Mac OS X 10.7 or later (Intel / M1 Apple Silicon supported) (64-bit only)
- Core2 Duo, or better (latest Intel i3 recommended)
- 4 GB minimum RAM
- VST, VST3, or Audio Unit compatible host / DAW
Windows
- Windows Vista or Later (64-bit only)
- Core2 Duo, or AMD Phenom ii X4 or better (latest Intel i3, AMD A4, or better is recommended)
- 4 GB minimum RAM
- VST or VST3 compatible host / DAW
Important Notes:
- Pro Tools 11 or later is required for AAX format
- Reason 7.1 or later is required for Rack Extension format
- A VST, VST3, AU, or AAX compatible host / sequencer is required to run this software.
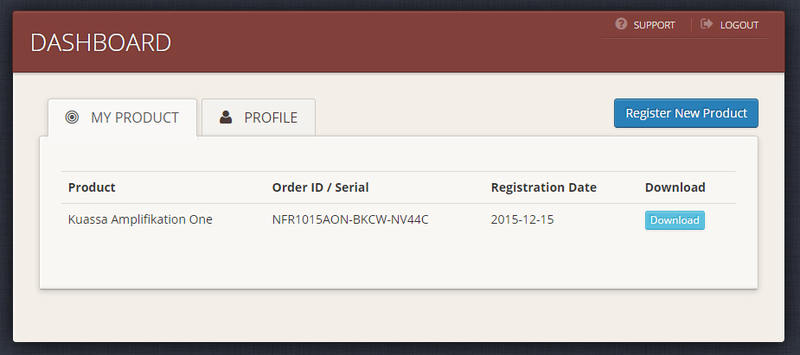
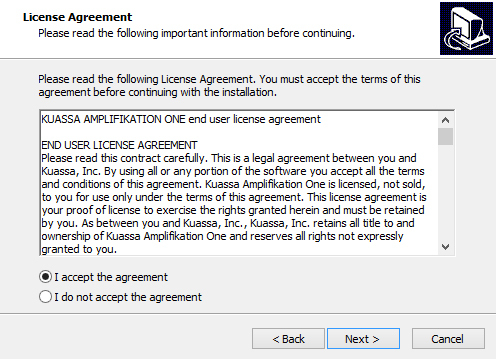
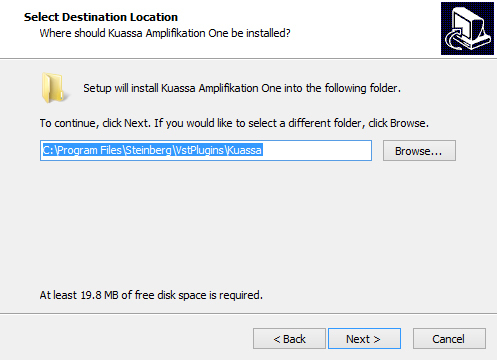
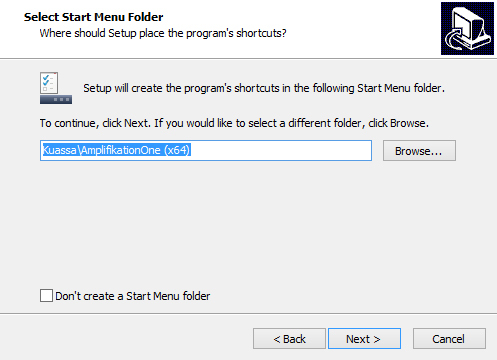
Installation Instructions


Customer Reviews
(1)
