


 Log In

Product information
Dual Shelving Spectral Balance Equalizer
A single filter that shifts the tonal balance toward either the low or high end around a central pivot point.
Balance Your Mix Fast with This Free EQ
TiLQ is a dual shelving filter used to simultaneously cut one end of the spectrum while automatically boosting the other end. Designed to speed up your workflow where you can brighten or darken sounds while still maintaining the source material’s spectral balance.
Turn the Tilt knob clockwise to add more highs and the lows will be attenuated synchronously; turn it counterclockwise to boost the bass.
Features
- Smooth HPF and LPF for precise spectral control
- Adjustable tilt curve slope for transparent tone shaping
- Dark and Light modes to match your workspace
- Resizable interface for flexible screen setups
- Fast, intuitive workflow to enhance your tone instantly
System Requirements
Windows
- Windows 7 or Later (64 bit)
- Core2 Duo, or AMD Phenom ii X4 or better (latest Intel i3, AMD Ryzen, or better is recommended) with 4GB minimum RAM
- VST or VST3 compatible host/DAW
- Pro Tools 11 or later for AAX format
- Propellerhead Reason 10.1 or later for Rack Extension format (Coming Soon!)
Mac
- Mac OSX 10.13 or later (64 Bit).
- Core2 Duo, or better (latest Intel i3 recommended) with 4GB minimum RAM
- Native Apple Silicon Processors Compatible (M1 & M2)
- VST, VST3, or Audio Units compatible host/DAW
- Pro Tools 11 or later for AAX format
- Propellerhead Reason 10.1 or later for Rack Extension format (Coming Soon!)
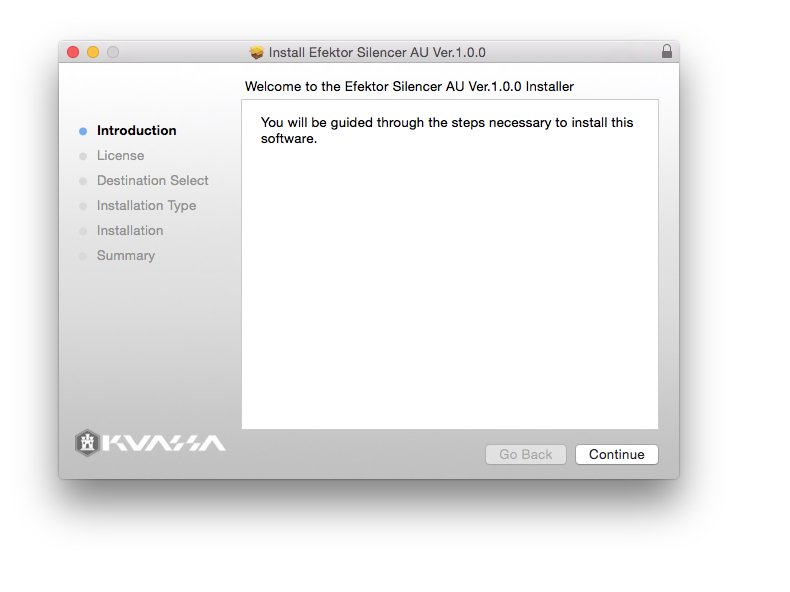
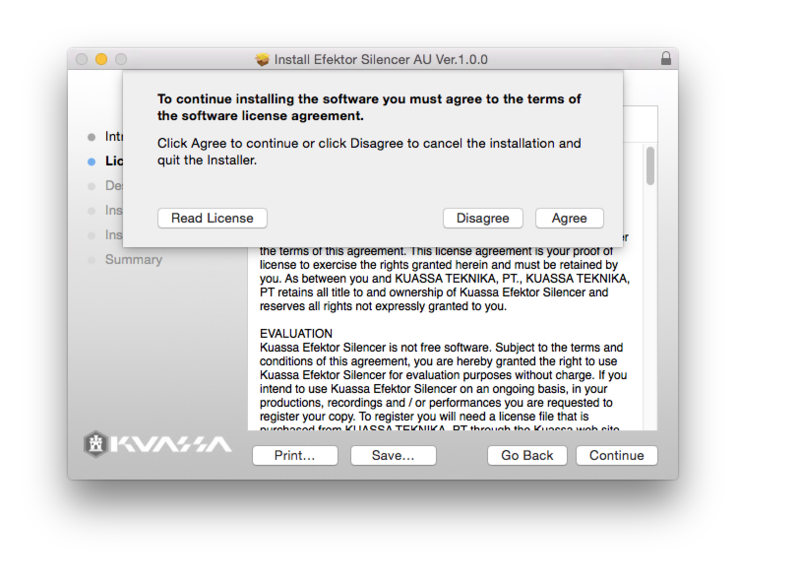
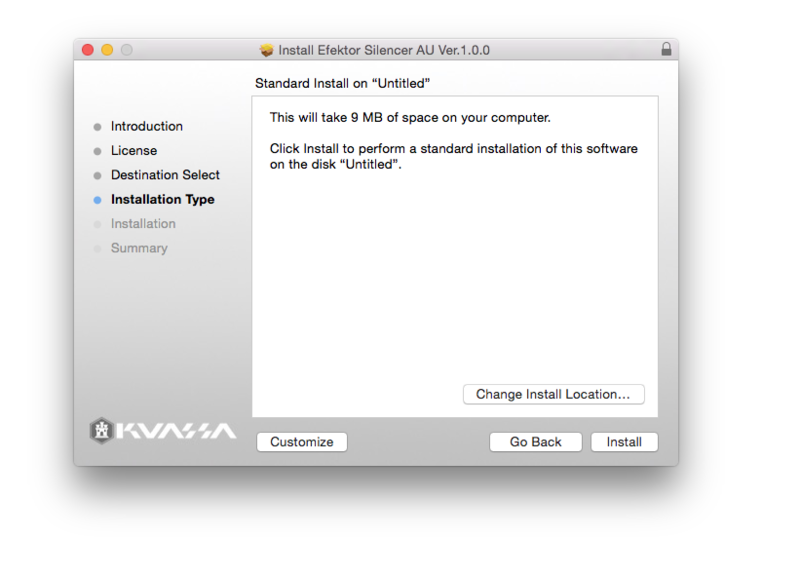
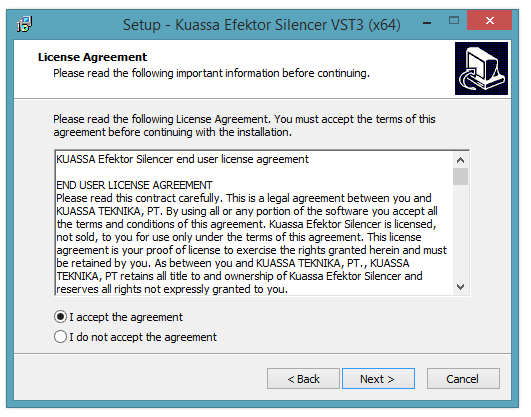
Installation Instructions
Customer Reviews
(1)
