


Buy EAReverb SE, get a free gift with purchase:
- It does not use any IR files. Early reflections are built "on-the-fly".
- However, switching from a preset to another will immediately put your music or sounds in a place that sounds as expected.
EAReverb SE provides a natural sounding, earthy reverb effect.
- It is able to simulate the subtle reflections of a very small room as well as very large spaces.
- It is suitable for music and sound design.
- EAReverb SE has been designed and "fine tuned by ear" to sound the most possible natural.
What is the difference between EAReverb and EAReverb SE?
EAReverb SE features the same algorithms as EAReverb but provides far less controls and misses the “bounce” capability and the pre-delay host sync option of its big sister. It is aimed at musicians who just want to apply a great sounding reverb the easy way, without having to deal with a lot of parameters. That said, even advanced users (and EAReverb users who can get a free license of the SE version) may enjoy the ease-of-use of this “Starter Edition” in some situations. EAReverb SE is also a very affordable way to start with an intuitive high-quality reverb. And should you wonder whether you need the strengths and flexibility of EAReverb (original) or not, the fair upgrade path should make your initial choice as easy as the “Quick MBS” knob.
Features
- Ultra-natural sounding reverb unit
- 100% algorithmic
- True stereo
- Very easy to use
- Affordable
- Fair upgrade path to EAReverb.
- Free for registered users of EAReverb.
System Requirements
Mac
- Supported OS: macOS 10.9 (min) up to macOS 14
- CPU: Intel / Apple Silicon (M1)
- Available formats (64-bit only): AU, VST2
Windows
- Supported OS: Windows 10 / Windows 11
- CPU: Intel / AMD
- Available formats (32/64-bit): VST2
Please Note: EAReverb 2 is used as an example.
Mac
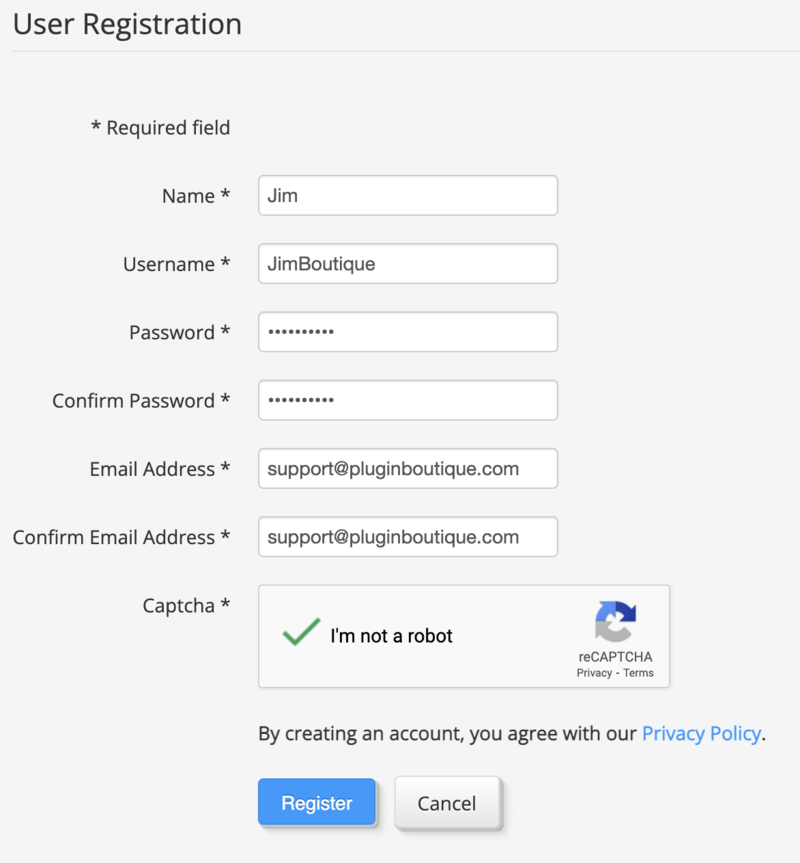
1. If you do not have an eaReckon account, navigate to https://www.eareckon.com/en/login.html?view=registration and sign up > If you do have an eaReckon account, navigate to https://www.eareckon.com/en/login.html and log in and proceed to step 3.
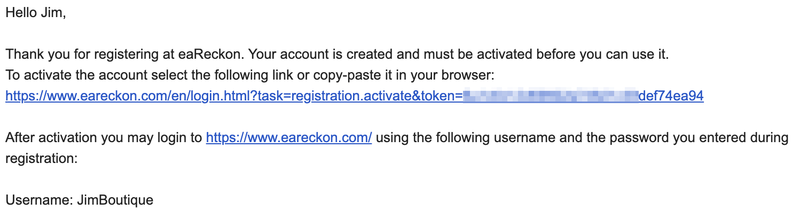
2. Navigate to your email inbox > Click the activation link to activate your eaReckon account > Log in.
3. Enter your serial number found within your Plugin Boutique User Account > Click 'Register'.

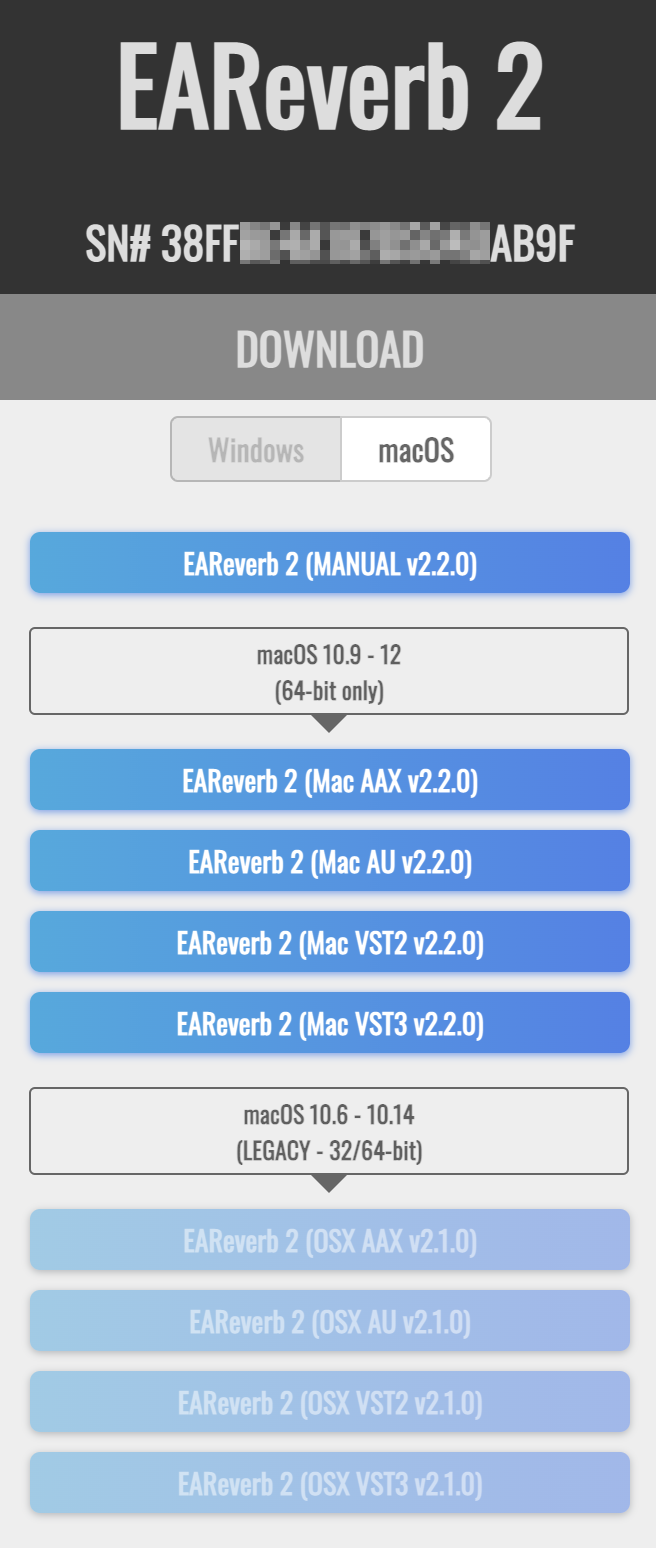
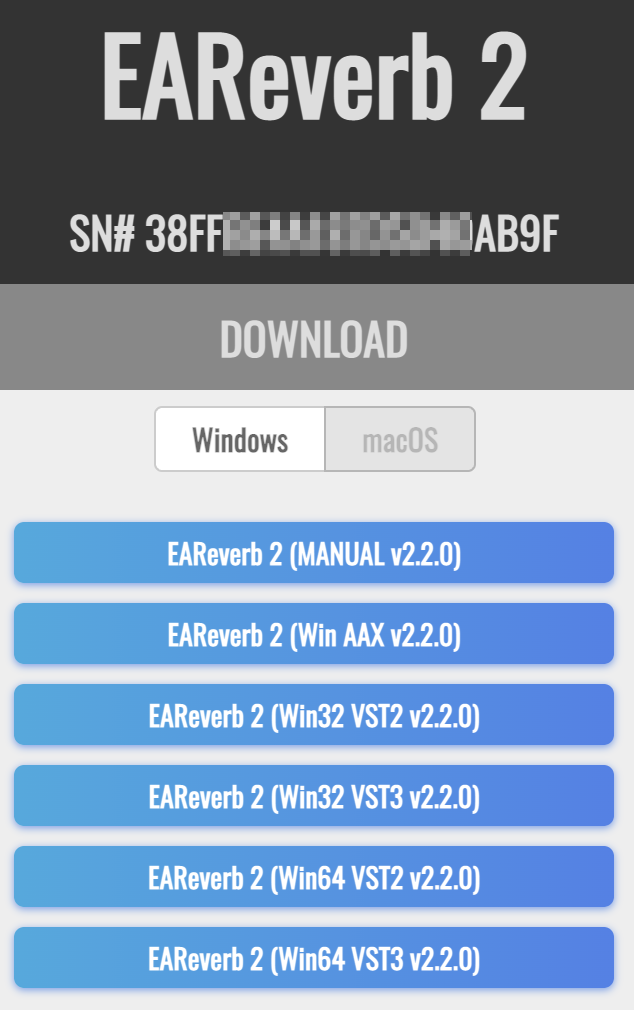
4. Download the correct installer(s) for your system.
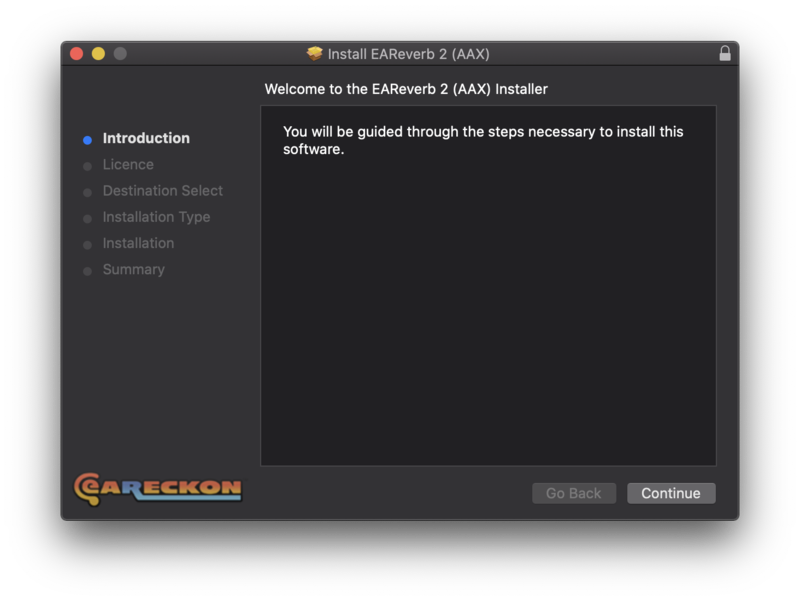
5. Unzip the downloaded installer > Launch the .pkg installer file.

6. Click 'Continue'.
7. Click 'Continue'.
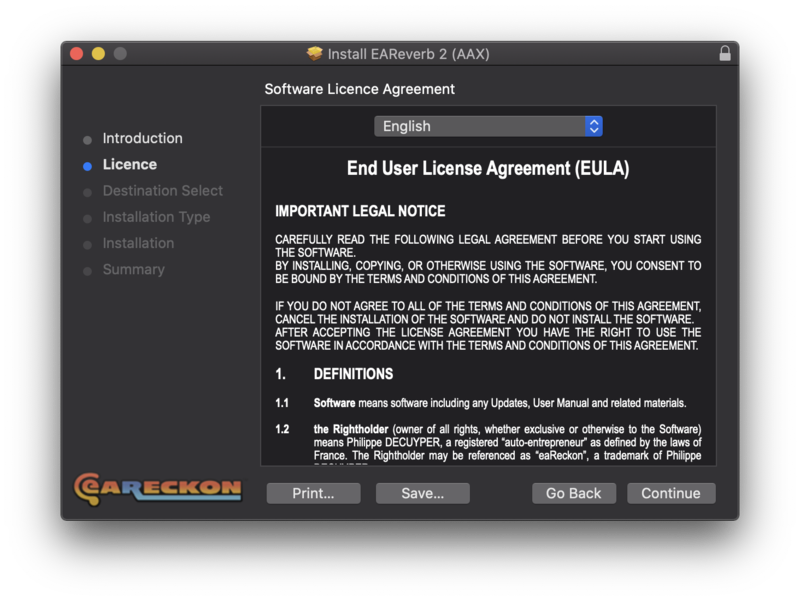
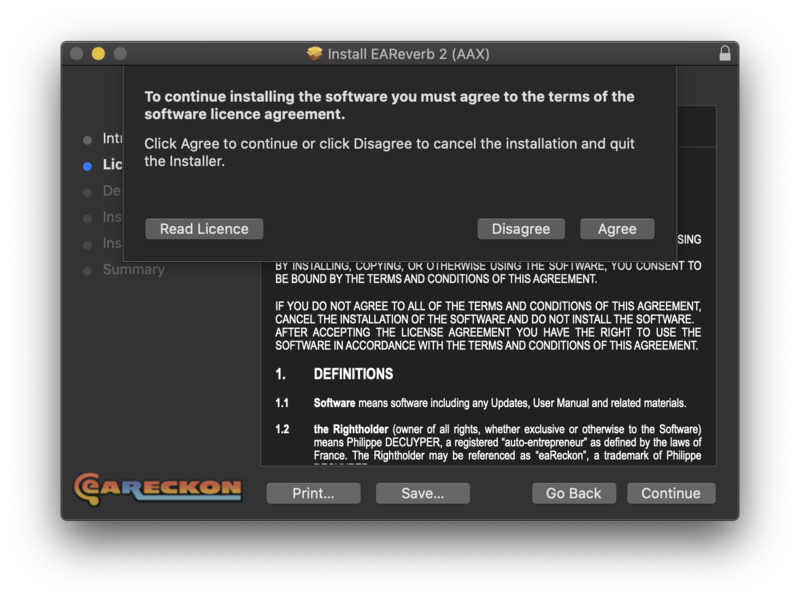
8. Click 'Agree'.
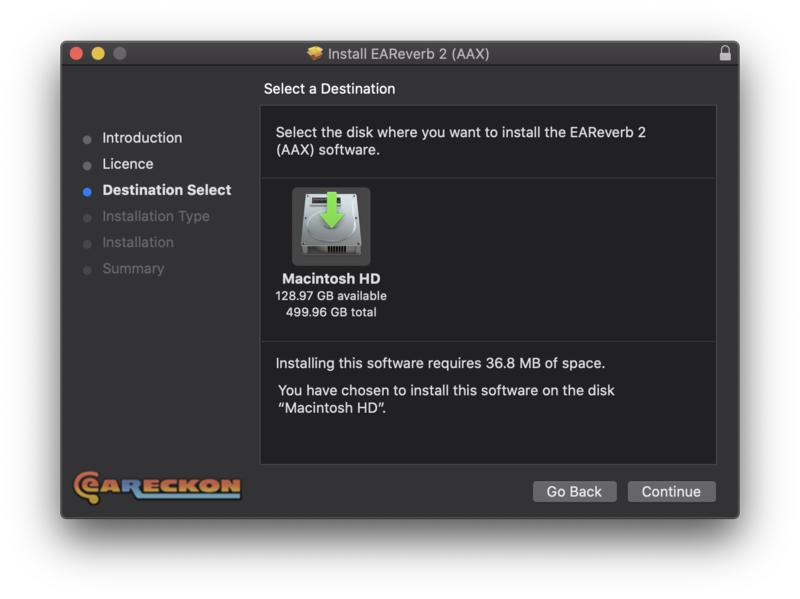
9. Click 'Continue'.
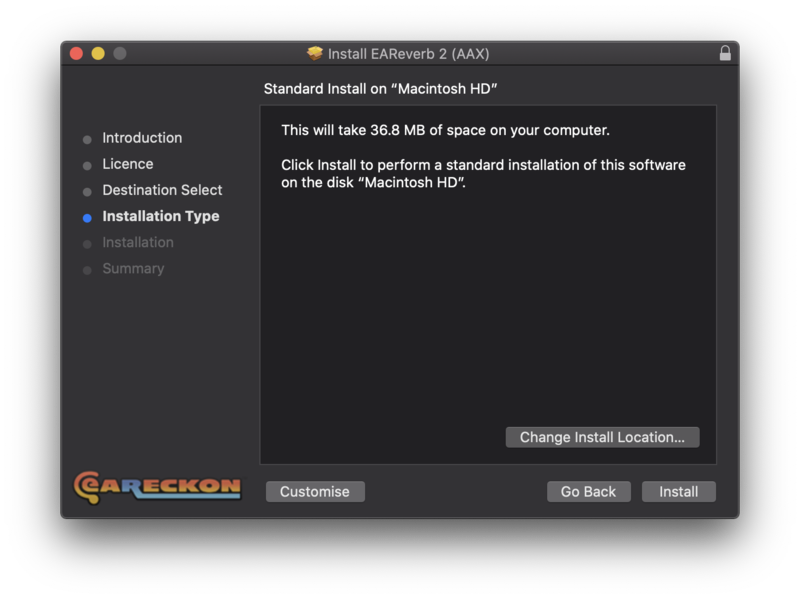
10. Click 'Install'.
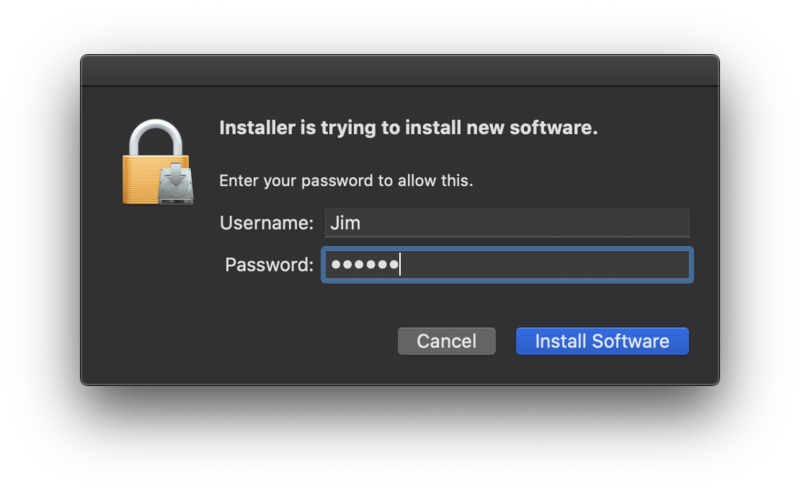
11. Enter your system password > Click 'Install Software'.
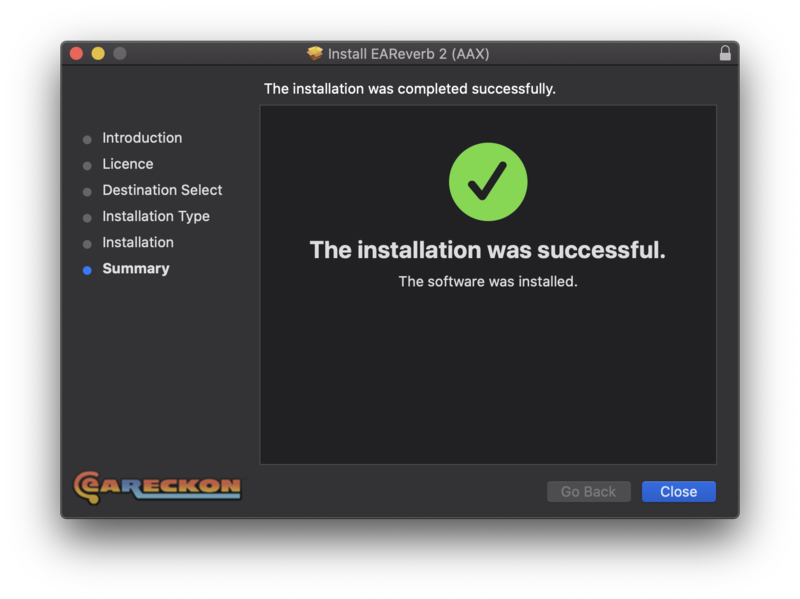
12. Click 'Close'.
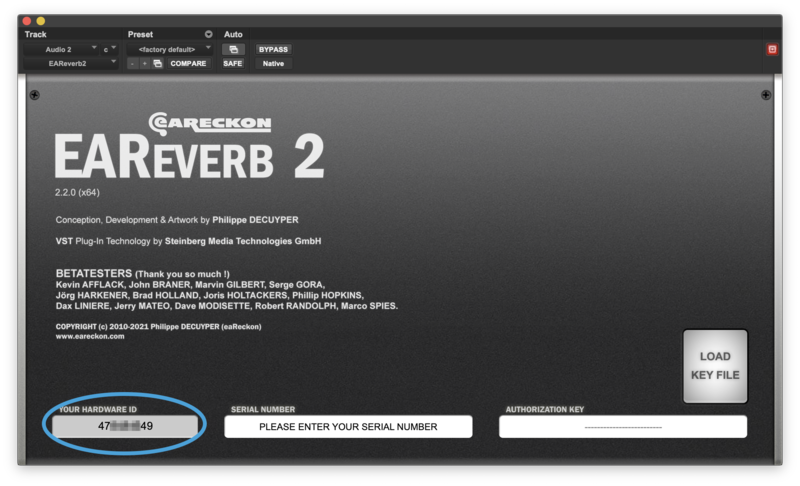
13. Launch your DAW > Insert EAReverb 2 on a new track > Locate your Hardware ID.
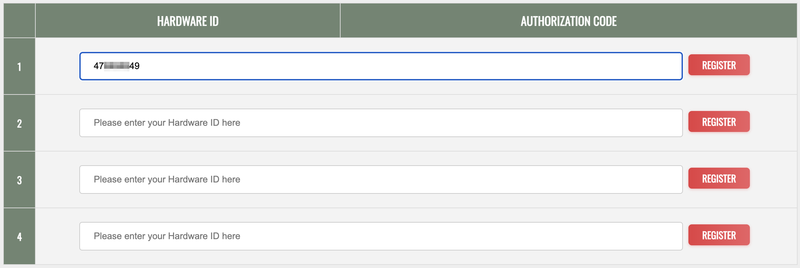
14. Navigate back to the eaReckon website and your account page > Enter your Hardware ID > Click 'Register'.
15. Navigate back to your DAW and the plugin > Enter the serial number found within your Plugin Boutique User Account into the 'Serial Number' box > Enter the Authorization Key that was generated in step 14 on the eaReckon website into the 'Authorization Key' box.
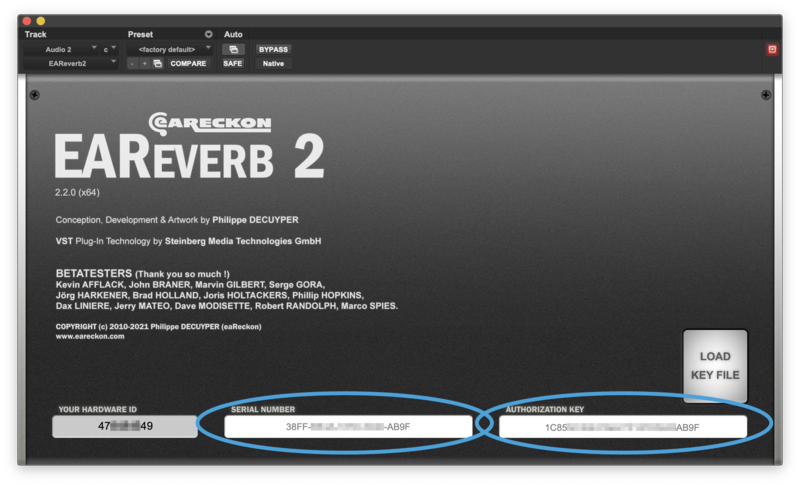
EAReverb 2 is installed, activated and ready to use.
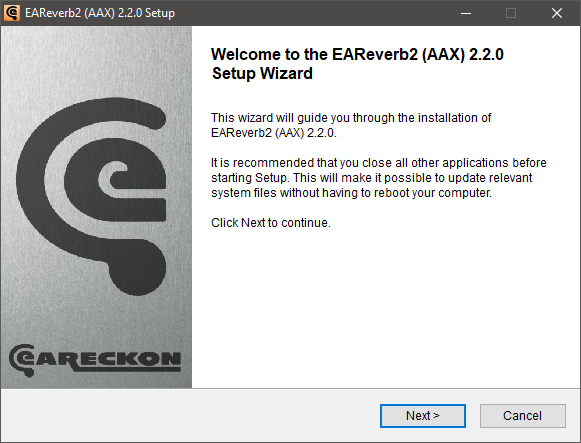
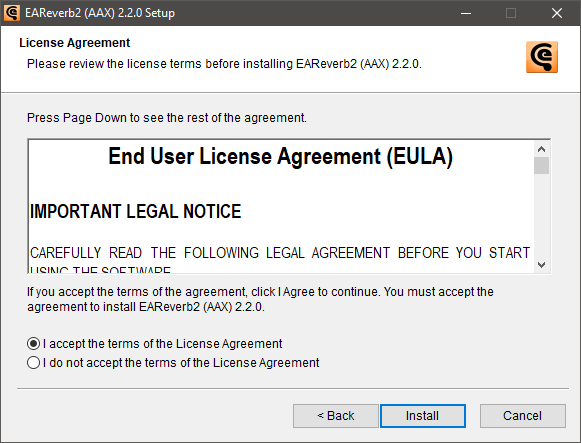
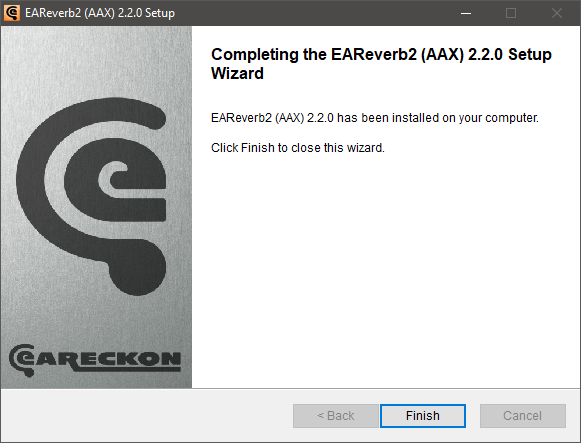
Windows
1. If you do not have an eaReckon account, navigate to https://www.eareckon.com/en/login.html?view=registration and sign up > If you do have an eaReckon account, navigate to https://www.eareckon.com/en/login.html and log in and proceed to step 3.
2. Navigate to your email inbox > Click the activation link to activate your eaReckon account > Log in.
3. Enter your serial number found within your Plugin Boutique User Account > Click 'Register'.
4. Download the correct installer(s) for your system.
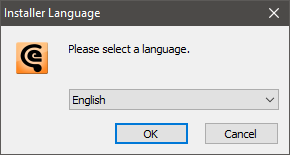
5. Unzip the downloaded installer > Launch the .exe installer file.

6. Select language > Click 'OK'.
7. Click 'Next'.
8. Accept the EULA > Click 'Install'.
9. Click 'Finish'.
10. Launch your DAW > Insert EAReverb 2 on a new track > Locate your Hardware ID.
11. Navigate back to the eaReckon website and your account page > Enter your Hardware ID > Click 'Register'.
12. Navigate back to your DAW and the plugin > Enter the serial number found within your Plugin Boutique User Account into the 'Serial Number' box > Enter the Authorization Key that was generated in step 11 on the eaReckon website into the 'Authorization Key' box.
EAReverb 2 is installed, activated and ready to use.
