Log In

Free gifts available with your purchase
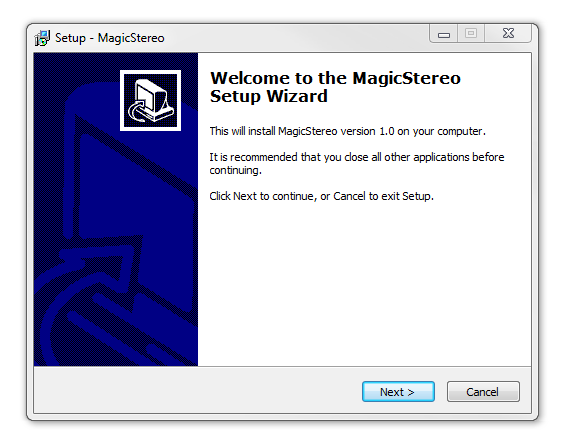
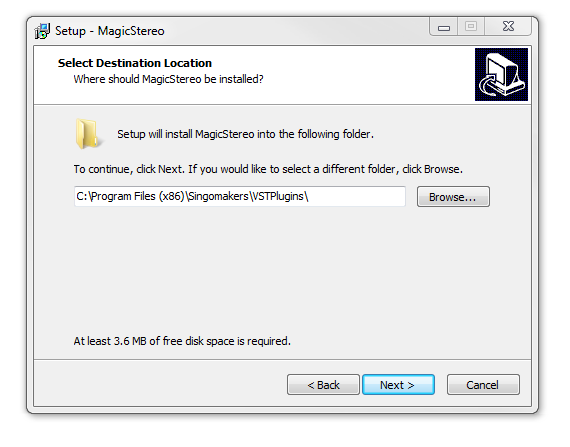
Singomakers are proud to introduce the "Ear Candy" plugin - a multi-effect plugin with the ability to rearrange modules and 100 integrated presets.
Ear Candy is an effects powerhouse. Elevate your tracks with rich reverbs, immersive delays, precise EQ, dynamic compressors, mesmerising phasers, flangers, powerful Distortions, and gritty bitcrushers.
Explore 100 inspiring presets. Unlock endless sonic possibilities and creativity with Ear Candy by Singomakers.
System Requirements
macOS
- macOS 10.12 or newer
- Intel i3 CPU or better (64bit)
- AppleSilicon M1 or newer
Windows
- Windows 10
- Intel/AMD CPU (64bit)
Aiwaska
Exploited, Bar 25 Music.
"A very high-quality plugin with a cool set of effects that align with all the current music trends and even go beyond. I recommend it to everyone."
Slatin
Mastering Engineer / Netflix, Universal, Sony, Warner
"This Singomakers plugin has proven to be a valuable addition to my toolkit. It efficiently generates creative effects, which I’ve found particularly handy when experimenting with loops or crafting dynamic drum fills in my productions."
Paraframe
Artist / Black Hole Recordings
"Really great new plugin! Allows you to transform the sound of any boring synthesizer into truly modern timbres and gives you great inspiration for experimentation"