


 Log In

Free gifts available with your purchase
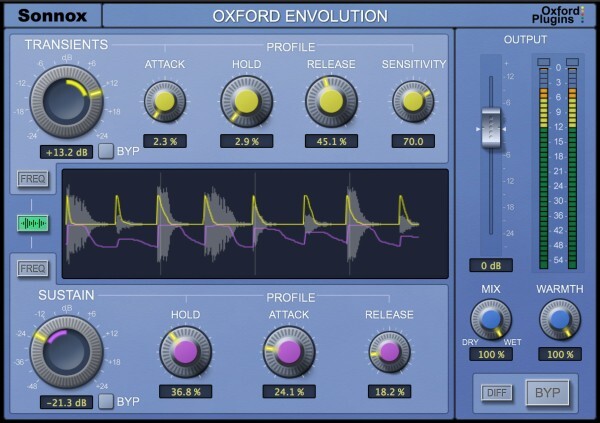
Envolution is a frequency-dependent envelope shaper with separate transient and sustain sections, to radically re-shape the envelope of your instruments or audio.
Use a broader tilt mode or the more parametric-style focus mode to choose which frequencies are processed.
Insert on a track, bus or even master output to add presence/distance to drums, piano, guitar and any other percussive content. Boost sustain to make the ambience around a recording bloom, or cut it for quick and precise gating.
We love the more creative and extreme side of the plug-in too; like using the DIFF button to generate negative ratio compression effects.
Features
- Frequency-dependent control of Transients & Sustain
- Tilt/parametric targeting of frequencies to process
- DIFF button to solo the effect
- Use in parallel without phase cancellation
- Warmth control for - Harmonic saturation/tone shaping and prevention of excessive output levels
- Many great presets to get you started
Formats
- AAX Native, AU, VST2
System Requirements
macOS
- macOS 10.12 or later (Intel / M1 Apple Silicon supported) (64-bit only)
- Plugin Formats - AAX Native, AU, VST3
- Supported Hosts - Pro Tools 11 or above or any desktop application that supports Audio Unit (AU) or VST3 plugins.
Windows
- Windows 10 or later
- Plugin Formats - AAX Native, VST3
- Supported Hosts - Pro Tools 11 or above or any desktop application that supports VST3 plugins.
Activation
The Toolbox range offers 2 activations for each product licence you buy.
Providing you have an iLok account, each activation will allow you to authorise your plugin on one of these devices:
- Machine
- iLok device, iLok2 / iLok3 required with latest drivers OR
- iLok Cloud (Active internet connection required)
Rich Tozzoli
Grammy nominated Producer/mixer/engineer/composer Rich Tozzoli has worked with such artists as Al DiMeola, Ace Frehley, Hall & Oates, Emerson Lake & Palmer, and Billy Squier.
"Envolution is badass! EDM guys will chew this one up!"
Jonathan Campbell
Director of Jazz studies and professor of Saxophone at University of Minnesota.
"I can change envelopes as I might do in the sampler if I had full access to the source material!"
Simon Morrison
Music historian specializing in 20th-century music, particularly Russian and Soviet music, with special interests in dance, film, and historically informed performance based on extensive archival research.
"WOW!!! I’m seriously impressed with Envolution - from the comprehensive controls and the intelligent frequency selectors, to the gorgeous GUI."
Reviews Summary
While it aims to provide a helpful overview, it may not capture every perspective or detail. We encourage you to read individual reviews to make an informed decision.
The Oxford Envolution is highly praised as a top-tier transient shaping plugin that offers precise, natural-sounding control over attack, hold, and sustain. Reviewers highlight its exceptional performance on drums, percussion, and vocals, noting that it helps sounds cut through the mix without sounding harsh. While a few users find its detailed controls slightly over-complicated compared to simpler two-knob alternatives, most highly value its advanced timing parameters, useful visualizer, and professional-grade results.
