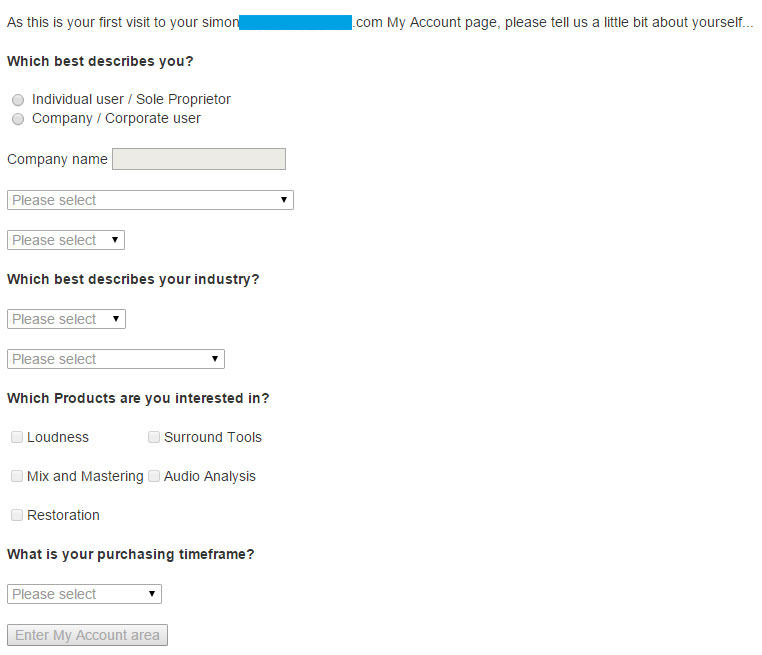
Log In

Free gifts available with your purchase
Product information
Please Note: This is an upgrade product for previous owners of AB Assist 1. The full version of AB Assist 2 is also available.
Quick Comparison Tool - Remove Subjectivity and Biases
AB Assist is a tool for quickly comparing multiple pieces of audio. This could be different takes, mix revisions, versions of a master, plug-in options, or something else entirely! Blind tests can be conducted in 'test' mode, with the channels labeled randomly in order to remove any subjectivity or biases.
New For Version 2
- Receive and compare FOUR audio sources
- Compare SURROUND mixes in any channel count
- Auto-level-match: match short-term loudness (LUFS) of sources
- Mono-check: compare mono fold-down
- Smooth fades between sources
- Multiple plug-in instances communicate directly instead of using an external send
A|B Assist helps you work quicker and more accurately - versatile enough to become an essential part of your mix or mastering process.
System Requirements
Mac
- Mac OS X 10.9 or later (64-bit only)
- 512 MB RAM
- AAX, VST3, AU and AudioSuite
PC
- Windows 7 or later (64-bit only)
- 512 MB RAM
- AAX, VST3, AU and AudioSuite
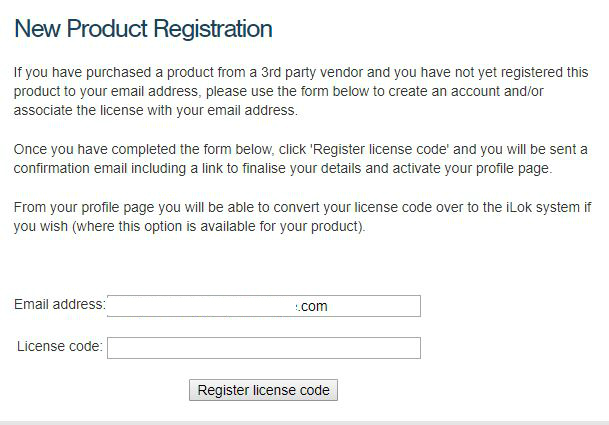
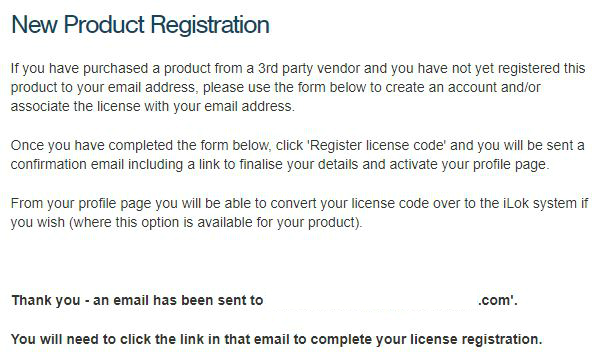
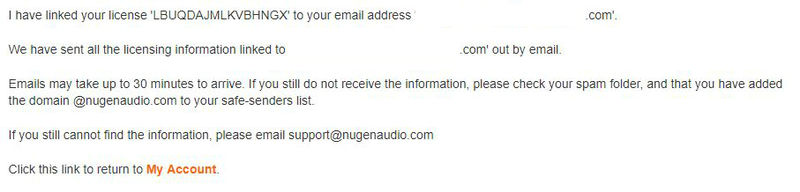
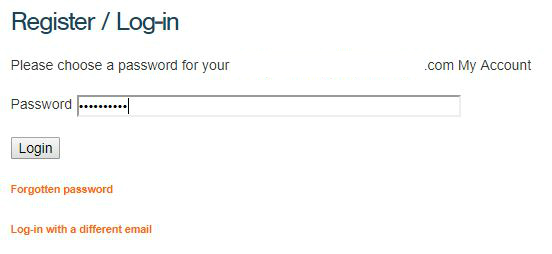
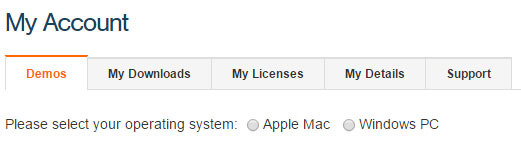
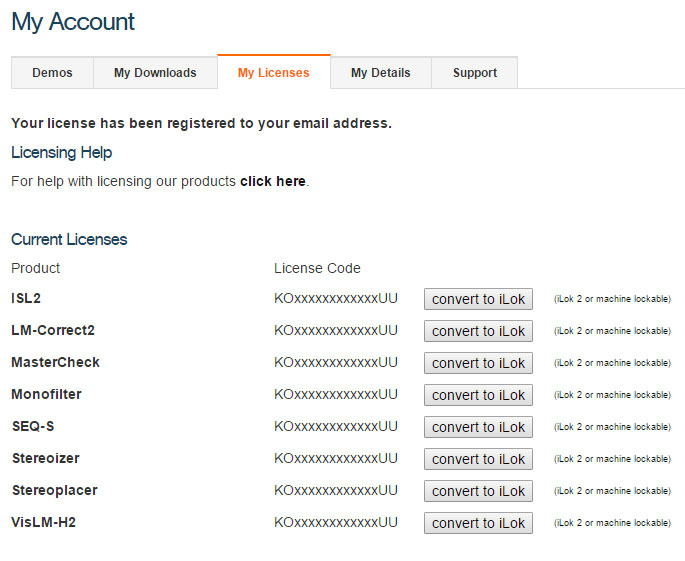
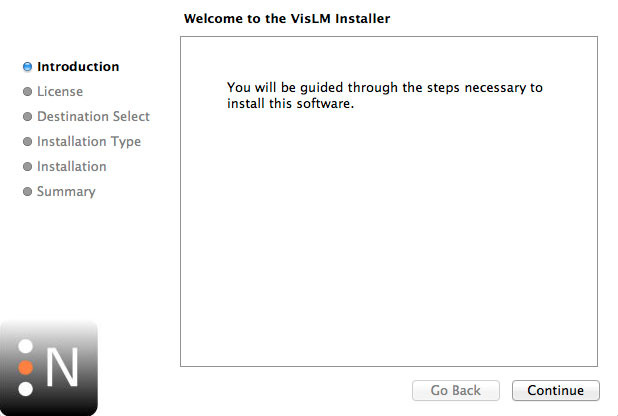
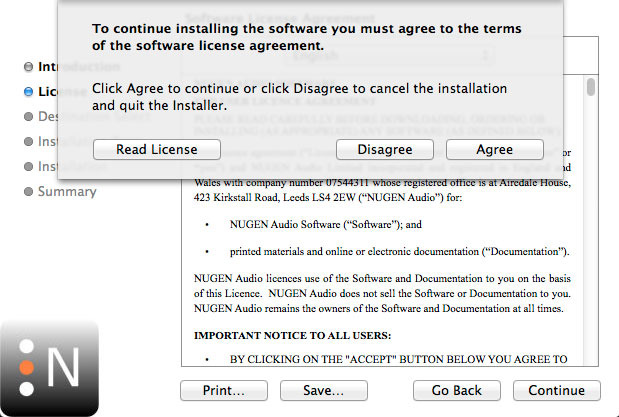
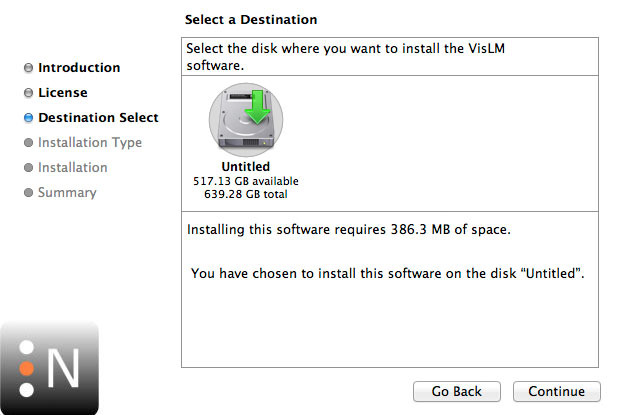
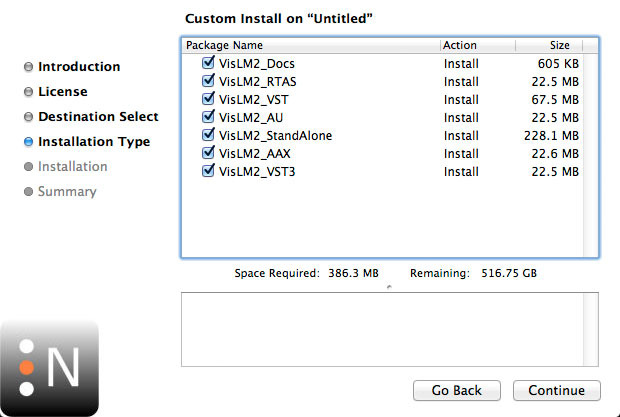
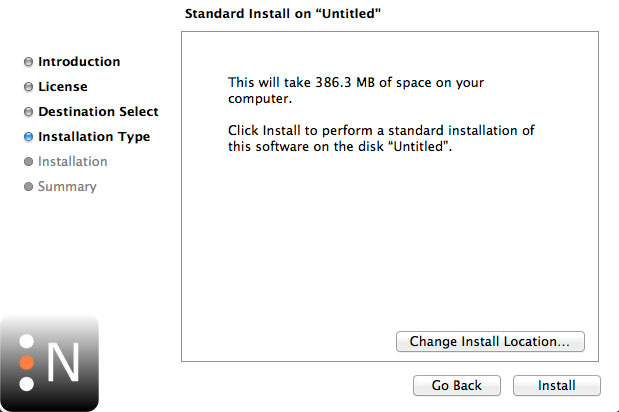
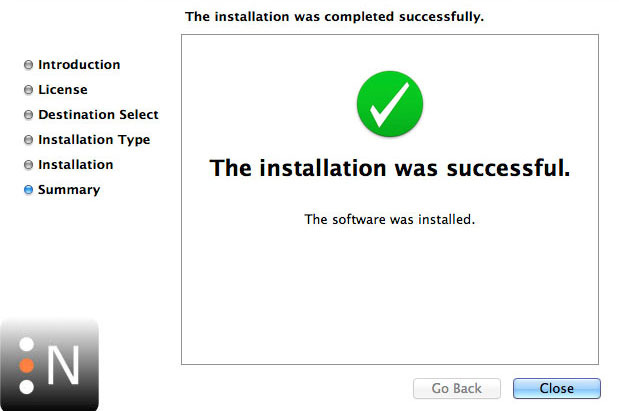
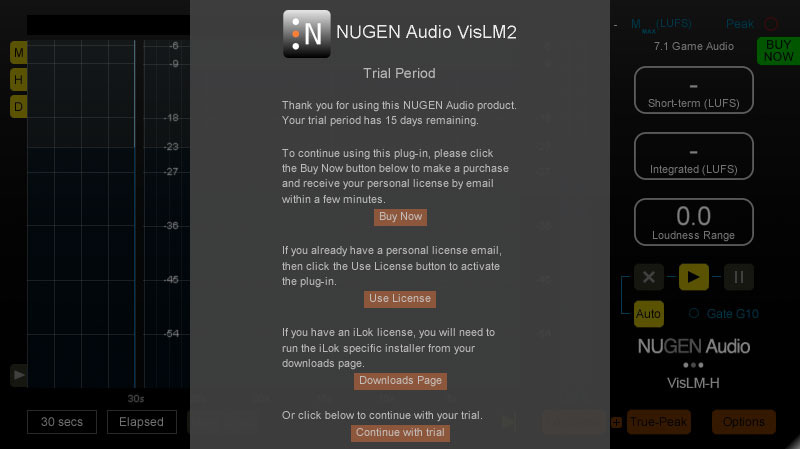
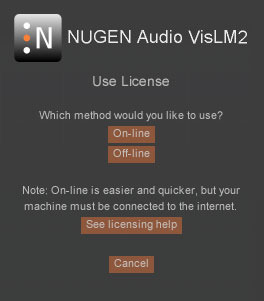
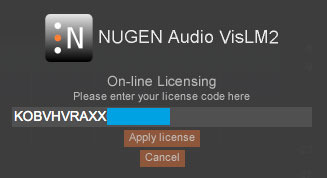
Installation Instructions