Log In

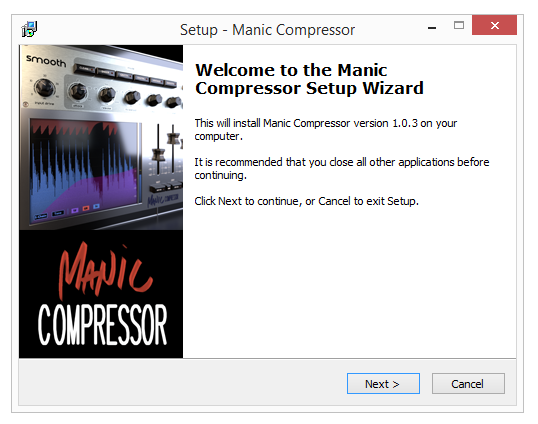
Panipulator 2 is an update to the extremely simple and useful tool created at the request of Brandon Drury at Recording Review. It is an essential tool for checking how your mixes will translate to different systems. Best of all, it’s available for free.
Even though you spent considerable time and effort getting your mix to sound amazing on your monitors, there is still one very important question: What will it sound like playing at a theme park? or at the dentists office? or on your old radio? What if they wired one of the speakers backwards?
As much as we’d like to think that everyone is listening our music in stereo, the truth is that many many people are listening in less than ideal environments. Panipulator lets you hear what your mix will sound like in those environments so you can be sure that your mixes will translate across all systems.
What will your mix sound like summed to mono? Flip a switch to find out. What if someone wires their system so that they can only hear the left channel? Flip a switch to hear what that sounds like. What if they reverse the wiring on one of their speakers? Flip a switch to find out to see how that will affect your song. These are all common scenarios, and the last thing you want to do is find out is that your mom’s voice, that you thought was buried in the mix, pops out when played over the loudspeakers at Nordstrom.
Panipulator will barely make a dent in your CPU usage, so there is no reason that this plugin should not be a default on every single song you mix.
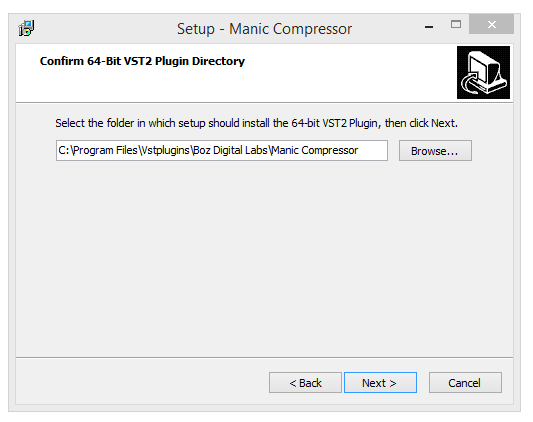
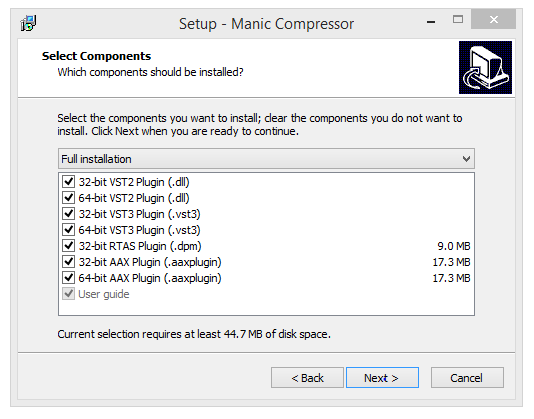
System Requirements
- Windows (32/64 bit): VST2, VST3, RTAS, AAX Native
- Mac (32/64 bit): AU, VST2, VST3, RTAS, AAX Native