


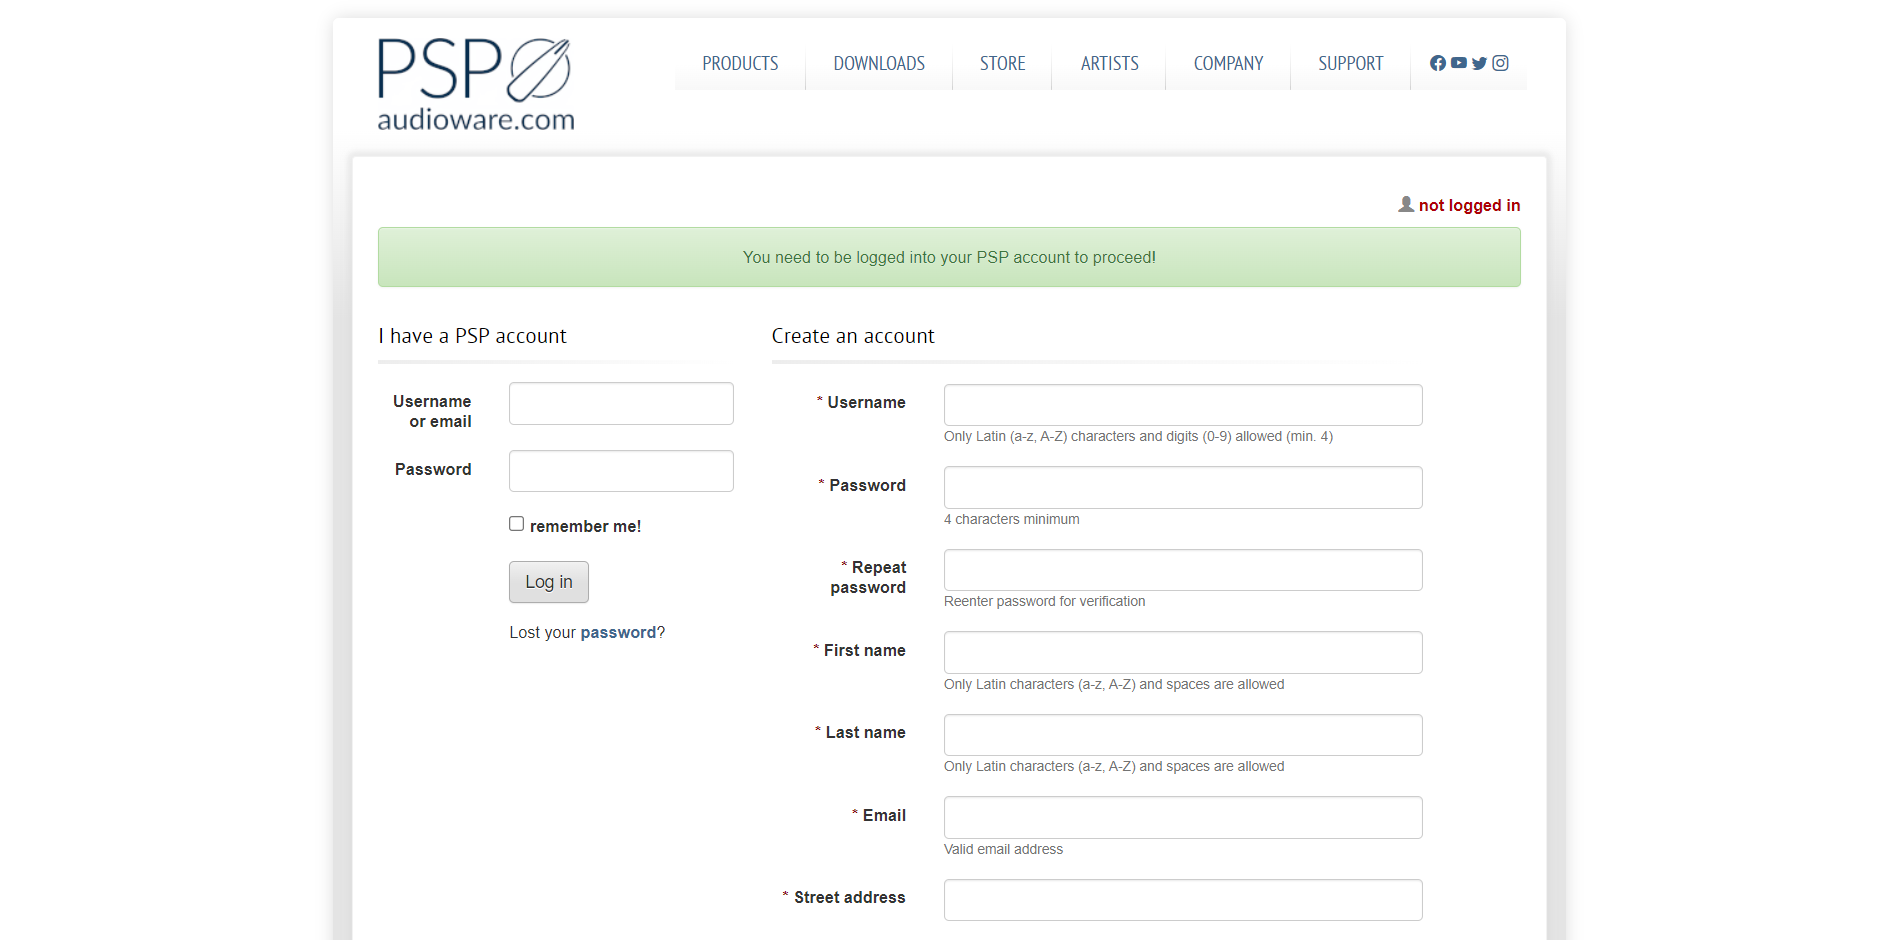
 Log In

Free gifts available with your purchase
Product information
The Correction Tool For Dual Channel Stereophonic Signals!
PSP StereoController2 is designed to control, adjust, and rescue incorrectly recorded dual channel stereo tracks, or process them for specialized applications or cool sonic tricks.
PSP StereoController2 Can Be Used In Various Situations
- unbalanced stereo image due to level difference between channels, e.g. in dual microphone stereo recordings
- slight time alignment shift between channels
- a track’s stereo image is too narrow or too wide for the mix
- when the center instrument seems to be shifted to one side
- virtually emulating an instrument’s location in the soundfield via combined level and delay panning
- one or both channels have reversed polarity, or the channels are swapped
- decoding a Mid-Side (M-S) encoded track into L/R stereo
- reducing the stereo width of low frequencies, or making them mono, for proper speaker or subwoofer replay or for reliably cutting vinyl
- widening stereo width of high frequencies for more ‘airy’ harmonics and spaciousness
- fine adjustment of stereo imaging during the mastering process
Features
- High quality signal processing algorithms
- Up to 2 ms of delay - can repair up to ~68 cm / 2 ft of distance mismatch between mics
- Width expansion up to 400% for narrowly recorded stereo tracks
- Master gain control up to ±12dB
- Optional dedicated width and gain controls for Low and/or High frequencies
- Low and High band gain control up to ±6dB
- Stability (sides) balance control without affecting the center content localization
- Center control to adjust the panorama location of the center content
- Standard balance control of channels
- M-S decoder
- Output monitoring and solo capability for Mid and Side signals
- Channel swap
- Polarity switches for both channels
- Correlation meter
- Balance meter
- Dedicated sections for Low and High frequency level and width control
- Parameter filtering for smooth and click-free parameter adjustment
- Support for sample rates up to 384 kHz
System Requirements
PC
- Windows 7 – Windows 11
- VST, VST 3 and AAX
- The latest iLok License Manager application installed
Mac
- macOS 10.12 – macOS 13 Ventura (Apple Silicon Supported)
- VST, VST 3, AAX and AU
- The latest iLok License Manager application installed
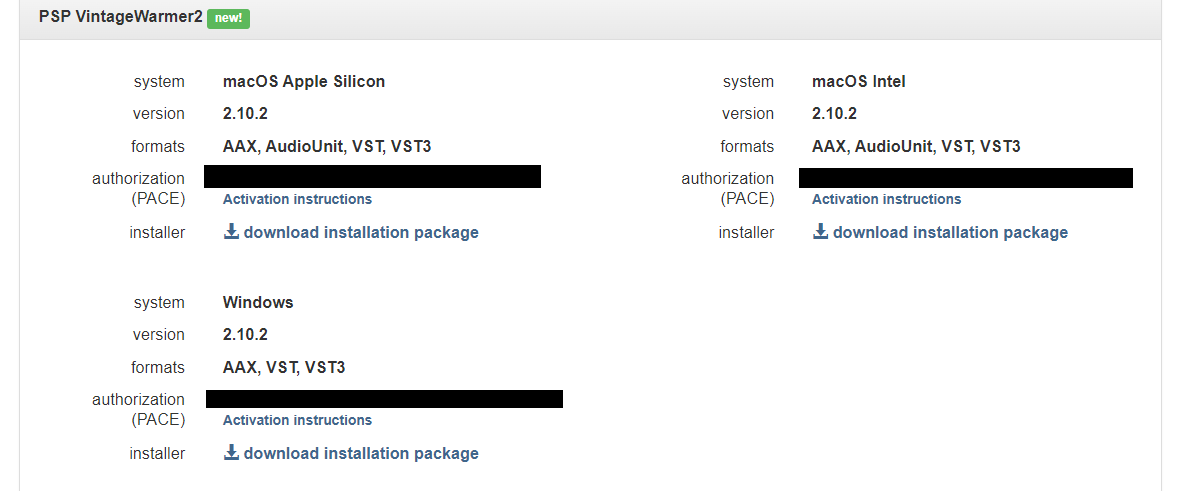
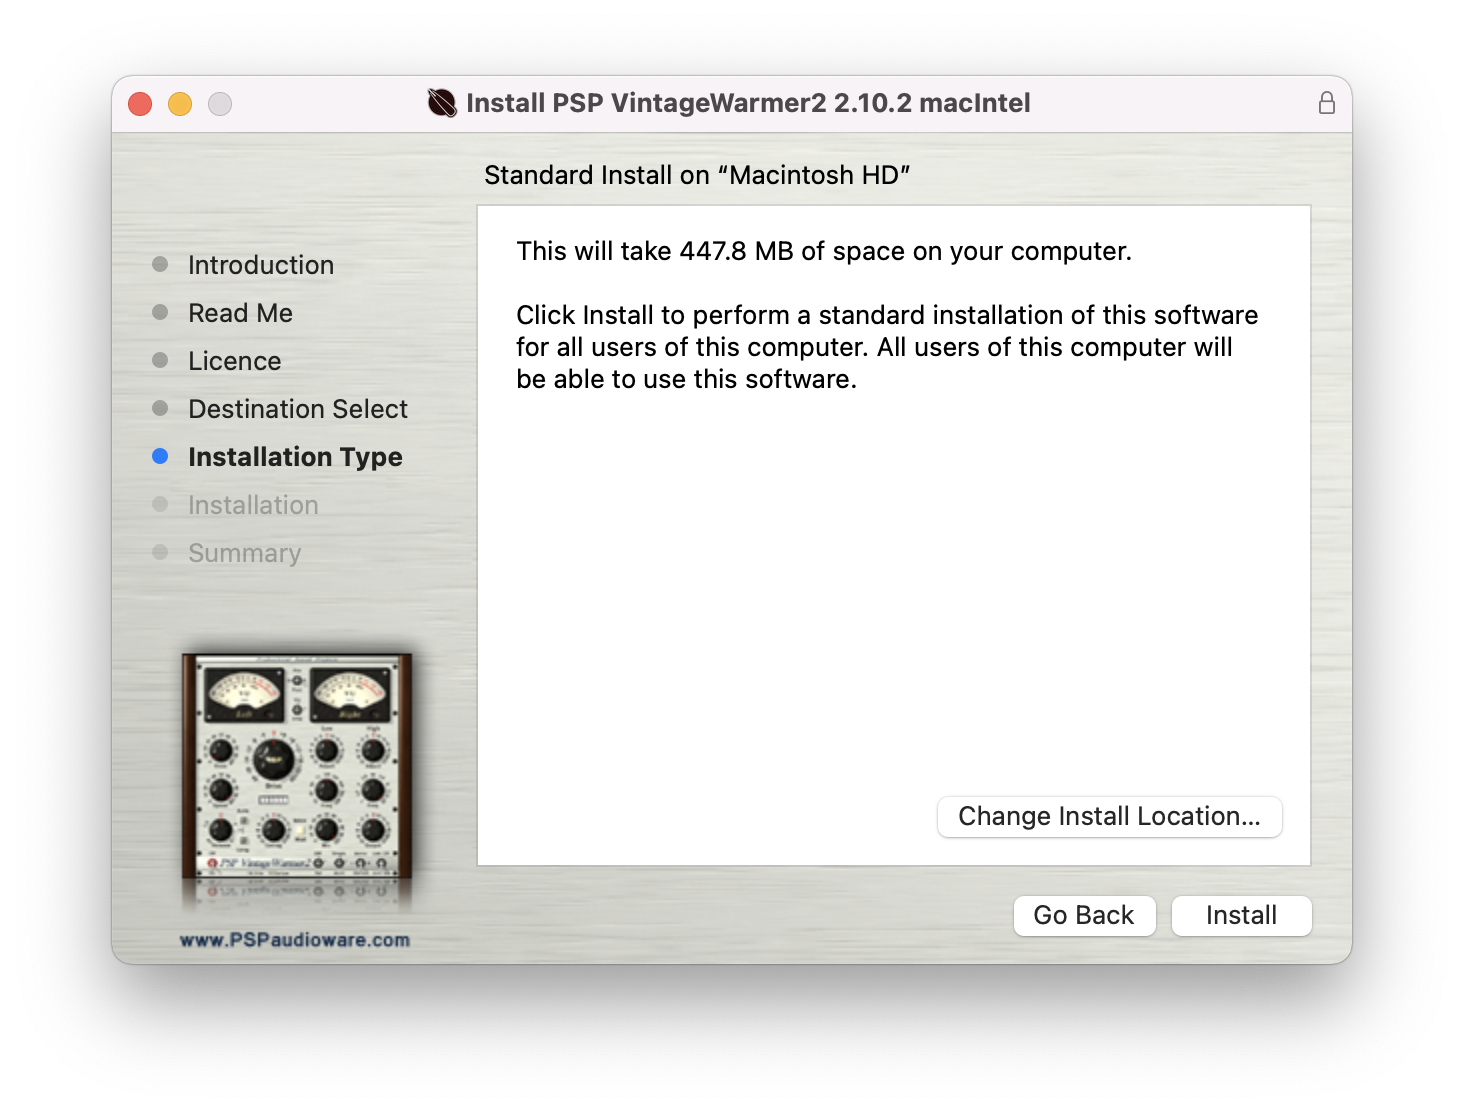
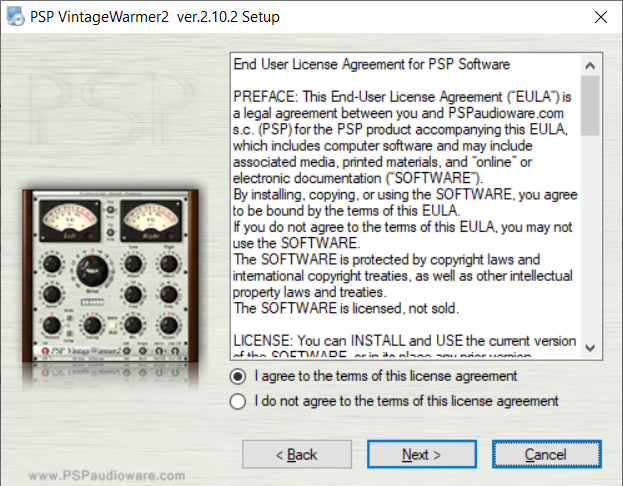
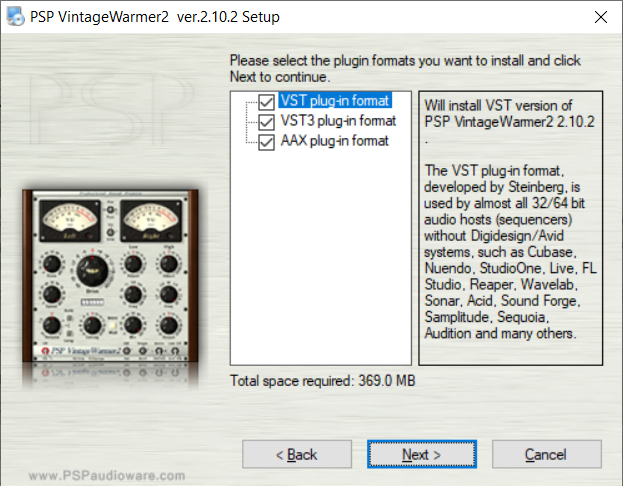
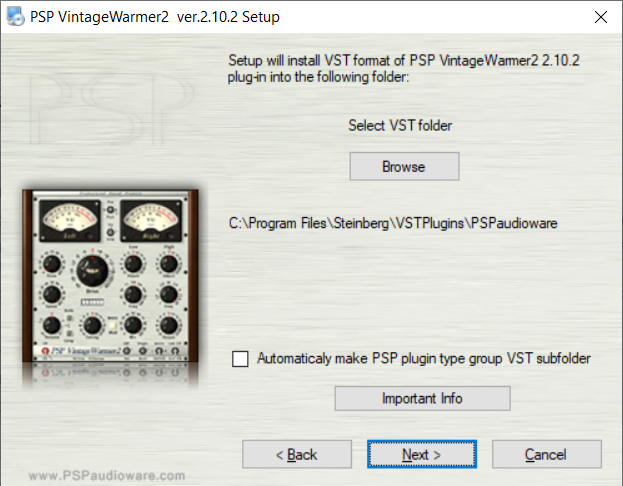
Installation Instructions


Customer Reviews
(1)
