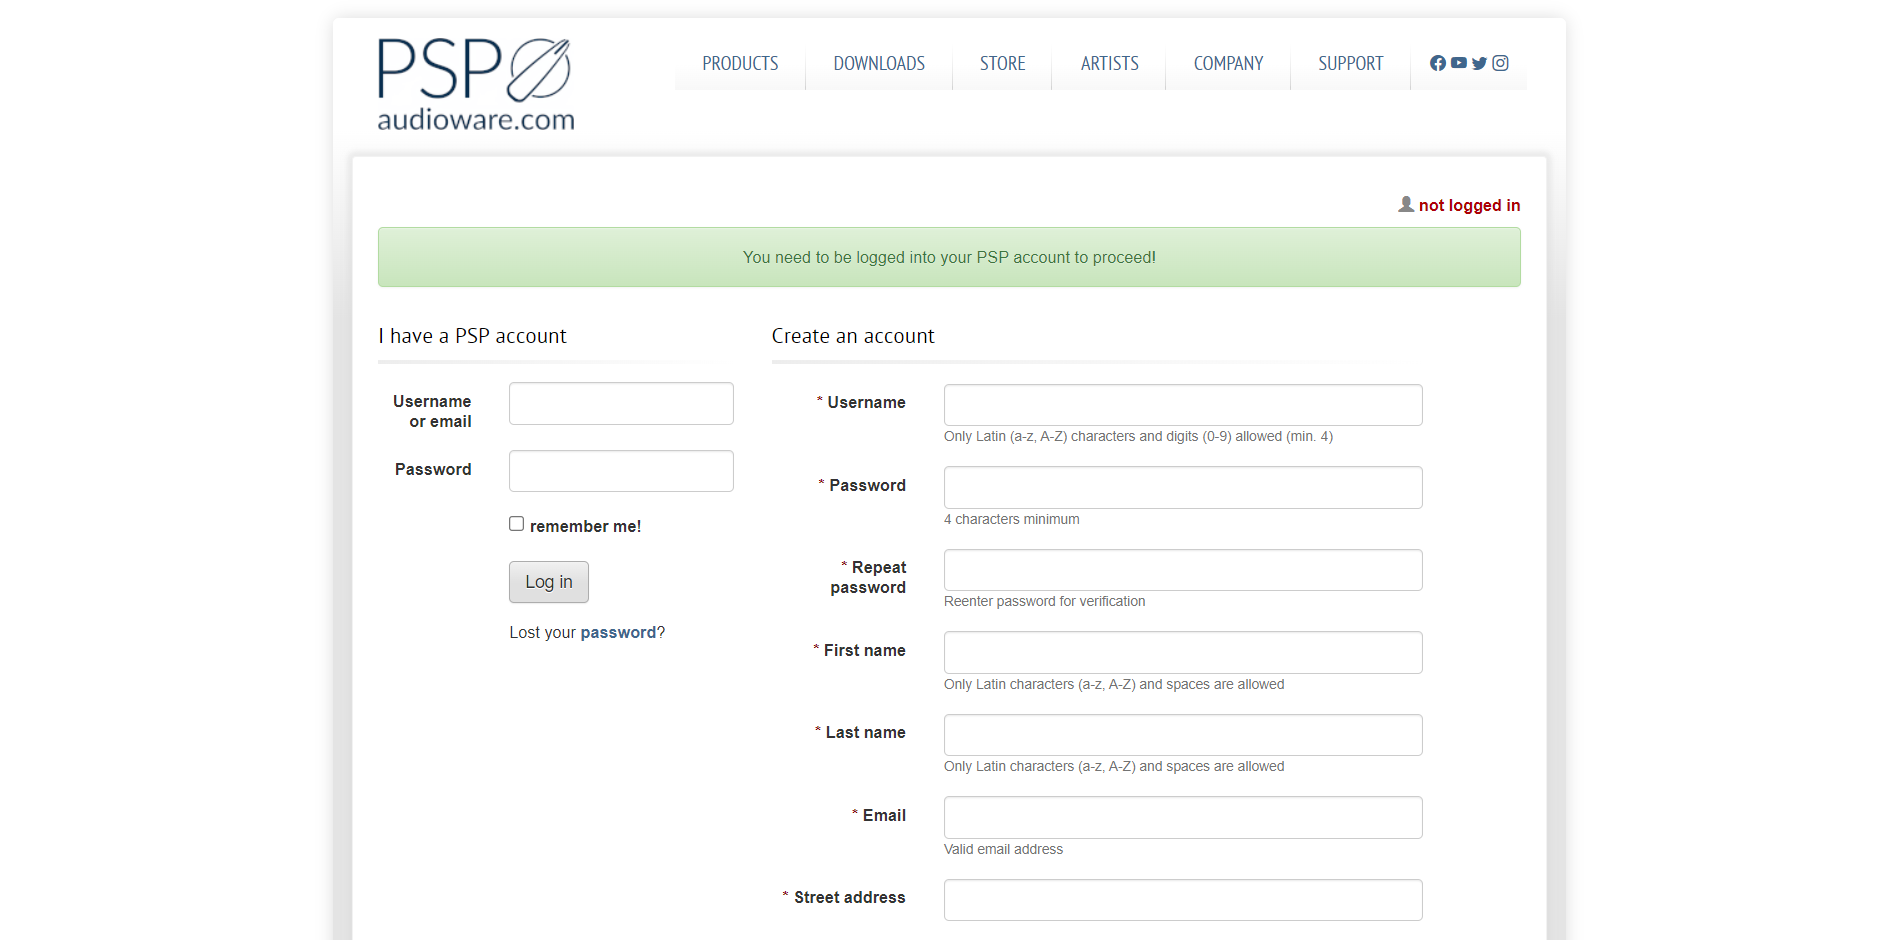
Log In

Free gifts available with your purchase
Tracking and Mixing console equalizer!
PSP Datamix A567 models an equalizer module from the classic first-generation Datamix console. Officially approved and endorsed by Eddie Kramer - who recorded legendary bands such as Jimi Hendrix, Led Zeppelin, KISS, and more on the original Datamix consoles during the golden era of The Record Plant and Electric Lady studios - the plug-in captures the essence of that iconic sound. Give it a try!
The equalizer is designed in such a way that it almost never sounds “neutral” – just putting it on a track as is, with all bands in the “0” positions, is enough to make you love it or hate it. Even with all bands turned off, there is still plenty of sonic character coming from the preamp and output sections. PSP Datamix A567 is a great way to add some old school mojo and character to any track or mix.

Eddie Kramer behind the Datamix board at the newly completed Electric Lady Studio A. Photo courtesy of John Veltri.
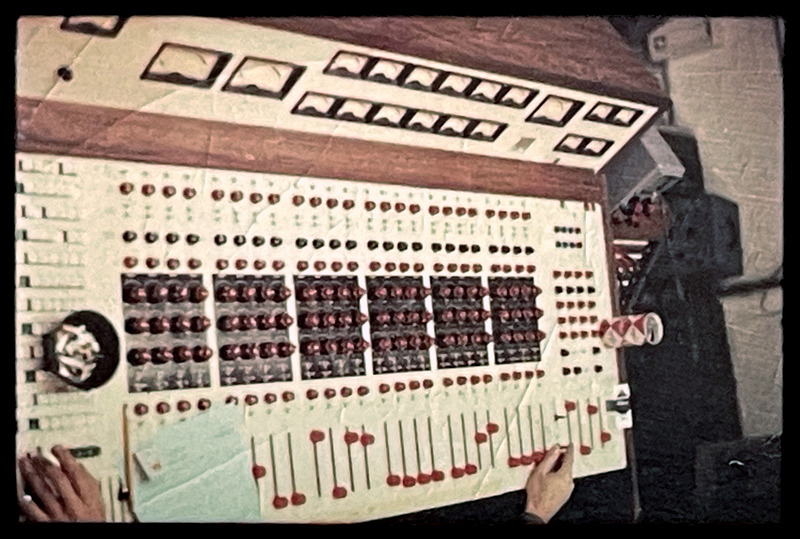
The photo of the original Datamix console from The Record Plant. Photo courtesy of Eddie Kramer.
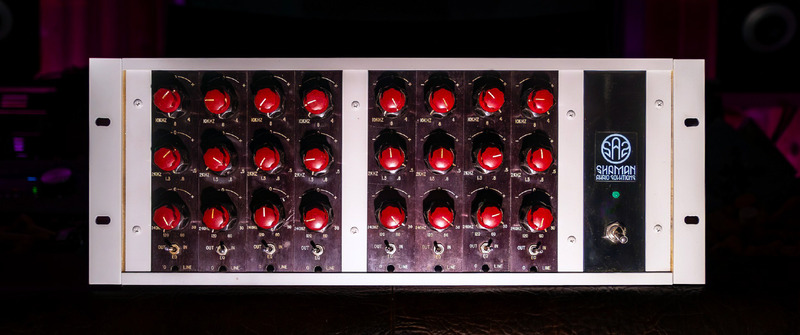
The rack of eight EQ modules from the original Record Plant console. Thanks to the courtesy of the current owner, Adam Piskorz, we were able to model the plug-in.
Features
- Three bands of equalization: Low (peaking on boost, peaking or shelving on cut depending on the frequency), Mid (peaking boost and notch type cut), and High (peaking boost, shelving on cut).
- FAT double sampling: In PSP Datamix A567, FAT is automatically switched on for low (below 50 kHz) sample rates, and off for higher sample rates. This ensures accurate processing independent of the sample rate.
- 64-bit double precision floating point math for ultra-low cumulative errors in the filters and proper filter characteristics across entire frequency spectrum.
- Preamp section modeling on input.
- Output section with transformer emulation.
- Variation of sound character via selecting the tuning of a specific channel, an average
- setting, or an “ideal” setting corresponding to the precise frequencies on the control labels.
- Adjustable left/right channel tuning spread.
- Alt Q mode allows for a gentler effect by fixing Q for each band regardless of selected frequency.
- Sharp mode adds pronounced resonance in the High band.
- All actual parameter values, like gain and frequency, may differ from displayed values. This is a typical characteristic of analog equalizers.
System Requirements
PC
- Windows 7 – Windows 11
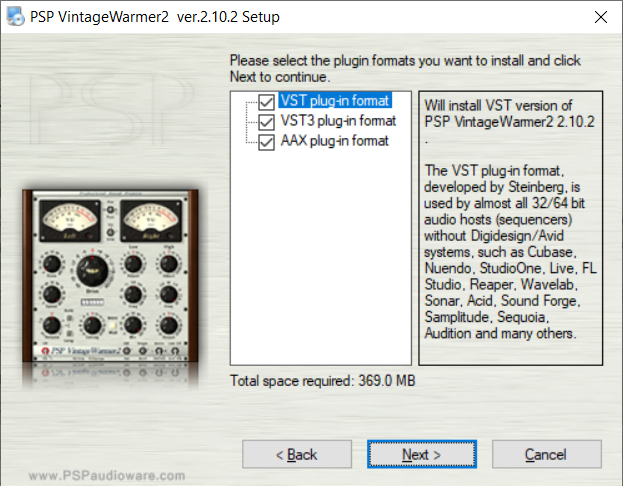
- VST, VST 3 and AAX
- The latest iLok License Manager application installed
Mac
- macOS 10.14 – macOS 15 Sequoia (Apple Silicon Supported)
- VST, VST 3, AAX and AU
- The latest iLok License Manager application installed