/ Mastering / MasterMagic
Rob Papen

MasterMagic

4.6 (124 Reviews)
$39.00
MasterMagic
MasterMagic
MasterMagic by Rob Papen | Review of Features and Tutorial gallery thumbnail
MasterMagic Introduction gallery thumbnail
Buy Now
Product information

Welcome to ‘MasterMagic’ the plug-in that you will not want to miss anymore as part of your virtual mixer master section! Just place ‘MasterMagic’ at the very end of the master FX chain and be surprised how much it can do for your track!  The ‘Mono/Stereo’ section, will make your low end much tighter and the ‘AIR’ function is sheer magic… even if you only use it only a tiny amount.

Enjoy the magic of MasterMagic!

Features

Edit / Origin Feature

  • As soon as you start editing a Preset (i.e. change a MasterMagic control), the Edit button will light up. If you the click on the Origin button it will return the Preset to its original settings. 

Help

  • Clicking on the ? HELP ICON opens PDF manual.

ECS

  • Click here to open the ECS menu. You can Load/Save your MIDI latched settings (External Control Settings) here.
  • This is handy if you want to use your own controller settings in other songs, music programs or systems.

Presets and Generic Controls

  • The Presets bar sits at the top of the MasterMagic window.

Preset Variations

  • A Preset in MasterMagic has two slots, A and B, in which to store two variations of the Preset. 
  • This bypasses the MasterMagic FX. If ‘Air’ and ‘Mono/Stereo’ are active, both are bypassed.

Air

Air works as a booster of very high frequencies with a wide bandwidth using a top-notch algorithm. Its effect is perceived as giving the audio a more breathing space or ‘Air’.

  • On / Off: By clicking on the AIR icon, the Air function will become active. This is a handy feature if you also have the ‘Mono/Stereo’ function active. This way you can bypass only the ‘Air’ FX.
  • Amount: Amount sets the gain or amount of Air added to your channel.
  • Frequency: The frequency control sets the center frequency of the Air band. Its range runs from 30kHz to 40 kHz.

Mono / Stereo

The Mono / Stereo Split Filter is able to divide the audio signal into a mono and stereo part
based on a frequency. 

  • On / Off: By clicking on the MONO/STEREO Icon this function will become active.
  • Frequency and Range: The Frequency control (FREQ) sets the frequency of the mono filter: below this frequency the sound is transformed into a mono signal. 
  • Solo: The Solo switch, when engaged, only lets the transformed mono signal pass.This feature is handy to seek out the correct range.
  • Mode: The Mode setting determines how the stereo audio signal is turned into a mono signal. The options here are: Left Channel, Right Channel, the sum of the Left and Right Channels averaged (L+R), and the signal difference between the two channels (L-R).

Back Panel  

A click on the MasterMagic logo switches the plug-in to its back panel. The back panel contains
program information and a number of global settings. 

Controls are:

  • Computer Keyboard On / Off: The Keyboard On/Off switch activates the computer keyboard to cycle through the Presets and Banks.
  • MIDI Program Change: The Program Change switch enables MasterMagic to respond to MIDI Program Change commands to select Presets.
  • External MIDI Control Capture Mode: The Capture Mode switch, when enabled will ignore incoming MIDI controller messages that are latched to a MasterMagic control, until the value of the MIDI controller matches that of the value of the MasterMagic control. It prevents sudden jumps in parameter values that otherwise may occur as soon as you touch a latched external MIDI controller.
  • MIDI Channel: The MIDI Channel setting limits any MIDI control of MasterMagic to a specific MIDI Channel (1 – 16 / Omni)

System Requirements

PC

  • Windows 7/ Windows 8/ Windows 10 (32 & 64 bits)
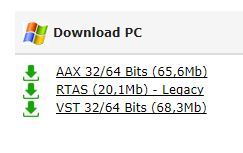
Formats:

  • VST
  • AAX (Note: PC AAX for PT 12 or higher)

Mac

  • OS-X 10.9 - 10.15 (64 bits only)

Formats:

  • AU
  • VST
  • AAX

Notes:

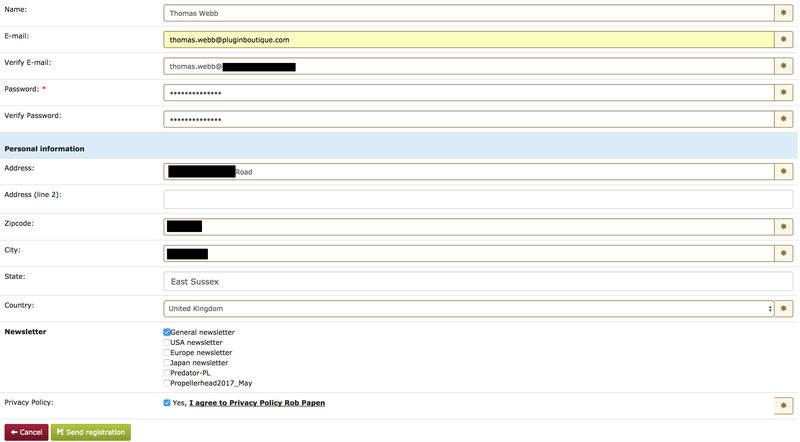
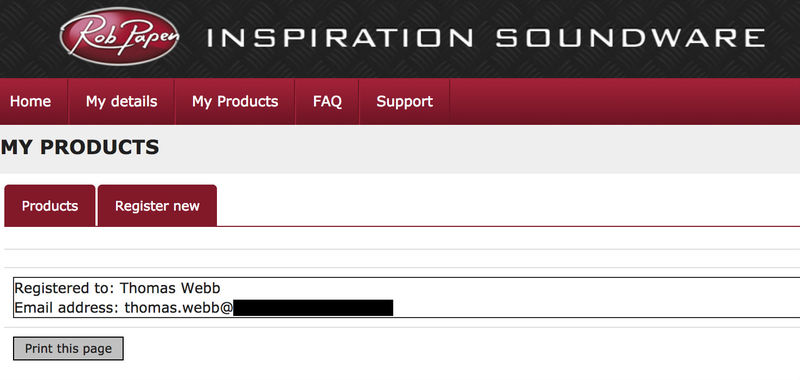
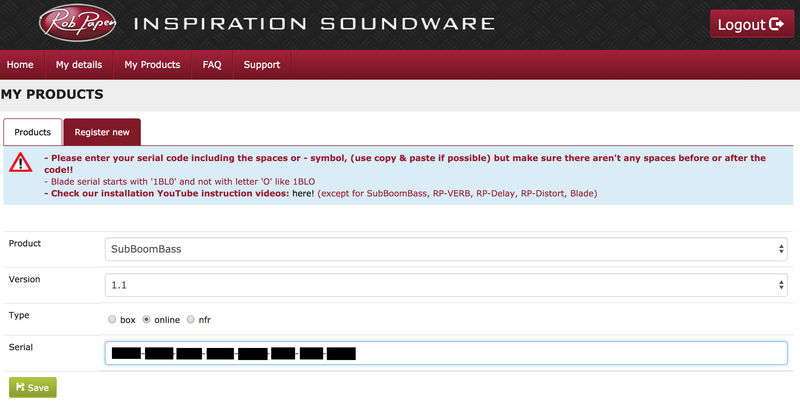
  • Serial/licence system with activation whilst registering the product
  • 2nd serial for a secondary computer/laptop is available after you have registered the product’s original serial/license.
Testimonials

John B

“I will definitely be using MasterMagic - it adds a nice little silky sparkle at the end of the mix and widens the tops out a bit. Even when you’ve already got a mix sounding good, I think you can still improve it by adding MasterMagic at the end of the plugin chain”

Rob Cass

"It sounds brilliant!"

Davide Carbone

"A great little plug to add clarity and brilliance to your mix and control your bass frequencies. Being able to select an air band and split frequency bands to mono a certain range with such ease makes this a unique and versatile plug for mastering and individual track processing."

Installation Instructions

(SubBoomBass is used as the example).

Mac

1. Visit Rob Papen and create an account by selecting 'Create Account'.

Note: If you already have an account set up with Ron Papen, 'Login' to your account and skip to step 4. of the installation process.

2. Enter your personal details, and once completed check the tick box that reads 'Yes, I agree to Privacy Policy Rob Papen' before clicking 'Send Registration'.

3. The registration of your account has successfully been completed > select 'click here to login' to access your account area.

4. Select the 'My Products' tab, which is located at the top-left corner of your account area.

5. Click the 'Register New' option.

6. Select the product that you have purchased, as well as the most recent version number (which in this instance is 'Online'), before manually entering/copying and pasting the 32-digit Serial Number that is provided within your User Account > once completed, click the 'Save' tab to register your software.

Note: Ensure that you select the correct 'Product' and 'Type', as well as checking that there are no spaces/mistakes when entering your Serial Number > if you receive a code error message of any kind, refresh the web page and manually enter the digits (including the '-' hyphens) before re-clicking the 'Save' option.

7. The registration of your software has successfully completed > select the 'Download latest version: SubBoomBass' hyperlink to navigate to the software download area.

8. Select the relevant format installer download (s) in accordance with your DAW's compability specifications, to inititiate the downloading of your purchased software.

Note: The product user manual is also obtainable from this location.

9. Once the software installer file has finished downloading, click the file entitled 'SubBoomBass_Installer.dmg' to launch the application installer application.

10. Double-click the 'SubBoomBass_Installer.pkg' application icon begin the installation process.

11. Click 'Continue' to verify the installation, if prompted to do so.

12. Click 'Continue' once again.

13. Read through the Licence Agreement > click 'Continue' then 'Agree'.

14. Manually enter/copy and paste the original 32-digit Serial Number that you were provided with, before clicking 'Continue' (the Serial Number is located in both your Plugin Boutique and Rob Papen User Accounts).

Note: Ensure that you select the correct 'Product' and 'Type', as well as checkingt that there are no spaces/mistakes when entering your Serial Number > if you receive a code error message of any kind, manually enter the digits (including the '-' hyphens) before re-clicking the 'Continue' option.

15. Review the installation before clicking 'Install', and then 'Continue Installation'.

16. The installation of your software has successfully completed > click 'Restart' to reboot your computer.

Note: Ensure that you have saved any important work that may be open within the applications you currently have open, before selecting the 'Restart' option.

17. After your computer has successfully restarted, open your DAW and locate/open your newly installed/activated software VST.

Note: If the software fails to appear, rescan your DAW's Plug-in selection.

The Software is now Activated and Ready for Use Within Your DAW!

Windows

1. Visit Rob Papen and create an account by selecting 'Create Account'.

Note: If you already have an account set up with Ron Papen, 'Login' to your account and skip to step 4. of the installation process.

2. Enter your personal details, and once completed check the tick box that reads 'Yes, I agree to Privacy Policy Rob Papen' before clicking 'Send Registration'.

3. The registration of your account has successfully been completed > select 'click here to login' to access your account area.

4. Select the 'My Products' tab, which is located at the top-left corner of your account area.

5. Click the 'Register New' option.

6. Select the product that you have purchased, as well as the most recent version number (which in this instance is 'Online'), before manually entering/copying and pasting the 32-digit Serial Number that is provided within your User Account > once completed, click the 'Save' tab to register your software.

Note: Ensure that you select the correct 'Product' and 'Type', as well as checking that there are no spaces/mistakes when entering your Serial Number > if you receive a code error message of any kind, refresh the web page and manually enter the digits (including the '-' hyphens) before re-clicking the 'Save' option.

7. The registration of your software has successfully completed > select the 'Download latest version: SubBoomBass' hyperlink to navigate to the software download area.

8. Select the relevant format installer download (s) in accordance with your DAW's compability specifications, to inititiate the downloading of your purchased software.

Note: The product user manual is also obtainable from this location.

9. After the software installer file has finished downloading, double-click the file entitled 'SubBoomBass_Installer' .zip folder to extract the .exe installer file.

10. Once extracted, double-click the .exe installer file to begin the installation process > click 'Next'.

11. Read through the Licence Agreement and select 'I accept the agreement' > click 'Next'.

12. Type in your preferred User Name, Organization and manually enter/copy and paste the original Serial Number that you were provided with, before clicking 'Continue' (the Serial Number is located in both your Plugin Boutique and Rob Papen User Accounts).

Note: Ensure that you select the correct 'Product' and 'Type', as well as checking that there are no spaces/mistakes when entering your Serial Number > if you receive a code error message of any kind, manually enter the digits (including the '-' hyphens) before re-clicking the 'Next' option.

13. Select a computer VST Plug-ins folder destination in which to install/save your software to > click 'Next'.

14. Select a computer Library location in which to install/save your software to > click 'Next'.

15. Select the software format (s) that you wish to install > click 'Next'.

16. Select a Start Menu Folder to create a shortcut to your new software installation > click 'Next'.

17. Review the installation and click 'Install'.

18. The installation of your software has successfully completed > click 'Finish'.

19. After your computer has successfully restarted, open your DAW and locate/open your newly installed/activated software VST.

Note: If the software fails to appear, rescan your DAW's Plug-in selection.

The Software is now Activated and Ready for Use Within Your DAW!

Plugin Boutique Rewards

Discover the most rewarding loyalty programme among all plugin retailers.

  • Free Loopmasters Samplepacks
  • Discounts on products and courses
  • Extra Virtual Cash claimed immediately at checkout
Find out more

Follow us:

X (Twitter) Facebook YouTube Instagram
Logo Logo

Plugin Boutique Limited, Part of the Beatport Group LLC.

Copyright © 2011-2025 Plugin Boutique. All rights reserved