


Buy Instant Flanger Mk II, get a free gift with purchase:
Classic Flanging for a Modern Mix
The Instant Flanger Mk II brings the great sound of vintage tape flanging to your plug-in toolbox. An authentic emulation of the original 1975 studio rackmount, the Instant Flanger was famously used on David Bowie’s “Ashes to Ashes” and Cyndi Lauper’s “Time After Time." A truly versatile tool, engineers and producers have used it for stereo sweetening, subtle modulations, double-tracking, and extreme flanging effects.
Spread the Sound Around with Pseudo Stereo
Turn flat mono guitars into huge stereo leads or have your single-channel synthesizer fill out the sides of your mix with pseudo-stereo. The Instant Flanger Mk II has dual outputs that create three different sonic images - “Shallow”, “Deep”, and “Wide”. Combining “Wide” Mode with the “Low Cut” control is an easy way to place multiple harmonies behind the lead. Fine-tune the resonance of your flanging effect by using the “Depth” and “Feedback” controls.
True End-to-end Emulation
Tape machines use servo motors to run at a constant speed and when an engineer pressed a thumb on the flange and then suddenly let go, the capstan motor servo reacts - overshooting and undershooting as it seeks to recover proper speed. In other words, it ‘bounces’. The Instant Flanger convincingly mimicked this behaviour with its innovative "Bounce" control knob. Use this feature to add a real-world groove to your tracks.
Features
- Depth controls the intensity of the effect. 100% adds the delayed signal to the dry signal. -100 % subtracts the dry signal from the delayed signal
- Three distinct flavours of flanging. Set the Mode switch for Shallow, Deep or Wide
- Manual control allows you to control the ‘comb’ effect by turning the Big Knob
- Oscillator drives the flanging at a user-defined rate
- Envelope Follower drives the flanging based on the signal’s amplitude
- Remote maps the flanging control to a mod wheel for tactile manipulation
- Bounce mimics the distinctive effect of the tape machine’s capstan motor “hunting” for its proper speed when the engineer's thumb was lifted from the tape reel flange
- “Side Chain” allows for triggering the Envelope Follower from any source in the mix for inter-track mingling
- Exercise total control of the Oscillator with Sync and Retrig
- Tame the intensity by removing low frequencies from the flanged signal with the Low Cut control
Distinguishing Flanging from Phasing Since 1975
Instant Flanger Ad 1975The method of tape flanging was originally achieved by playing back a track on two separate tape machines and using your thumb to apply pressure to the “tape flange” thereby slightly slowing down one of the machines. In the tape era, before the introduction of electronic effects devices, the terms “phasing” and “flanging” were used interchangeably. Then, in 1971, Eventide released the Instant Phaser which was based on analog filters rather than delay.
When the Instant Flanger was released in 1975, the original hardware manual explained “Old model phasing units used analog circuitry to modify the frequency spectrum. Eventide’s Instant Flanger uses a true time delay circuit, producing many more nulls and thus a much deeper effect than previously available with an all-electronic unit.”
System Requirements
Windows
- Windows 10 and later (Windows 11 supported) (64-bit only)
- AAX, VST2, VST3
Mac
- macOS 10.14 and later (Intel / Apple Silicon supported) (64-bit only)
- AAX, AU, VST2, VST3
Important Notes:
- Eventide tests their desktop plugins in Ableton Live, Cubase, FL Studio, Logic Pro, Pro Tools, and Studio One (However, their plugins should work with any compatible host.)
- No iLok dongle is required to run this software - only a FREE iLok account/Manager is required for authorisation.
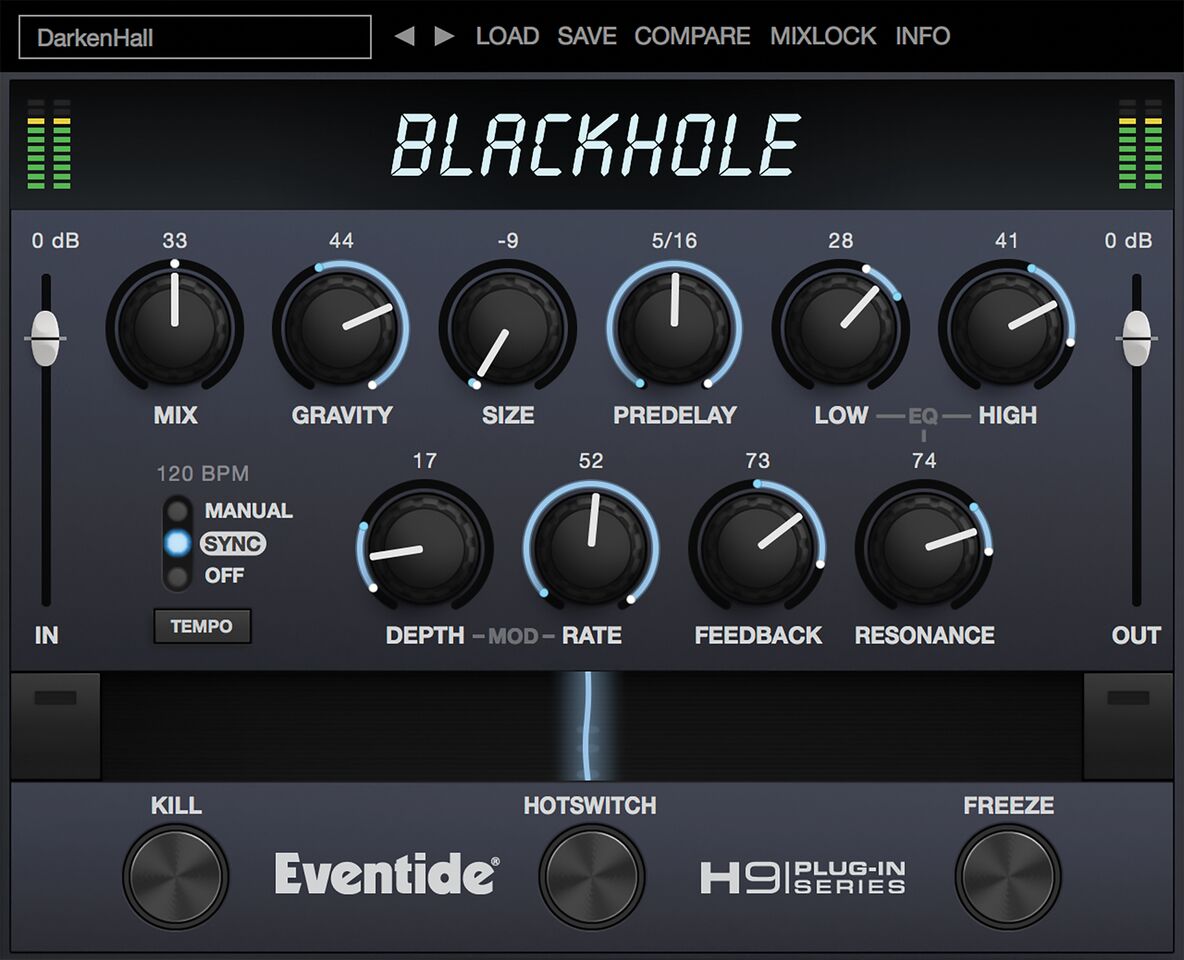
Please note: Blackhole is used as an example.
Registration
1. Create an iLok account by following the steps from our help centre article - Getting Started with the iLok License Manager. If you already have an iLok account, skip this step.
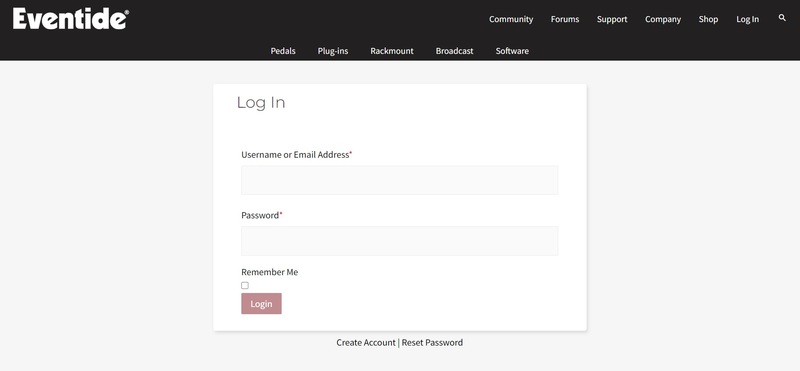
2. Go to https://www.eventideaudio.com/login > Click 'Create Account' at the bottom of the page.
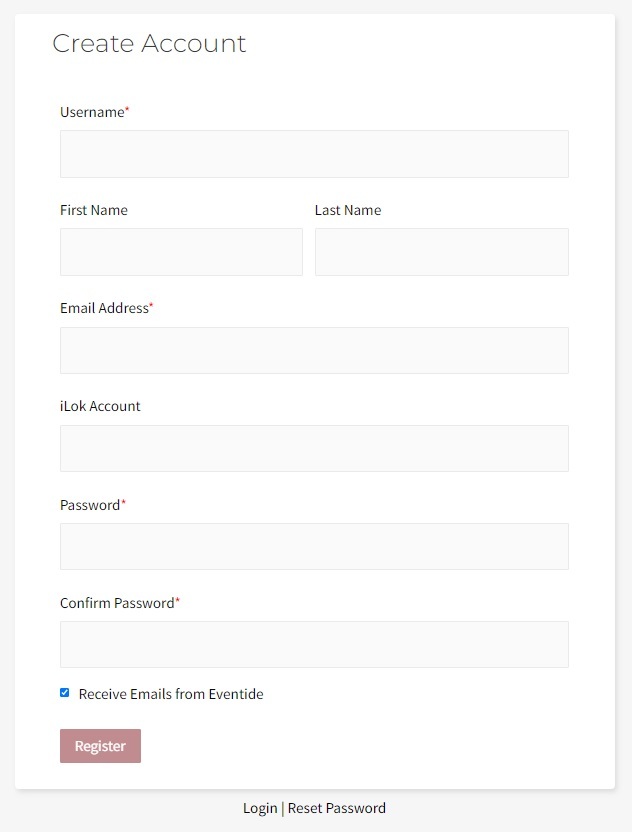
3. Enter your details (including your iLok Account User ID) > Click 'Register'.
4. You will now be redirected to your My Account page.
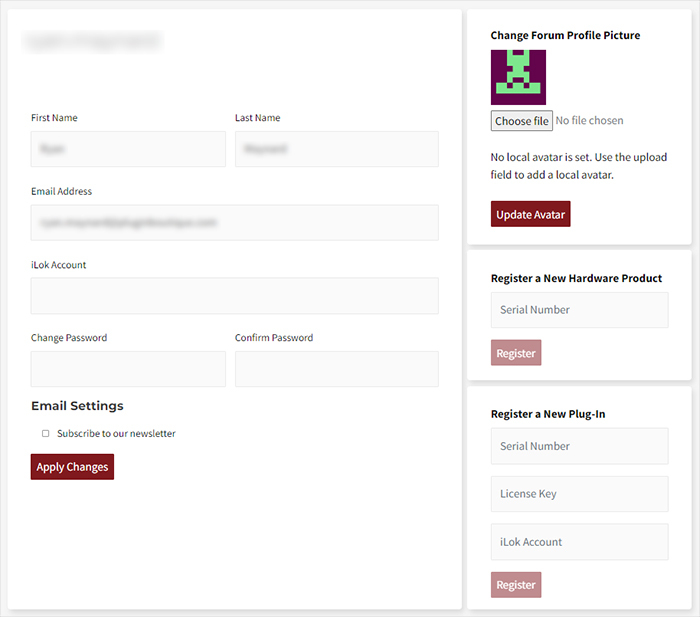
5. In the bottom right corner of the page, enter the license key (format 1234-1234-1234) found in your Plugin Boutique account, as well as your iLok Account User ID > Click 'Register'. Please note: a Serial Number is now not required
Please note: Make sure there are no spaces at the beginning or after your license key.

6. Your software is now registered.

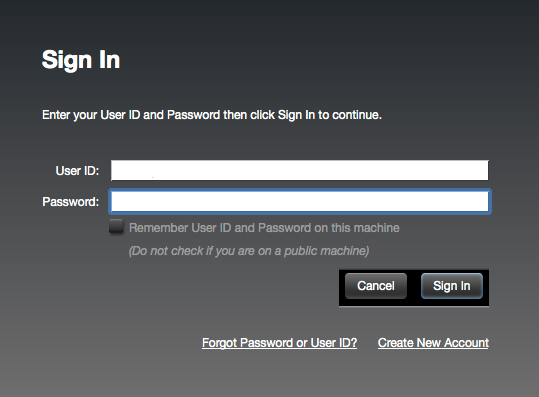
7. Launch the iLok License Manager application > Sign into your account.

8. Enter your iLok user ID and password > Click 'Sign in'.
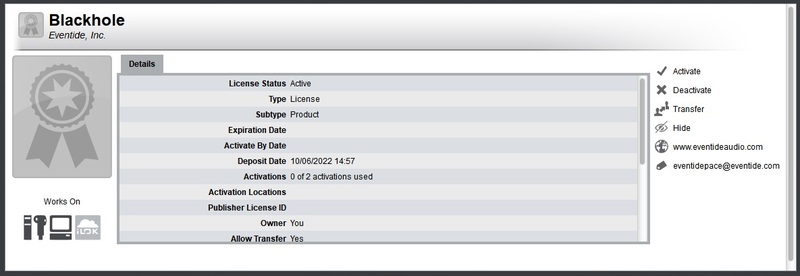
9. Your license should now be listed within your iLok account.

10. Double-click on the license to bring up additional options > Click 'Activate' (located on the right of the screen).
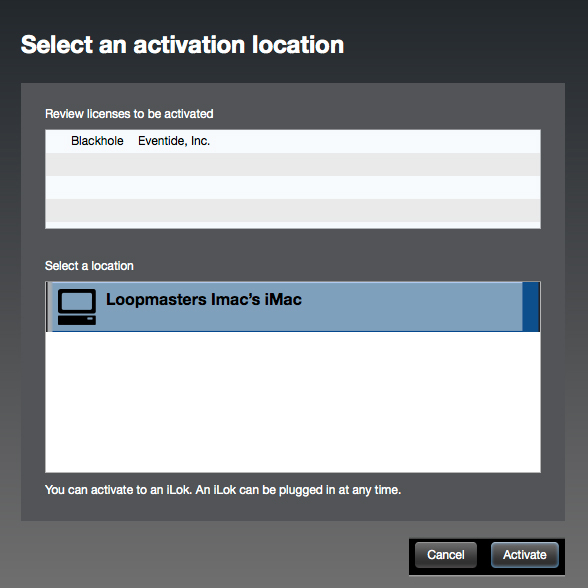
11. Select where you wish the license to be activated > Click 'Activate'.
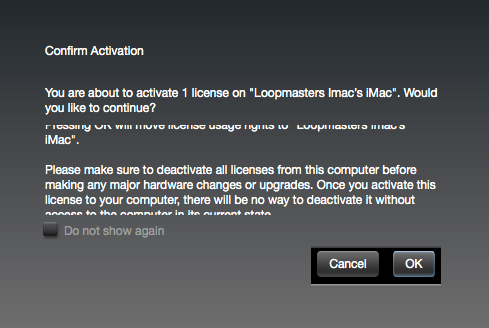
12. Click 'OK'.
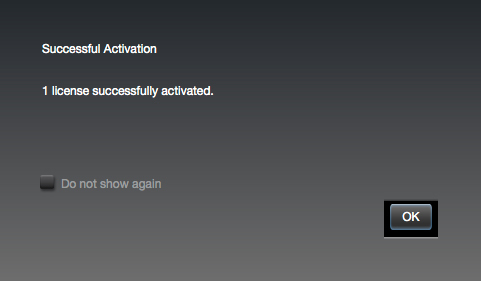
13. Click 'OK'.
Mac Installation
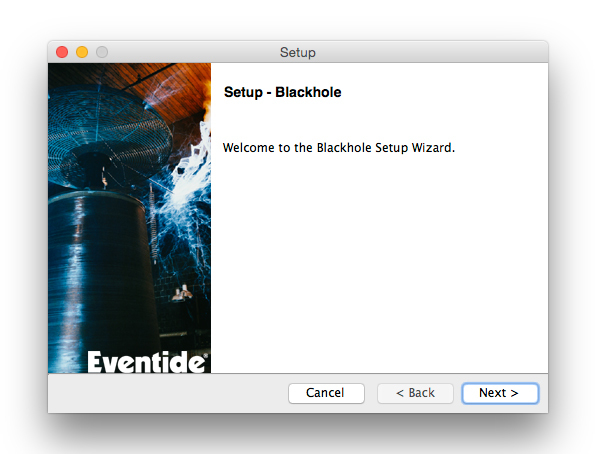
1. Download the Mac installer from https://www.eventideaudio.com/downloads/ > Run the installation > Click 'Next'.
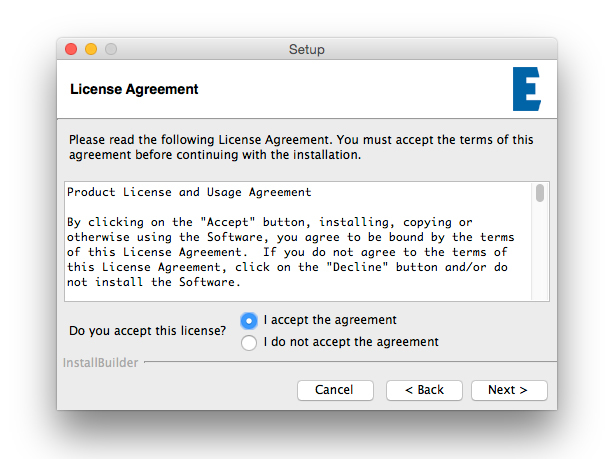
2. Click to accept the license agreement > Click 'Next'.
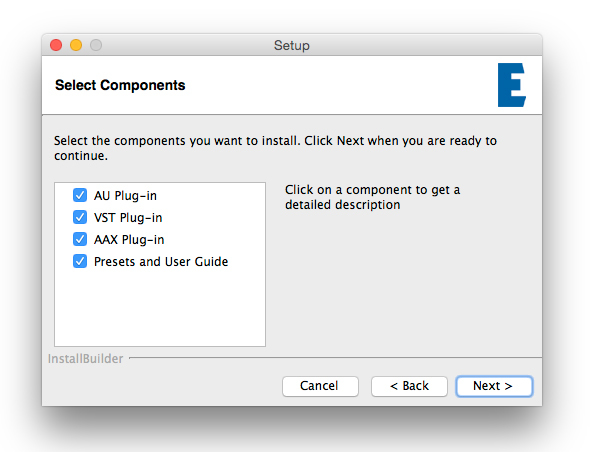
3. Choose which plugin formats you'd like to install > Click 'Next'.
Please note: If you're unsure, leave all options selected or check out our help centre article Plugin Formats Explained for more information.
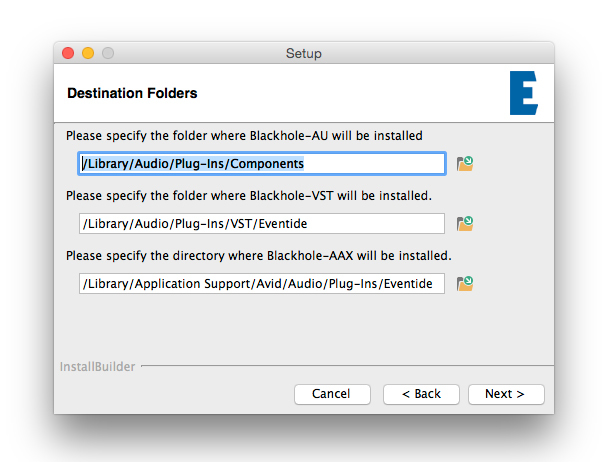
4. Select the destination folders (or leave them as the defaults) > Click 'Next'.
5. Click 'Next'.
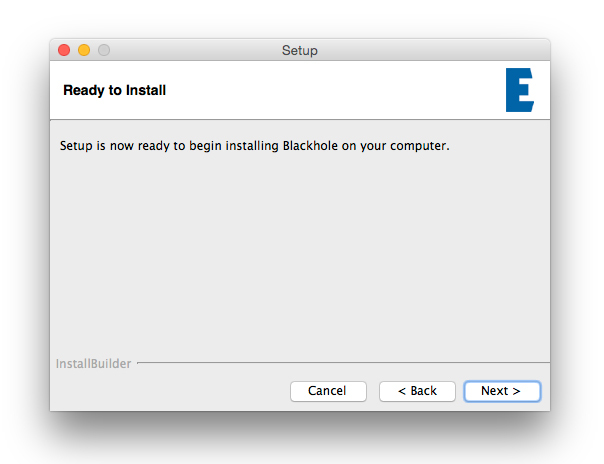
6. Click 'Finish'.
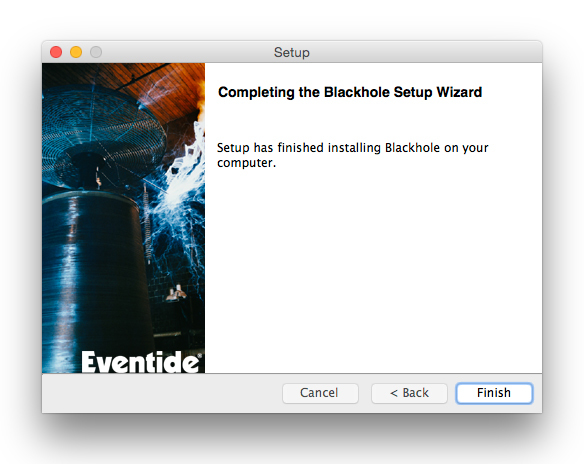
Your new software is now fully activated and ready to use within your DAW!
Windows Installation
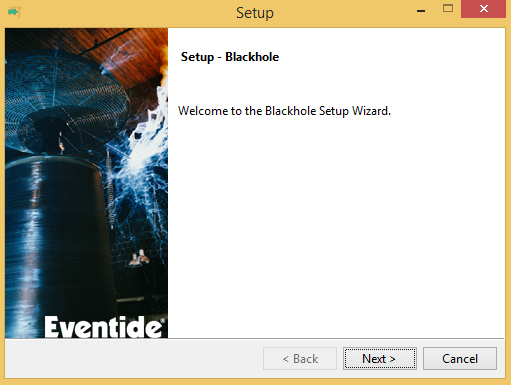
1. Download the Windows installer from https://www.eventideaudio.com/downloads/ > Run the installation > Click 'Next'.
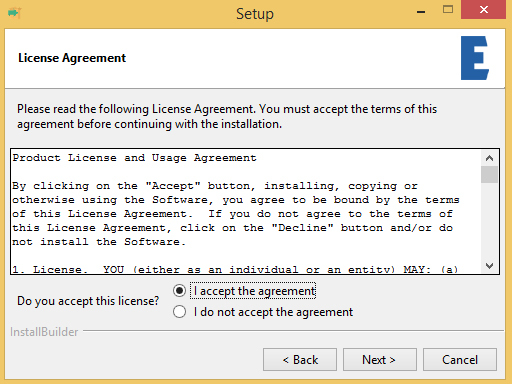
2. Read the License Agreement > Select 'I accept the agreement > Click 'Next'.
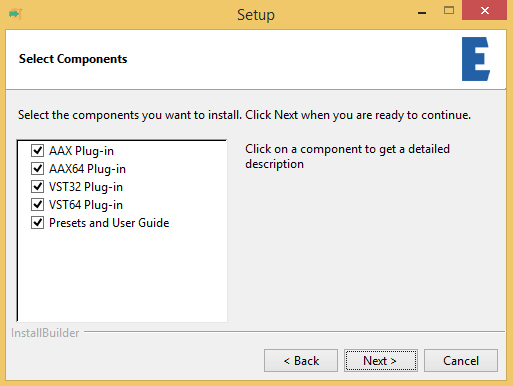
3. Choose which plugin formats you'd like to install > Click 'Next'. If you're unsure, leave all options selected or check out our help centre article Plugin Formats Explained for more information.
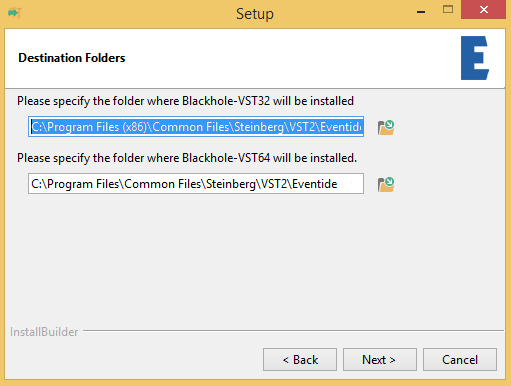
4. Select the destination folders (or leave them as the defaults) > Click 'Next'.
5. Click 'Next'.
6. Click 'Finish'.
Your new software is now fully activated and ready to use within your DAW!
