Log In

Free gifts available with your purchase
Product information
![]()
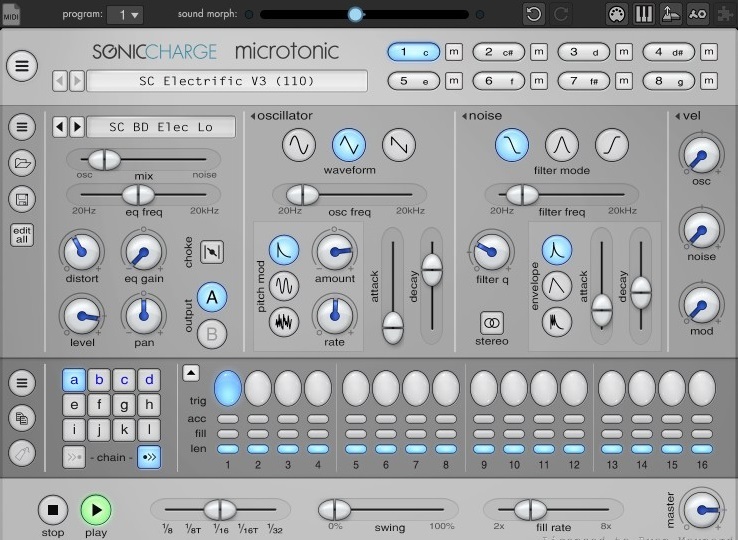
Echobode is a delay effect with a frequency shifter placed inside the feedback loop. The frequency shifter algorithm is inspired by the classic Bode Frequency Shifter (named after its inventor Harald Bode).
The difference between a frequency shifter and a pitch shifter is that it shifts the audio spectrum linearly. E.g. an overtone series of 100, 200, 300 Hz can be shifted by 50 Hz to 150, 250, 350 Hz, making the overtones inharmonic. This effect in itself is great for creating metallic bell timbres, but putting it inside a delayed feedback loop opens up many other possibilities.
System Requirements
Windows
- Windows 7 or later
- 2GHz Pentium IV processor or equivalent
- A host that supports 32-bit or 64-bit VST 2.4 plugins
- 30MB free disk space
- Formats: VST 2.4
macOS
- macOS 10.13 High Sierra or later
- Intel or Apple Silicon processor
- A host application that supports 64-bit VST 2.4 or AudioUnit 2 plugins
- 30MB free disk space
- Formats: AU, VST 2.4
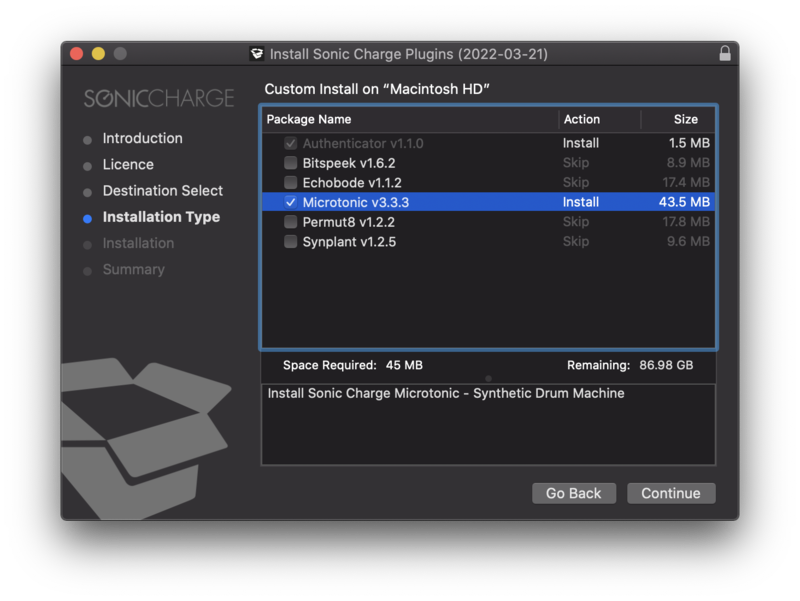
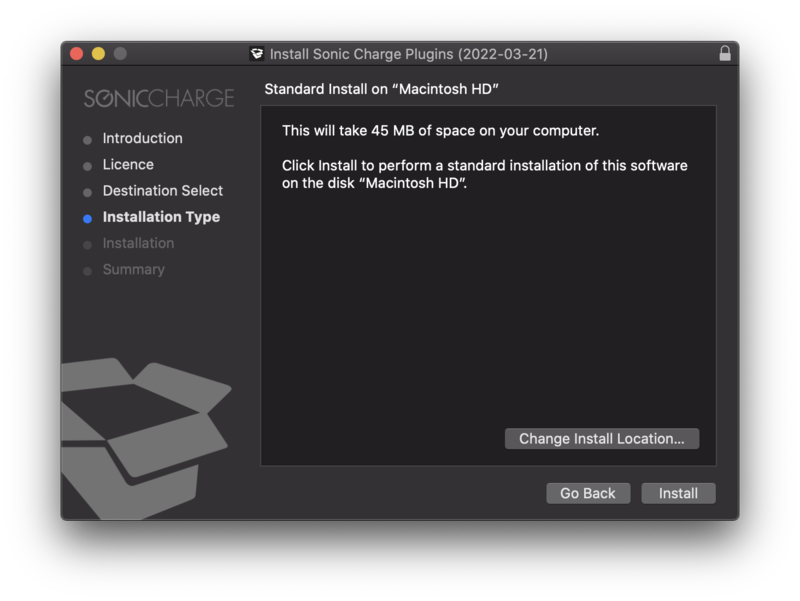
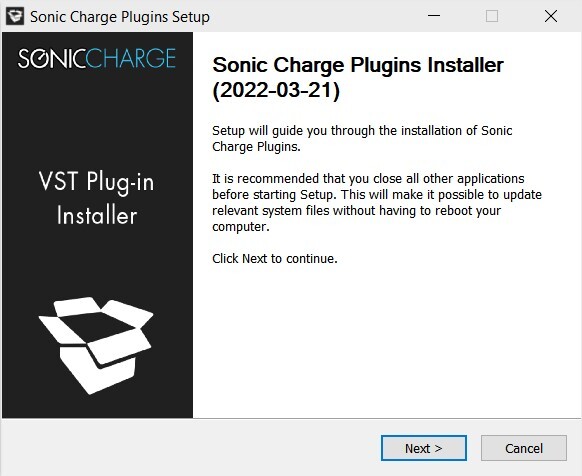
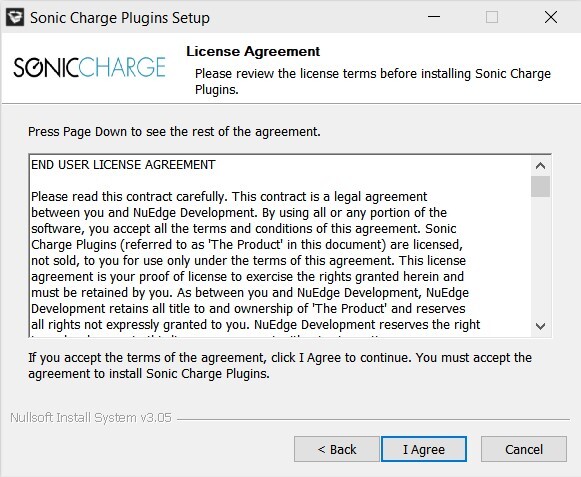
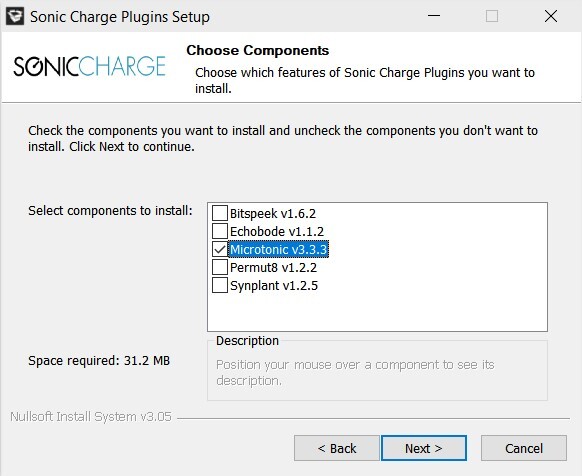
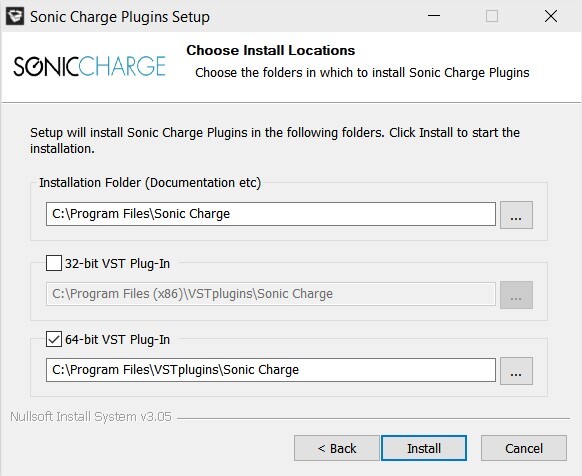
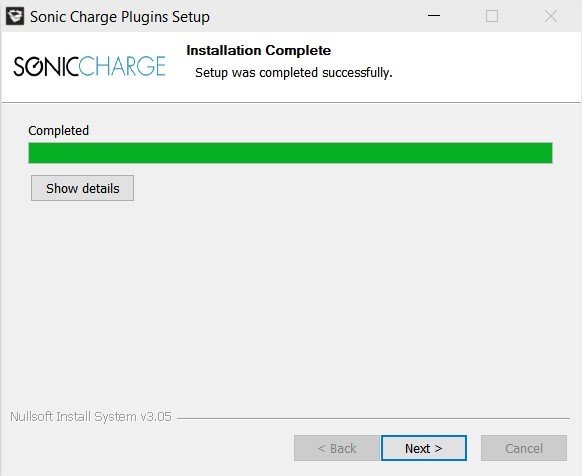
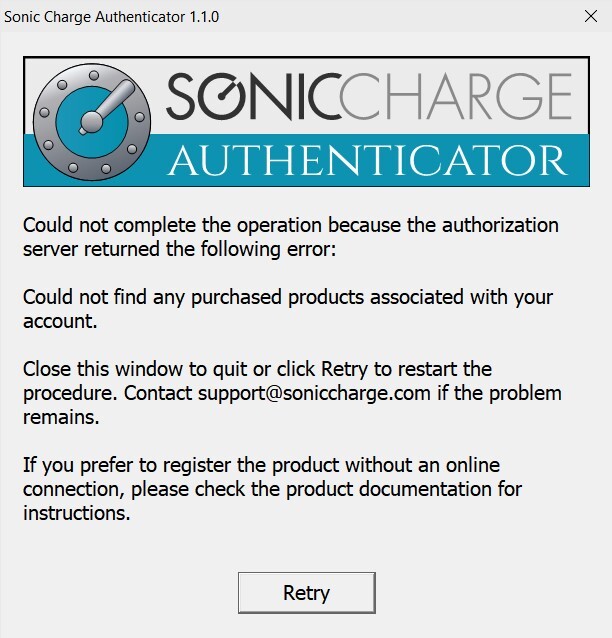
Installation Instructions