Log In
Free gifts available with your purchase
One Master. Every Platform. Verified.
A gift from the future
MasterCheck is an optimisation plug-in for cross-platform mastering, designed to ensure that your masters sound consistent across all platforms — physical, digital and streaming. Audition how loudness normalisation will affect your track, and preempt the impact that each codec will have, alongside industry standard loudness and True Peak measurement.
Find the sweet spot between perceived loudness and dynamics, and avoid nasty surprises by compensating for encoding artefacts ahead of time.
Reference and compare
How does your music sound when it reaches the listener? You already optimise masters for domestic hi-fi systems, car stereos, headphones and earbuds. In the streaming era, shouldn’t you optimise for each streaming platform too?
Audition and preempt data compression and loudness normalisation for…
- Spotify
- Apple Music
- Tidal
- YouTube
- Soundcloud
- Bandcamp
- Qobuz
- Pandora
…and more, using the Codec mode and Offset to match function.
For mixing and mastering, for stereo and surround
To some extent, loudness and cross-platform optimisation is primarily a concern for the mastering engineer, not the mixer, artist or producer. But if a mix is too hot or over-compressed then there is nowhere further to go! So it makes sense to reference Integrated loudness, PLR, PSR and True Peak even at the mixing stage. Plus, MasterCheck can be a great demonstration tool for those clients who might still believe that “louder is better” no matter what.
MasterCheck supports up to 7.1.4 channels, enough to receive a Dolby Atmos bed, or other immersive, 3D and surround audio formats. The resizeable portrait and landscape views mean that MasterCheck can fit neatly into practically any layout and workflow, regardless of on-screen real estate.
- Mac OSX 10.13 / 512 MB RAM
- Windows 8 / 512 MB RAM
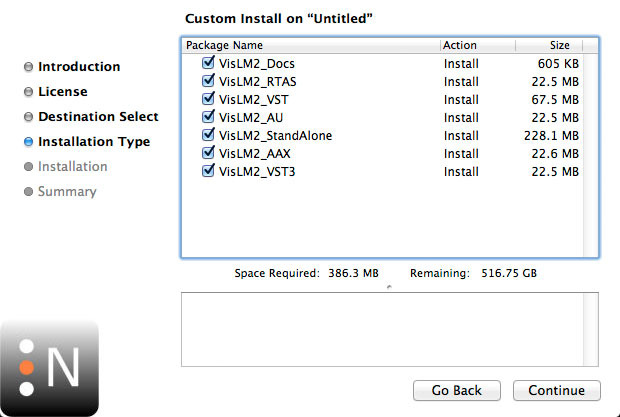
- AAX, VST3, AU and AudioSuite in 64-bit.