Log In

Free gifts available with your purchase
Good Verb Gone Bad
MangledVerb™ is a unique effect combining reverb and distortion. Ported directly from the award-winning H9 Harmonizer®, MangledVerb is capable of creating lush reverbs, ripping distortion leads and sound-sculpting musical chaos. Guitarists have used it for years to create signature sounds and now you can have it in your favourite DAW.
MangledVerb starts with a variable pre-delay which feeds a stereo reverb into a complex distortion effect. Sonically it can range from the light friction of a bow scraping a cello string to the mayhem of a caged beast being poked with a red hot flounder.
Tweak it Live
Like all the H9 Signature Series plug-ins, MangledVerb excels in live situations. The Ribbon is an innovative control which allows you to program two settings for any combination of the controls and seamlessly transition between them. The programmable HotSwitch allows you to instantly jump to an alternate setting at the push of a button. This combination of controls brings you as close as possible to the experience of tweaking real hardware.
Features
- Create out-of-this-world soundscapes by increasing the Size and Overdrive.
- Use it as Mono-In/Mono-Out, Mono-In/Stereo-Out or Stereo-In/Stereo-Out for ultimate flexibility.
- Smoothly move from Softclip distortion to Overdrive for ripping transitions.
- Use the Wobble control to create spooky detuning effects.
- Use The Ribbon control to easily manipulate multiple parameters in a live situation.
- Program the HotSwitch to instantly change multiple parameters at once.
- Optimized for live use with MIDI control of The Ribbon and Tap Tempo for quick meta-control on the fly.
- Use Mix Lock to scroll through presets while keeping the wet-dry mix constant.
MangledVerb Artist Presets
MangledVerb includes over 180 presets from the H9 and artists like:
- Aaron Nevezie
- Chris Carter
- Christian Cassan
- Count
- Danny Gomez
- Drew of the Drew
- Headsnack
- Joel Hamilton Jordi Martinez
- Kerry Leva
- Lawson White
- Mikail Graham
- Richard Devine
- Symbion Project
- Vernon Reid
A Brief History of MangledVerb
MangledVerb started life as a popular effect algorithm in Eventide’s rack-mount Eclipse and is one of the key algorithms included in our Space and H9 stompboxes. The plug-in version has been optimized for anyone working ‘in the box’ and presets can be shared between Space, the H9 and the MangledVerb plug-in.
System Requirements
Windows
- Windows 10 and later (Windows 11 supported) (64-bit only)
- AAX, VST2, VST3
Mac
- macOS 10.14 and later (Intel / Apple Silicon supported) (64-bit only)
- AAX, AU, VST2, VST3
Important Notes:
- Eventide tests their desktop plugins in Ableton Live, Cubase, FL Studio, Logic Pro, Pro Tools, and Studio One (However, their plugins should work with any compatible host.)
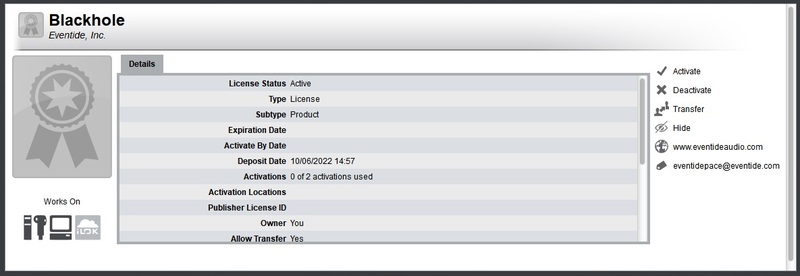
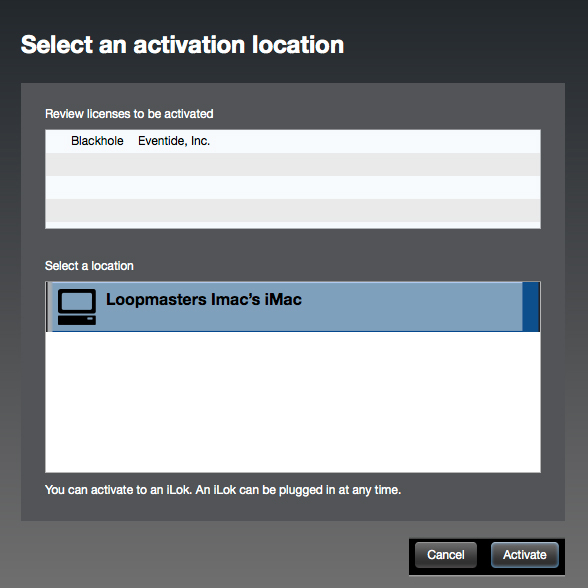
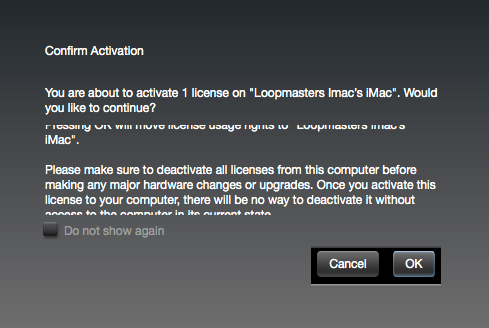
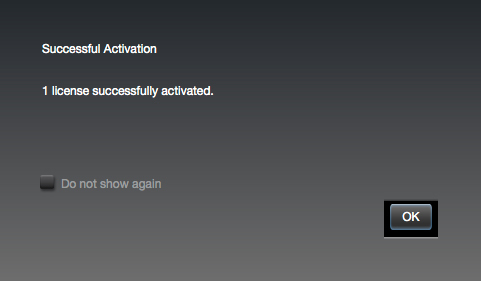
- No iLok dongle is required to run this software - only a FREE iLok account/Manager is required for authorisation.
Awards


Resident Advisor
"If you want to get into some weird, wild and relatively unpredictable sound design possibilities, then I can't recommend it enough."