


 Log In
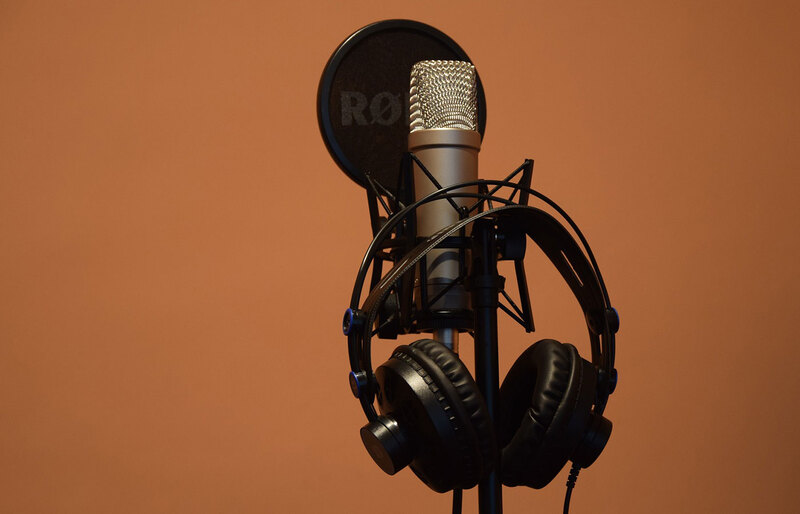
How to Get the Best Vocal Recordings at Home
In an ideal world, all creative people would have access to top-of-the-range equipment in state-of-the-art facilities. In reality, though, life as a creative often leaves us having to work within the confines of what we have immediate access to.
When it comes to recording vocals at home, it can be challenging to compete with the professionals, whose dedicated studio spaces are acoustically designed for making optimised recordings. Thankfully, there are some things you can do in order to attain the best possible vocals regardless of whether or not you’re working in an ideal environment.
In This Article
- It’s all about your room
- What equipment do you need for home vocal recording?
- How to solve room acoustics – the DIY way
- Using basic acoustic treatment to improve your room’s sound
- Improve your recordings with software
- Final thoughts
It’s all about your room
Whenever and wherever a sound happens in a room, it bounces off reflective surfaces (like the walls and ceiling). This natural room reverb is present in every room, and it doesn’t just lead to reverberation – it leads to an unreliable frequency response. In our lives, we can tune out all those reflections, but in something recorded using a microphone, it’s very obvious.
The main advantage of a professional recording space is that the environment and its reflections have been ‘deadened’ as much as possible. Later we’ll show you how to approach these acoustic environments in your own room, to make it the best it can be without nailing anything to the wall or installing anything fancy.
What equipment do you need for home vocal recording?
To record professional-quality vocals at home, you’ll need a microphone, a computer, some way of monitoring your sound (either a pair of studio monitors, or studio headphones), and you’ll need an audio interface to connect it all together.
Some standard microphone choices would be the Rode NT1, or NT1-A, while the Shure SM58 is a complete studio and stage classic. Or, if you’re really on a budget, the Audio Technica AT2020, is a good bet. It’s also worth picking up a suitable shock mount and popshield to really get the best out of your vocal recordings.
In terms of monitoring your sound, a good pair of studio headphones is probably the simplest option, especially if you’re working in a non-ideal environment, where even ‘proper’ studio monitors will be subject to the same reflections we mentioned before.
If you want a premium headphones option, ADAM Audio’s SP-5’s might be a good fit for you. However, if you’re on a budget, Audio Technica’s ATH M50x headphones will probably give you the best value for money.
Last but not least are the audio interfaces. Focusrite’s Scarlett range probably provides the best entry level options, as the interfaces are high-quality and affordable. The Scarlett solo is the cheapest available, although it only has one input. If you’re only ever going to be using one mic at a time, then that won’t be an issue for you.
How to solve room acoustics – the DIY way
If you want to get a good recording, room acoustics are very likely the most important factor. Fortunately, there are things you can do to make your room’s acoustics better without spending any money, nor glueing and nailing acoustic panels onto the walls and ceilings
Before you even start setting up for recording, you should begin by considering where you’re going to do it.
Choose the right place to record vocals
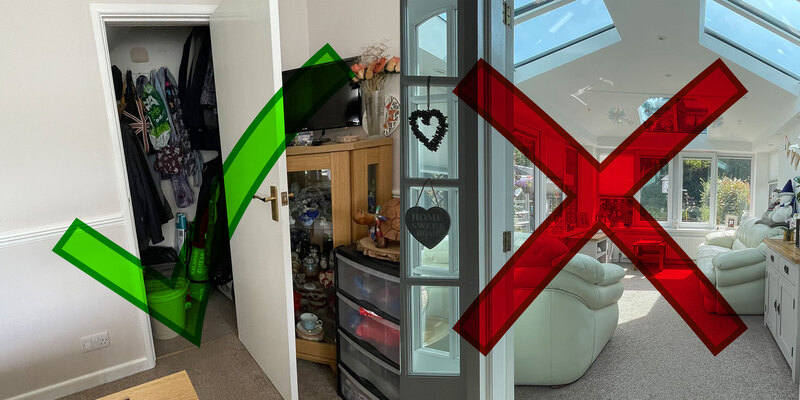
Try and find yourself a recording environment with as minimal reflective surfaces as possible. Your setup might look cooler in the bedroom, but if you’ll have a better recording environment in your living room, it’s time to move.
Remember that a professional recording studio typically aims to deaden the sound. In your home, the best things you have to deaden sound are big, soft and dense things. Beds and sofas, mattresses, blankets and even curtains will act to reduce reflections; rooms with rugs or carpets will help too.

It can help to choose a room without windows, and, ideally, a carpeted floor. An understairs cupboard, or bedroom wardrobe might do the trick! If you don’t have access to a fully sealed-off space, then it’s time to get creative and build one out of blankets.
Improve your space’s acoustics with soft household items
Did you ever make a pillow fort when you were young? Well, now’s the time to reconnect with your inner child! These ideas might sound ridiculous, but they can drastically improve your acoustics.

Use whatever you have at your disposal that will reduce your surroundings’ reflective surfaces. Pillows, rugs, cushions, duvets, clothing items, bean bags!
If you’re recording in a windowed room, then get some thicker curtains, or double layer your current curtains with some more blankets. The thicker the blanket, the better. Things like crocodile-style clips or these hook-style clips are sure to help you hanging blankets and attaching things to your curtains.
The bottom line here is to get creative and think outside the box. There isn’t a one-size-fits-all solution because your room is unique to you. How can you transform your personal home space into a non-reflective acoustic haven? Remember, reflection is the main thing you’re trying to avoid when recording, so try to find a space that naturally has minimal reflective surfaces. Even Kylie Minogue was forced to resort to such methods during the Covid-19 lockdowns!
The best position for source recording
Another very important thing to remember when you’re setting up your DIY recording environment is to position your microphone in a way so that when it’s spoken or sung into, the singer is facing the most sound-absorbing surface. Doing this will hopefully have a similar effect to the earlier-mentioned iso-shields. If you can afford an iso-shield and use it in combination with your DIY setup, that will further improve your results.
The fact is, a lot of independent artists are having to resort to creative solutions to combat their inadequate recording spaces. Some artists have collected and used cardboard egg cartons to construct vocal booths! Although, it’s debatable how effective that actually is.
Using basic acoustic treatment to improve a room’s sound
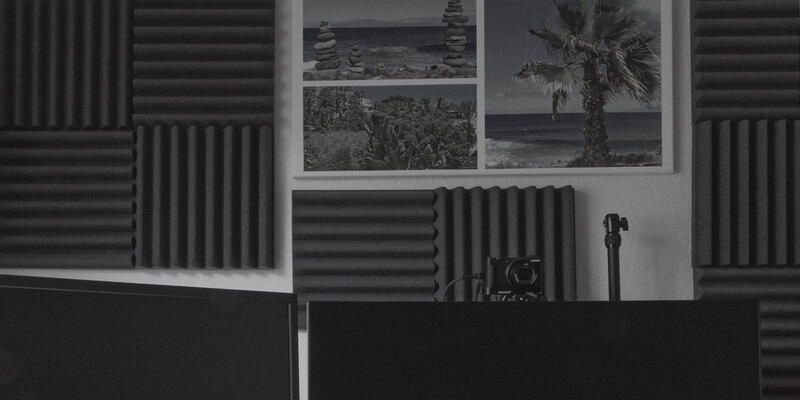
Of course, if you have the budget, and a spare room, then investing in some proper acoustic treatment will be your best option. There are two types of acoustic treatments used to absorb sound and prevent reflections; acoustic panels, and bass traps.
Bass traps are not as important to consider if your goal is to simply set up a suitable vocal recording environment. This is because vocals generally don’t contain much low-end frequency content.
Acoustic panels are more useful for a vocal recording environment. The main objective when setting up a recording environment is to maximally negate sound reflection. Panels are usually placed to stop reflections building up in general, or at specific places between source and microphone.
Placing acoustic panels
You can get an idea of where to place a panel by using a mirror. If you’re standing in one place, and with a mirror blu-tacked to a wall, you can see another place, then sound from where you’re standing would reflect to the place you can see, from that point on the wall.
You may notice that, in professional studios, acoustic panels are placed at the exact points where sound from a monitor speaker would bounce off walls to arrive at the listener.
Using reflection filters at the microphone
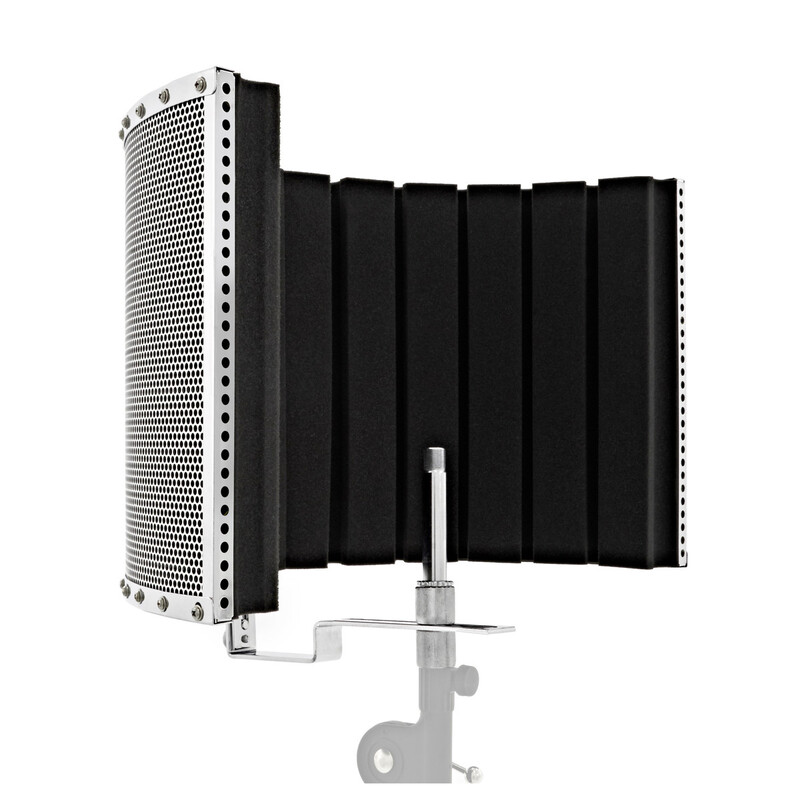
A great investment for those recording vocals at home, regardless of whether or not you have access to the above-mentioned acoustic treatment methods, is a reflection filter.
These clever little acoustic defenders work by placing a highly absorptive shield directly behind your microphone, so the majority of the projected sound is stopped dead in its tracks before it can spread and reflect around the room. A lot of the sound returning to the microphone will be DOA as well!
Improve your recordings with software
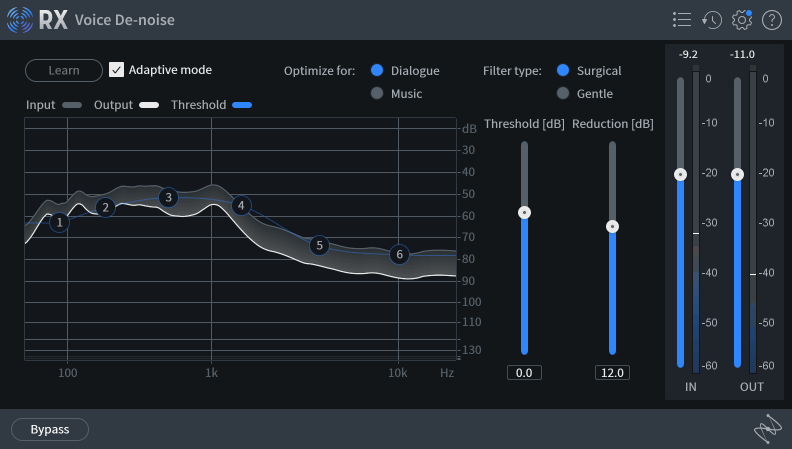
So, you’ve done everything in your power to achieve the best possible vocal recordings in your home environment, but you’re still hearing unwanted noise in your recordings? Well, there’s one more call to action that you can rely on in an attempt to fix the unfixable; use some audio repair plugins!
iZotope’s RX 10 is an all-in-one noise removal and audio repair suite available in three different tiers. Of course, the highest tier (RX 10 Advanced) includes the most tools, however, the cheapest tier (RX 10 Elements) still provides you with some essential tools, such as a de-click, de-reverb, de-clip, voice de-noise, and de-hum plugin. Most of these will be invaluable to someone who has to regularly work with inadequate recordings, and at a relatively affordable price mark.
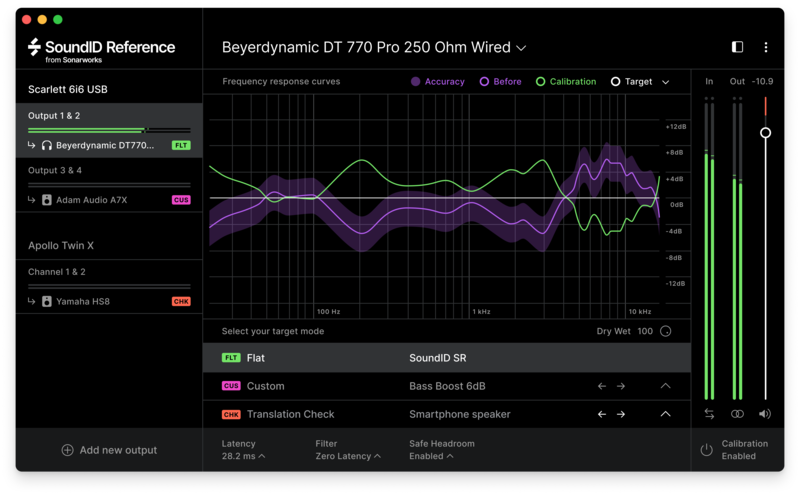
Aside from audio restoration, if you’re someone relying solely on studio headphones as your primary monitoring system, Sonarworks’ Sound ID Reference for Headphones might be of use to you.
If you’re unaware, every speaker system (including headphones) has a different frequency response curve, altering the sound that you perceive. This means that most of the time, the sound we’re hearing is not true to its actual projection. This is especially detrimental when working in non-ideal environments. Studio headphones are great and should be a staple in any audiophile’s monitoring arsenal, but most studio headphones often suffer from a reduced bass-response, and somewhat inaccurate frequency response.
Final thoughts
If you really are not in a position to optimise your recording space, you’re not alone. Sometimes you have to make do with what you have, and often, you can use your low-fidelity recordings in a creative manner or attempt to counter the lesser quality during the mixing stage using plugins, such as the ones mentioned in the previous section.
Plenty of artists have achieved countless successful hits using inadequate recordings. Remember, having fun and creating something artistic is the most important thing, so get in touch with that inner child, and let your creativity run wild!
Other articles
Helping You Make It: Seven UK Organisations Creating Change Through Music
Make Music Day celebrates everyone who creates. Meet seven UK organisations helping people find the tools and communities they need to make music and be heard. Music is a universal connector. It’s always there, comforting us through our headphones or uniting a thousand of us on a dark club floor. It rushes in to fill the spaces between us and reminds us of why we are here. But before any of that, it needs to be made. That might mean opening a blank session, recording an idea before it disappe
Free VST Plugins You Should Actually Get
[Article Last updated: 17 June 2026] – There are a lot of free plugins out there, and you can sometimes feel overwhelmed by the paradox of choice. Thankfully, we've done the hard work, so you don't have to. Here’s a carefully curated list of the best free plugins that pretty much any music producer can benefit from. We even update this list approximately weekly to keep you informed of the new free plugins arriving on the scene. We’ve been especially considerate of plugins with a wide ap
Behind the Curtain with Just Her
From her early days as a vinyl collector, then musician and music technology lecturer to becoming one of the most respected names in melodic house, Claire's journey has been defined by curiosity and an unwavering commitment to authenticity. Whether through her releases on labels the likes of Anjunadeep and Crosstown Rebels, her multidisciplinary Constant Circles project, or her personal performances around the world, Just Her has built a reputation for creating music that resonates as strongly w
Essential Toolkit: What So Not
For the debut of our new Essential Toolkit series, What So Not details the plugins behind “Dancing in the Leaves” from their EP The Quiet That Hurts. The focus stays on speed and restraint. Each tool serves a defined purpose, supporting the idea without heavy processing chains or excess layering. Five plugins shape the session: FabFilter Pro-Q 4 handles spectral EQ on field recordings and unstable sources so the arrangement forms quickly. RC-20 Retro Color adds motion to an 808 line
