


 Log In
How to Build a Bedroom Music Studio
Upgrade your space into a more fit-for-purpose studio with our quick guide to the essential knowledge
There’s a reason professionals who work with audio and sound always opt to work in a dedicated studio if one’s available: professional studio spaces are optimised for working with sound! But with the right know-how and some careful consideration, you can get somewhat close to this yourself.
You’ll never turn your bedroom into a professional live room, but in this article we’ll give you some of the knowledge you need to make it ‘good enough’ – making it the right environment for professional work to take place.
In This Article
- The problem with sound
- Choosing your studio room wisely
- Basic acoustic treatment
- Working with the right gear
To get that professional edge at home, considering the acoustics of your room is the first thing that will give you an edge…
The problem with sound
So why doesn’t every recording in any given room just sound… good enough? You should know that a sound in a room doesn’t just enter your ears – it also reflects off walls, floors and ceilings, often multiple times, before reaching your ears once again as a second copy, third copy, fourth copy… and so on.
When all these reflections – these copies of the sound – mount up, we call them reverb. Every room has a different reverb profile, and a different way that reflections build up – or don’t. Not only can a bad room be boomy and reverberant, but thanks to room modes, these reflections can also lead to different frequencies being strengthened or reduced. A room is literally like an EQ!
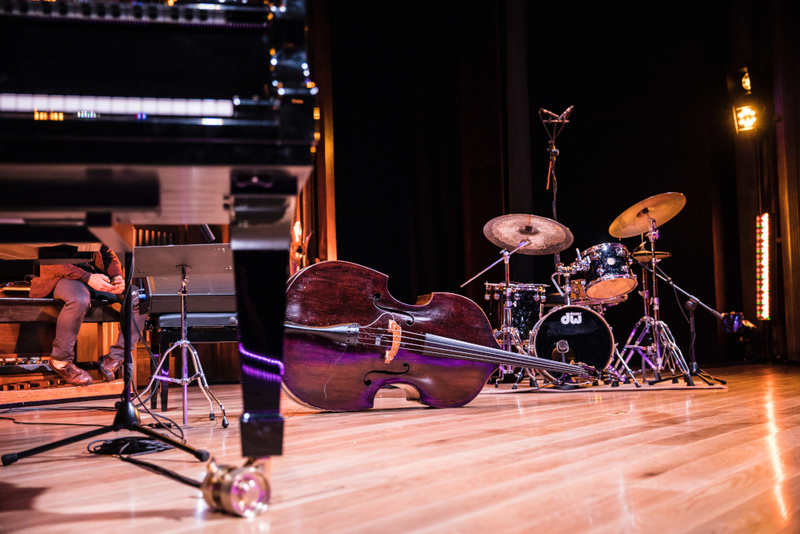
Photo by Dolo Iglesias on Unsplash
This is the real reason that musicians and producers prefer professionally constructed music studios: these spaces have the reflections under control. There aren’t too many reflections in the space, and ones that are are controlled and balanced.
Choosing your studio room wisely
The first decision you’ll have to make is what room you’re going to set up your studio in. The dimensions and size of the room will determine the sound’s reflections, resonances, and what acoustic treatment will be needed.
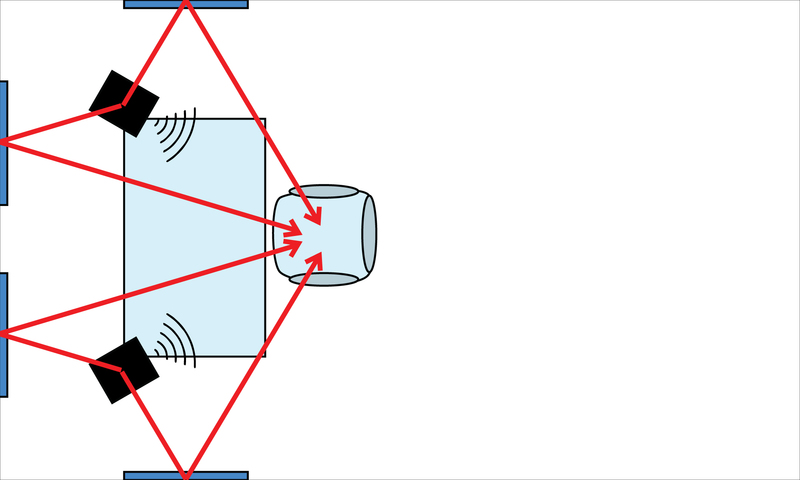
There’s a lot to learn about ideal dimensions for sound in a room, but to put it simply, completely square rooms are to be avoided, as are unusual shapes like L shapes, or rooms with alcoves. A room with a rectangular shape that you can set up in a similar fashion to the image below, will be optimal.
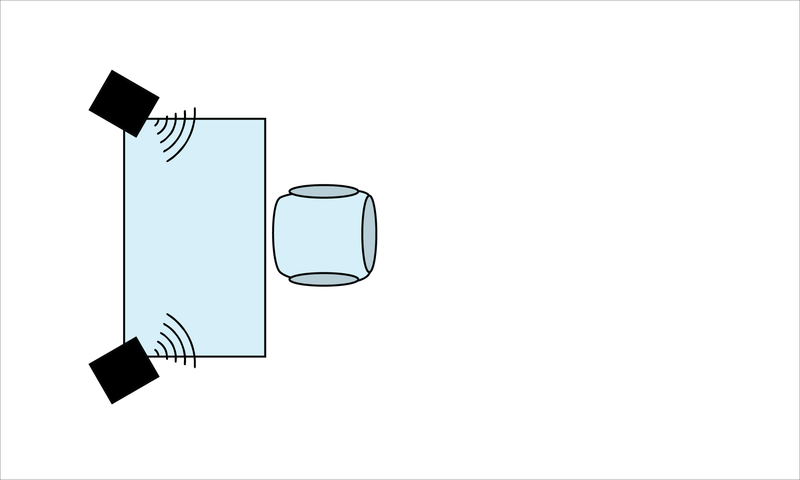
Notice how the speakers are placed some distance from the corners? Eight to twelve inches should be your minimum distance. It’s not recommended to shove your speakers directly in the corners because doing so can result in low-end sound buildup, as well as phase issues.
Next, you’ll need to consider the acoustics of the room and treat them accordingly using acoustic foam panels and bass traps. We’ll talk about ideal placement for your acoustic treatment in the next section.
Basic acoustic treatment
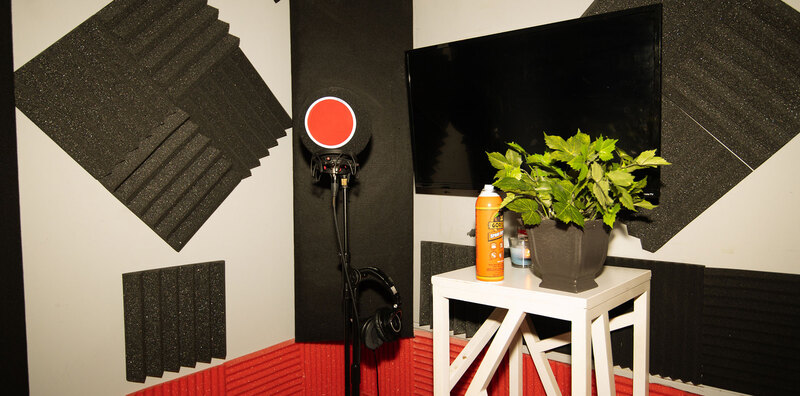
First, it’s important to understand the objective when treating your room. Those acoustic panels that most people mistake for sound-proofing are not there just to make the room look cool. They’re placed in very specific places to absorb sound and stop it from reflecting off the natural surface.
There are two main types of acoustic treatments; bass traps and acoustic panels. Bass traps, as you may have guessed, are specifically for treating low-end bass frequencies, whereas the regular square panels are for treating mid-to-high frequencies.
Placing acoustic panels and absorbers
Acoustic panels act to reduce reflection and ‘damp’ a room in general, but your primary and first port of call is to place these at the initial reflection points from your speakers. Based on the same room we showed above, here are the places on the walls where the speakers’ sound would reflect directly back to the listener.
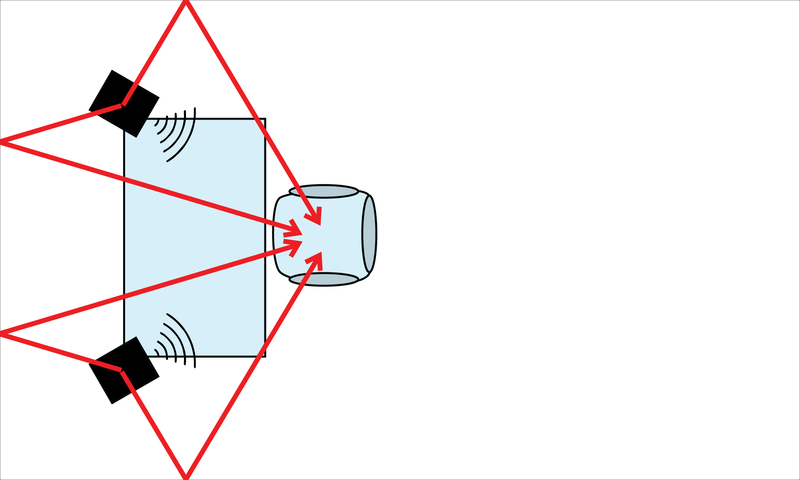
For this reason, these places should be the first locations you put acoustic absorbers, stopping the immediate reflections from the walls around you.
Now go back and Google Image Search for Music Studio – notice now (and forever more) how the main acoustic panels are placed on the walls, ceiling and back walls to stop these immediate reflections between the speakers and your head.
Placing more acoustic treatment
After the essential ‘reflection killers’, you can place more acoustic treatment purely to reduce reverberation, whilst leaving enough to still allow your space to feel alive. The amount you should ideally place really depends on your specific room. It’s been said that roughly 30% total surface coverage is a good estimate to aim for in a mixing/all-purpose studio.
Bass traps: your triangular acoustic amigos
Frequency build-ups can happen between the parallel walls of a room. In the corners, there are multiple build-ups thanks to two or three pairs of parallel walls interacting. To cut to the chase, the result is often a build-up of bass frequencies in your monitoring, which can lead you to undercompensate for bass in your production.
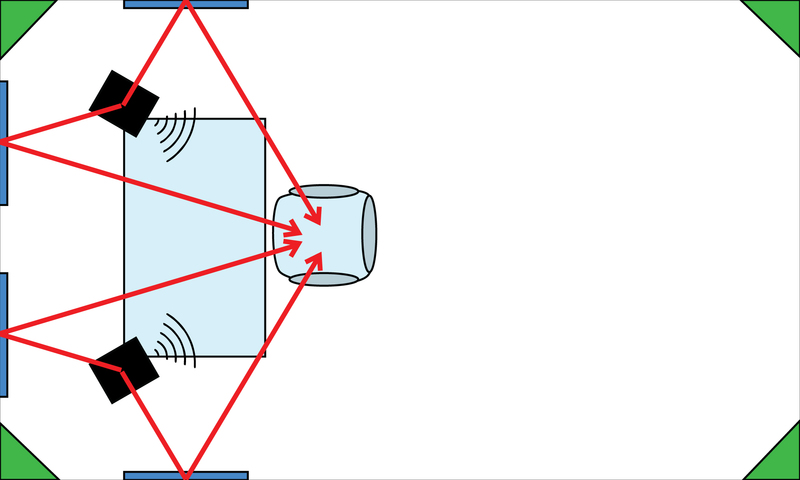
In our new diagram, above, we’ve added little grey triangle shapes in the corners of the room, representing bass traps.
Diffusers: taking the focus away
The job of a diffuser is to ‘break up’ sound by scattering it in a huge number of directions – instead of just “right back in the opposite direction” like a flat surface does. Real acoustic diffusers are precisely milled to exacting proportions, breaking up your sound in a perfectly formulaic way… but they do share some similarities to bookshelves, don’t they?
You might not be able to get the exact same diffuser response from a DIY version, but once again, you can get somewhat close. These ridges and bumps are spaced at irregular intervals, which is what matters most. At the very least, you can use this knowledge to plan your studio’s furniture strategically!
Working with the right gear
Other than these considerations, it’s important to get yourself some reliable gear. You’ll need a pair of studio monitors, studio headphones, an audio interface, and, if you’re planning on recording in your studio too, then of course you’ll need suitable microphones!
Choosing studio monitors
When it comes to speakers, the main thing you’ll need to keep in mind is the speaker size and how compatible it’ll be with your room. Sure, going for the biggest, most powerful speakers might be tempting, but in a small space this can be overkill, resulting in generating unnecessary amounts of power and sound buildup. Four to six inch speakers will be adequate for most home studios.
KRK offer a wide range of studio-ready monitors from their acclaimed ROKIT series, so maybe check them out as a first point of interest if you’re speaker shopping! ADAM is also a well-respected manufacturer.
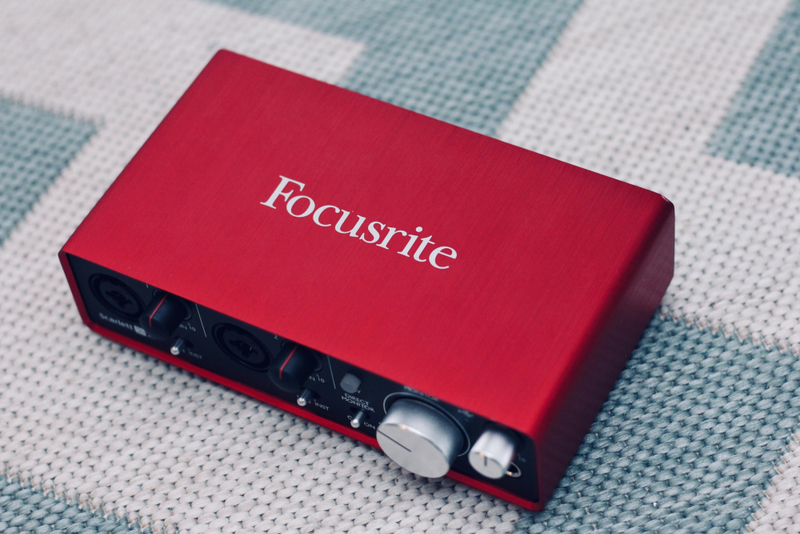
Audio interfaces
Now, let’s talk audio interfaces… some of the most popular audio interfaces on the market are from Focusrite’s Scarlett range. These interfaces are high-quality and reasonably priced. For the majority of home-producers, the Scarlett 2i2, or Solo, would be a safe first choice.
When choosing your audio interface, it’s important to think about the number of inputs you’ll need. The 2i2 comes with two inputs, and the solo comes with one. Of course, you can also select an interface with more inputs, but you should have a think about how many you’ll ever actually be using simultaneously before you make your purchase.
Another brand worth considering when choosing your audio interface would be Universal Audio. They offer interfaces at a much higher price point than Focusrite, however, for good reason. Their Apollo interfaces were once required in order to run many of their exclusive plugins, but the range we stock are fully capable of working with your own CPU.
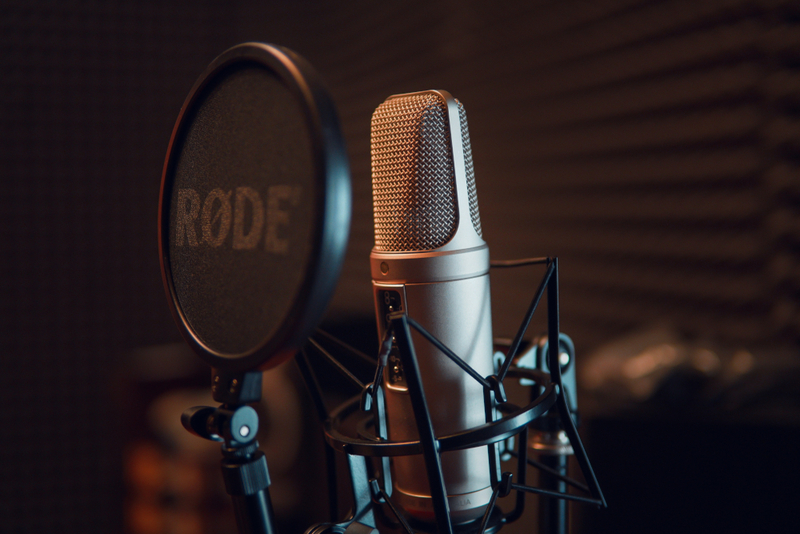
What about microphones?
Well, luckily you don’t need to break the bank to acquire a professional-level condenser mic. Rode has some fairly priced entry level studio microphones. Rode’s NT1-A is probably the most cost-effective starting point, or you could opt for the NT1 bundle that comes with an audio interface, shock mount, and pop-shield! Both of these microphones are well-acclaimed in the music community for their vocal recording capabilities.
Shock mounts and pop shields are also essential if you want to attain the best possible vocal recordings. A shock mount will heavily reduce the impact that any bumps and nudges the mic stand or cable might endure during recording. Sometimes vocalists can get a bit carried away when they’re giving it their all, so it’s not uncommon for them to accidentally bump into the mic stand, or nudge it with their hands.
Pop shields perform a similar role. They minimise the amount of air that gets blasted into the mic’s coil when the vocalist makes any powerful ‘p’ sounds. To produce the sound of the letter ‘p’ we naturally project a lot more air out of our mouths with higher pressure, this can result in over-pronouced ‘p’ sounds when recording through a mic… unless, you have a pop-shield.
Other articles
Behind the Curtain with Just Her
From her early days as a vinyl collector, then musician and music technology lecturer to becoming one of the most respected names in melodic house, Claire's journey has been defined by curiosity and an unwavering commitment to authenticity. Whether through her releases on labels the likes of Anjunadeep and Crosstown Rebels, her multidisciplinary Constant Circles project, or her personal performances around the world, Just Her has built a reputation for creating music that resonates as strongly w
Essential Toolkit: What So Not
For the debut of our new Essential Toolkit series, What So Not details the plugins behind “Dancing in the Leaves” from their EP The Quiet That Hurts. The focus stays on speed and restraint. Each tool serves a defined purpose, supporting the idea without heavy processing chains or excess layering. Five plugins shape the session: FabFilter Pro-Q 4 handles spectral EQ on field recordings and unstable sources so the arrangement forms quickly. RC-20 Retro Color adds motion to an 808 line
The Tools Behind LEISURE’s Timeless Album
For LEISURE, Welcome To The Mood marked a clear point in how the group wrote and recorded together, and the conversations around the album focused on process, arrangement choices, and how the six-piece keeps decisions consistent across a long timeline. The record leaned further into live recording, and it expanded the palette through added musicians like strings, brass, piano, and backing vocalists, while keeping the songwriting direct and personal. That context shaped the questions in our
Inside Pan-Pot’s Minimal and Physical Production Approach
Pan-Pot built HUMAN as an extension of their experience of club culture and of how they want audiences to experience music again. The concept centers on depth, presence, and physical impact in a room. That same thinking carries directly into their studio process, where arrangement, sound selection, and dynamics are shaped with long-term tension in mind rather than short-term payoff. In our conversation with the duo, Tassilo and Thomas break down how that philosophy translates into real p
