Buy Weaponiser Basic, get a free gift with purchase:

Don’t Sound Generic. Stun Your Audience With Unique Sound Effects.
Sound design faster than ever before. Create original sound effects in a matter of seconds.
Ideal for starter sound designers and tight budgets
A concise selection of weapons, whooshes, footsteps, magic, UI and Trailer assets
Infinite Sound Variations in Minutes
Weaponiser is a powerful sound design sampler that lets you design, customise, and perform a huge range of sound effects quickly – all from within one plugin.
Design Sound Effects Faster than Ever Before
Create assets and fully-fledged sounds quickly and effortlessly with a drag and drop, multi-sample interface.
All of your Layers on a Single Track in your DAW
Hundreds of presets. Thousands of assets. The ability to easily import your own sounds. Four powerful sample engines that can trigger up to 80 audio files in countless variations. Plus, with three built-in synthesis engines also included, the sound design possibilities are truly endless.
Full Workflow Flexibility
Trigger your sounds with MIDI for speed and precision. Perfect for spotting pictures as well as designing sounds.
Countless Sounds at your Fingertips
Choose from a diverse range of included sound libraries, all of which are easily accessible through the built-in browser. Incorporate them into your design via simple drag-and-drop functionality. Weaponiser's engines are organised into four sections – Onset, Body, Thump and Tail – giving you full control over the specific layers of your sounds.
- Real & Sci-Fi Weapons
- Sci-Fi Sound Effects
- Footsteps & Surfaces
- Whooshes & Transitions
Spotting to Picture, Simplified

Switch between presets whilst maintaining sync within your DAW, rather than adjust multiple tracks, groups or plugins. Use MIDI to trigger your engines and velocity sensitivity to program or perform precise variations to your design. Trigger the entire plugin or individual engines via MIDI.
Design with Absolute Precision
The timing and arrangement of the engines can be precisely offset using the colour-coded built-in timeline. Hit the Fire button to trigger your sounds. Activate Burst mode to create automatic bursts from one-shot assets. Even adjust the fire rate in real-time.
A Fast, Intuitive Workflow

Easily import your own sounds with drag and a drop from the browser or your own library, or get started using hundreds of factory presets.
Multichannel Output

Process each engine with your own plugins or output each layer to its own stereo track to prep of your design for mixing.
Trusted as the Go-to Sound Design Software
Weaponiser is used widely in movies, TV, and games. Here are some projects that use Weaponiser:
- The Haunting of Bly Manor
- Ozark
- Brooklyn Nine-Nine
- Preacher
- Terminator: Dark Fate
- Titans
- Future Man
- Agents of S.H.I.E.L.D.
Save Hours of Editing Time
Weaponiser Basic gives you what you need to get started. The fully functional plugin comes with a concise selection of assets to demonstrate the ease of use and quality of the software and its sounds.
Weaponiser Fully Loaded is the real deal. It comes with an extensive range of libraries to use and customise, right out of the box, from organic footsteps to powerful magic assets.
Features
- 1,385 Samples
- 515 Weapon Samples
- 160 Presets
- 1.88 GB of Assets
- Tag-driven browser
System Requirements
Mac
- macOS 10.13 - macOS 11 Big Sur (64-bit only) (M1/M2 Mac Supported)
- Intel computer with a minimum of 2.4 GHz Intel Dual Core Processor
- 4 GB of RAM
- VST, AU, AAX Native
Windows
- Windows 10 and later (64-bit only)
- 2.4 GHz Intel Dual Core Processor
- 4 GB of RAM
- VST, AAX Native
Additional Information:
- 1.88 GB Hard Disk Spac
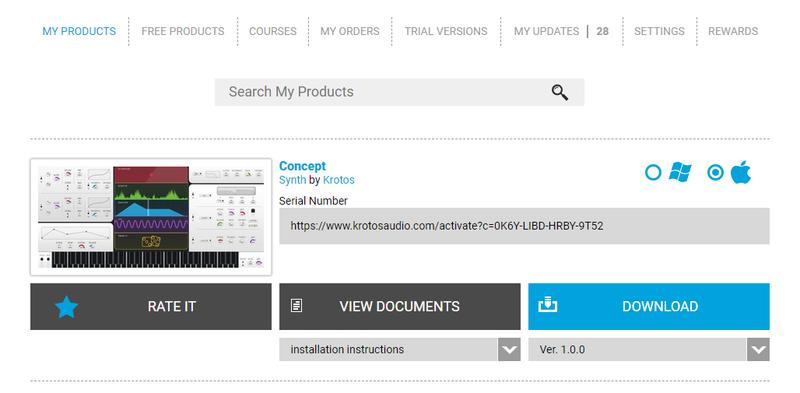
- This software is a digital download
- Minimum sample rate: 44.1 kHz
- Maximum sample rate: 192 kHz
- An internet connection is required at the time of activation
- Screen resolution of 1280×1024 or higher
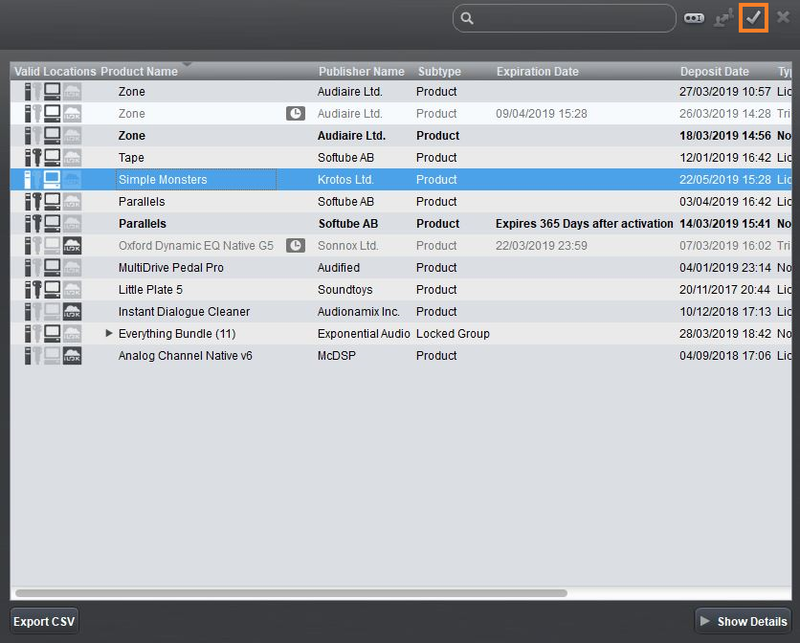
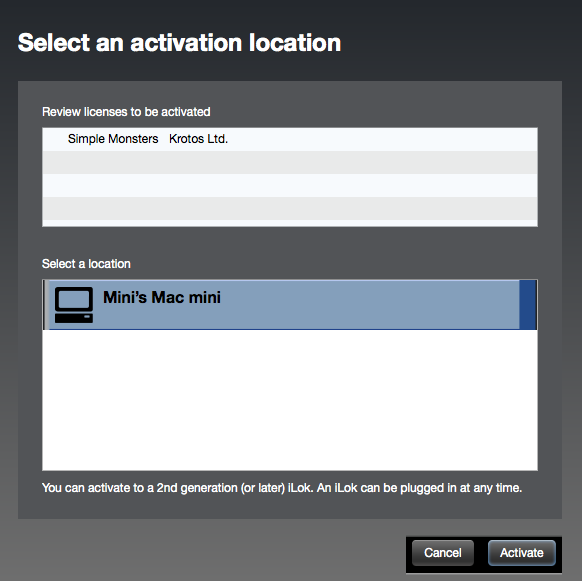
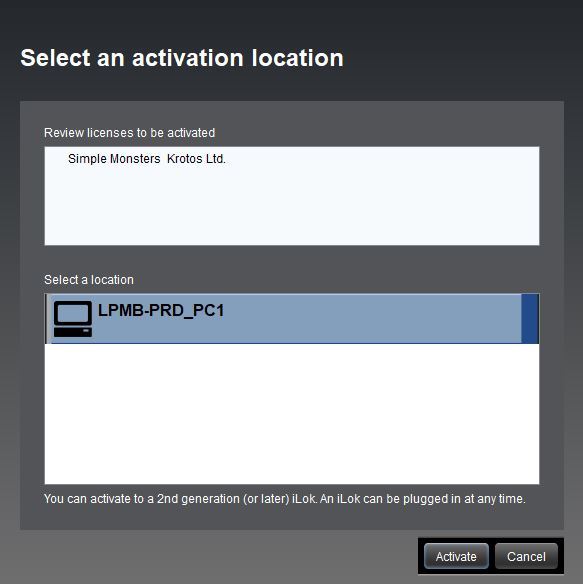
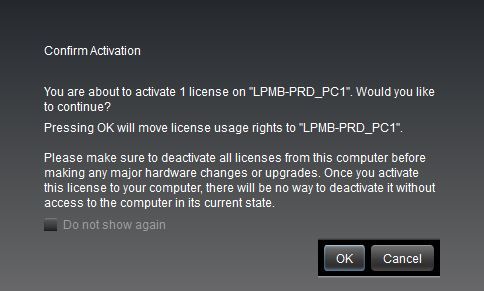
- An iLok account (available for free at ilok.com) is required to activate and use both the demo and full version of the software
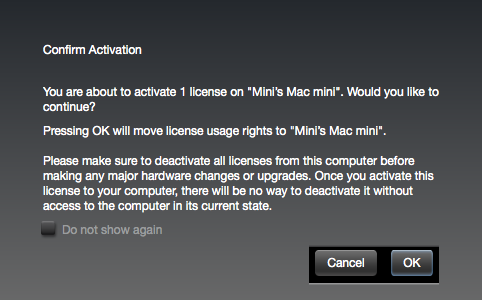
- Weaponiser can only be activated on one computer at a time
- An iLok 2 or later is required for dongle use
Supported Host Applications:
- Pro Tools (11 or later)
- Logic Pro X
- Nuendo
- Ableton Live
- Cubase
- Reaper
- StudioOne
Please Note: This software may work on other DAWs and DAW versions apart from those listed above. However, these will not have been tested and Krotos cannot guarantee the product will work as expected.
Important Notes:
- Dehumaniser Simple Monsters is used as an example.
- This product requires a free iLok account and a copy of iLok license manager to be installed on your computer. A physical iLok USB dongle is NOT required.
- Registering and logging into your Krotos account is required before activating the plugin - please follow the below registration steps before activating.
Registration (Neccessary to complete first)
1. Go to https://www.krotosaudio.com/ > Click the 'user' icon in the top right corner.

2. Enter your details and click 'Register' > If you already have a Krotos account, log in as usual.

Activation
Mac
iLok Registration
1. Go to https://www.ilok.com/#!registration > Fill out all of the relevant fields marked with an asterisk (*) and click 'Continue'.
2. Go to https://www.ilok.com/#!license-manager > Download and install the iLok License Manager.
Krotos Registration
1. Go to your Plugin Boutique User Account and copy the URL found in the serial number section of your purchased product > Paste the URL into your web browser and press enter.

2. Fill out the relevant fields marked with an asterisk (*), including the iLok ID that you chose in step 1 of the iLok Registration instructions > Select 'I am a new customer' and click 'Activate'.

3. Enter your name and password of choice > Select 'I've read and accepted the terms and conditions and privacy policy' and click 'Continue'.

4. Download the Windows installer.

Installation
1. Double-click the downloaded .zip file to extract the contents and open the .pkg file to begin the installation > Click 'Continue'.

2. Click 'Install'.

3. Enter your computer Username and Password > Click 'Install Software'.

4. Click 'Close'.

Activation
1. Open the iLok License Manager > Click 'Sign In'.

2. Enter your iLok User ID and Password > Click 'Sign In'.

3. Select your recently installed product from the list > Click the tick icon in the top right corner of the application window.

4. Select the location you wish to activate your license - this can be your computer or an iLok USB dongle > Click 'Activate'.

5. Click 'Ok'.

6. Click 'Ok'.

7. Open the recently installed plugin in your DAW.
Note: If your plugin fails to appear, re-scan your plugin selection in your DAW.

Your software is now activated and ready to use.
Windows
iLok Registration
1. Go to https://www.ilok.com/#!registration > Fill out all of the relevant fields marked with an asterisk (*) and click 'Continue'.
2. Go to https://www.ilok.com/#!license-manager > Download and install the iLok License Manager.
Krotos Registration
1. Go to your Plugin Boutique User Account and copy the URL found in the serial number section of your purchased product > Paste the URL into your web browser and press enter.

2. Fill out the relevant fields marked with an asterisk (*), including the iLok ID that you chose in step 1 of the iLok Registration instructions > Select 'I am a new customer' and click 'Activate'.

3. Enter your name and password of choice > Select 'I've read and accepted the terms and conditions and privacy policy' and click 'Continue'.

4. Download the Windows installer.

Installation
1. Double-click the downloaded .zip file to extract the contents and open the .exe file to begin the installation > Select 'I accept the agreement' and click 'Next'.

2. Click 'Next'.

3. Click 'Install'.

4. Click 'Finish'.

Activation
1. Open the iLok License Manager > Click 'Sign In'.

2. Enter your iLok User ID and Password > Click 'Sign In'.

3. Select your recently installed product from the list > Click the tick icon in the top right corner of the application window.

4. Select the location you wish to activate your license - this can be your computer or an iLok USB dongle > Click 'Activate'.

5. Click 'Ok'.

6. Click 'Ok'.

7. Open the recently installed plugin in your DAW.
Note: If your plugin fails to appear, re-scan your plugin selection in your DAW.

Your software is now activated and ready to use.
Krotos Concept Installation Instructions
Mac
Registration
1. Go to your Plugin Boutique User Account > Copy and paste the serial number into your web browser and press enter on your keyboard.

2. Click 'Continue'.

3. Enter your email address and check the box that states 'I've read and accepted the terms & conditions and privacy policy' > Click 'Continue'.

Installation
1. Download your Windows installer by clicking the button that reads 'CONCEPT_OSX_1.0.0.ZIP'.
Note: You will need your License Key for step 1 of the activation process.

2. Double-click the .zip file to extract the contents > Open the .pkg file to begin the installation and click 'Continue'.

3. Click 'Continue'.

4. Select whether you agree to share your anonymous plugin usage data or not > Click 'Continue'.

5. Click 'Install'.

6. Enter your computer User Name and Password > Click 'Install Software'.

7. Click 'Close'.

Activation
1. Open the newly installed software within your DAW > Copy and paste the License Key from step 1 of the installation process > Click 'Activate'.

Your software is now activated and ready to use within your DAW.

Windows
Registration
1. Go to your Plugin Boutique User Account > Copy and paste the serial number into your web browser and press enter on your keyboard.

2. Click 'Continue'.

3. Enter your email address and check the box that states 'I've read and accepted the terms & conditions and privacy policy' > Click 'Continue'.

Installation
1. Download your Windows installer by clicking the button that reads 'CONCEPT_WIN_1.0.0.ZIP'.
Note: You will need your License Key for step 1 of the activation process.

2. Double-click the .zip file to extract the contents and open the .exe file to begin the installation > Select 'I accept the agreement' and click 'Next >'.

3. Select whether you agree to share your anonymous plugin usage data or not > Click 'Next >'.

4. Select the installation location for your VST files > Click 'Next >'.

5. Click 'Install'.

6. Click 'Finish'.

Activation
1. Open the newly installed software within your DAW > Copy and paste the License Key from step 1 of the installation process > Click 'Activate'.

Your software is now activated and ready to use within your DAW.

